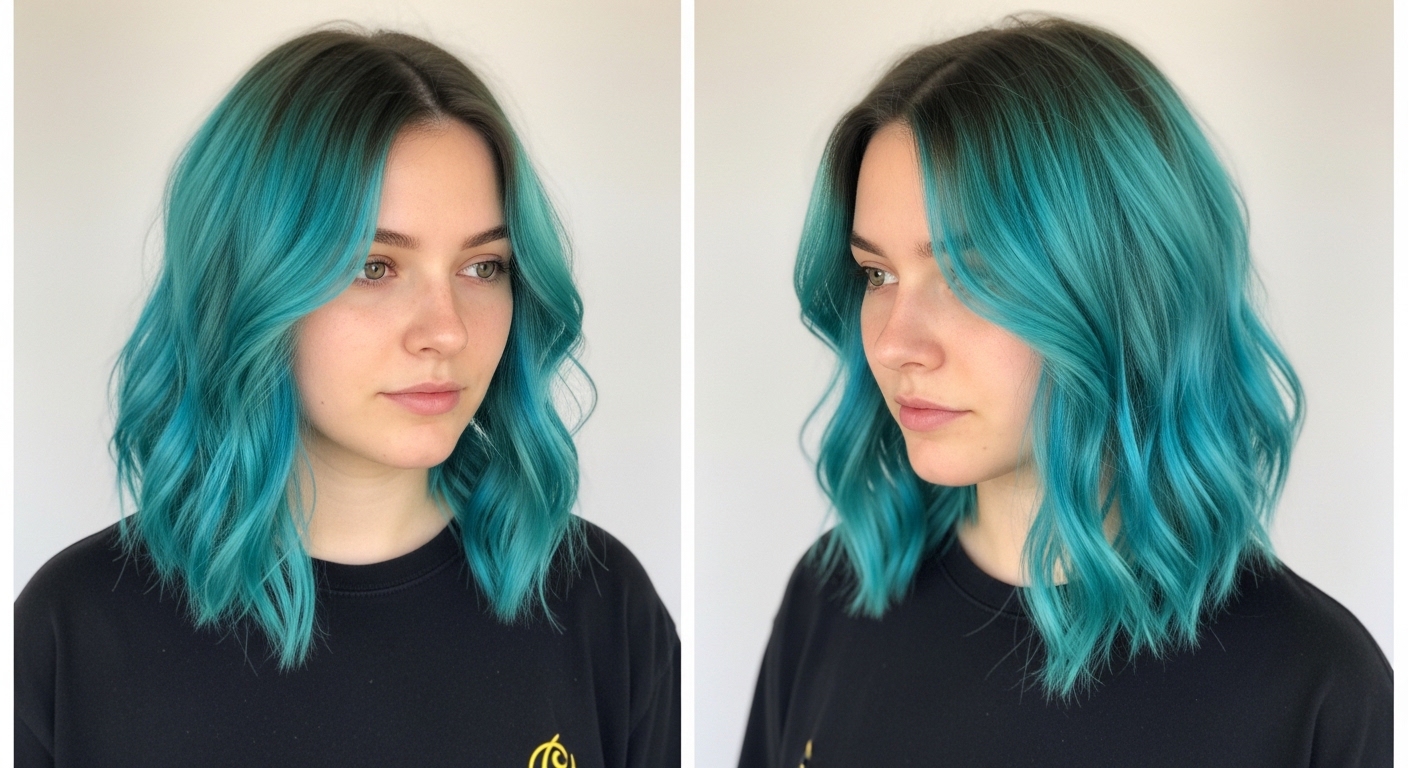
I spent years thinking I had to bleach to get any real color. I tried patches that faded into a sad blue-green mess. Then I learned subtle, practical ways that actually worked for my hair and schedule.
I want to spare you the trial and error. These tips are honest and doable, not salon-speak.
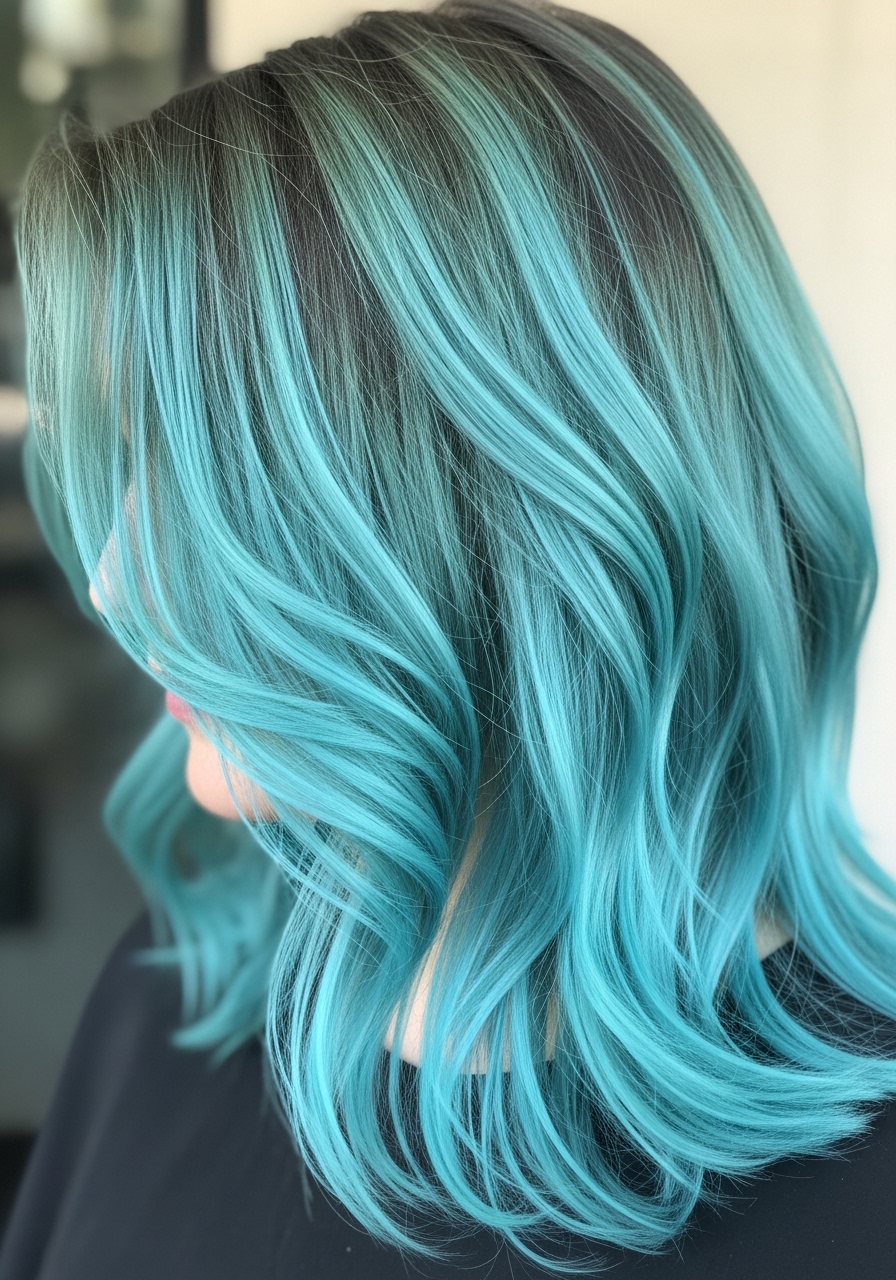
12 Wise How To Get Turquoise Hair Without Bleach
These 12 practical methods show different ways to get turquoise hair without using bleach. I tested options on my own hair and on friends with darker and lighter bases. Expect realistic outcomes and exact things to ask your stylist. There are 12 ideas below.
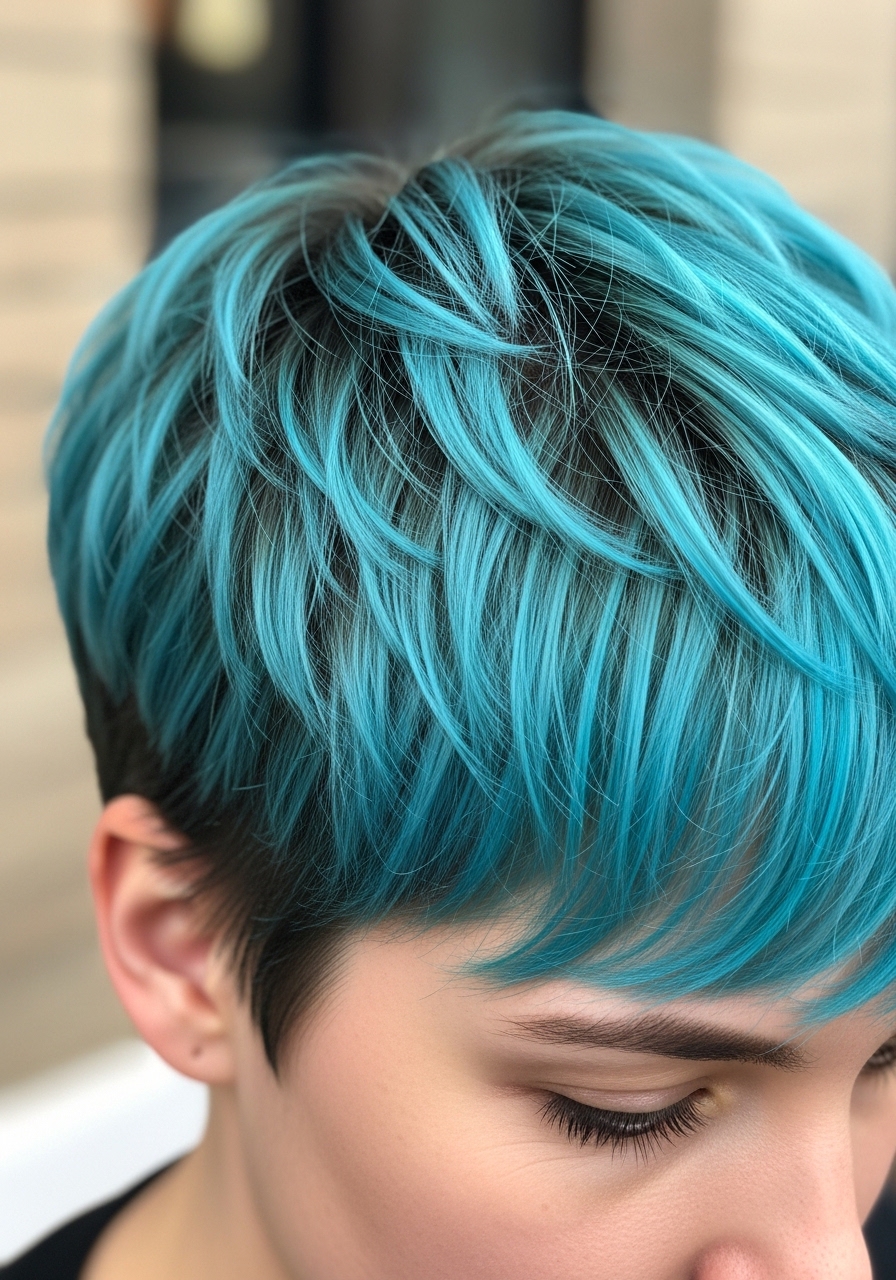
1. Turquoise Gloss Over Honey Balayage Pieces
I asked my colorist for a few honey balayage pieces before any turquoise. The lighter strands took the gloss and gave me a teal tint without full-on lifting. In real life the turquoise reads more sea-green in sunlight and deeper in shade.
On mid to light brown hair this reads bright enough. On very dark hair it’s more muted. My stylist told me to expect faster fade on ends, so we scheduled a refresh every five weeks.
Tip: say “painted, not highlight” and bring a photo. I learned the hard way that too many pieces made it look stripey.
2. Turquoise Color-Depositing Mask on Brassy Blonde
I got a brassy blonde and used a turquoise color-depositing mask once a week. The first time I left it on too long and my roots grabbed a muddy tone. Lesson learned: follow the recommended time.
In the weeks after it looked lived-in and soft. The color faded evenly and felt conditioned, not crunchy. It worked best on already lightened strands. On darker hair it added a cool sheen rather than full turquoise.
My go-to trick is to dilute the mask with conditioner for a pastel look. If you want bolder, use it undiluted but start with 10 minutes.
3. Semi-Permanent Turquoise on Pre-Lightened Tips
I asked for just the tips to be pre-lightened months before, then we used a semi-permanent turquoise. Doing the lightening as a separate visit kept my scalp safe and gave me controlled lift without harsh all-over bleach.
In real life the tips hold color well and the roots let the contrast look intentional. It’s low commitment; when it fades I still have grown-out blonde to play with.
This suits anyone who wants a pop without daily upkeep. My stylist warned me about porosity—too-porous ends drank the dye. A filler treatment before color fixed it.
4. Tinted Conditioner Routine for Subtle Turquoise

I started mixing a tiny scoop of turquoise semi into my conditioner. The first week I overdid it and woke up with a faint green halo on my pillowcase. Oops. Once I reduced the ratio it became the perfect pale turquoise rinse.
Daily life: it tones brass and slowly layers color. It never gets vibrantly saturated, but it gives a wearable teal sheen that’s easy to maintain.
It works on lightened and natural light brown hair. Tell your stylist you’re building color so they don’t over-process initial pieces.
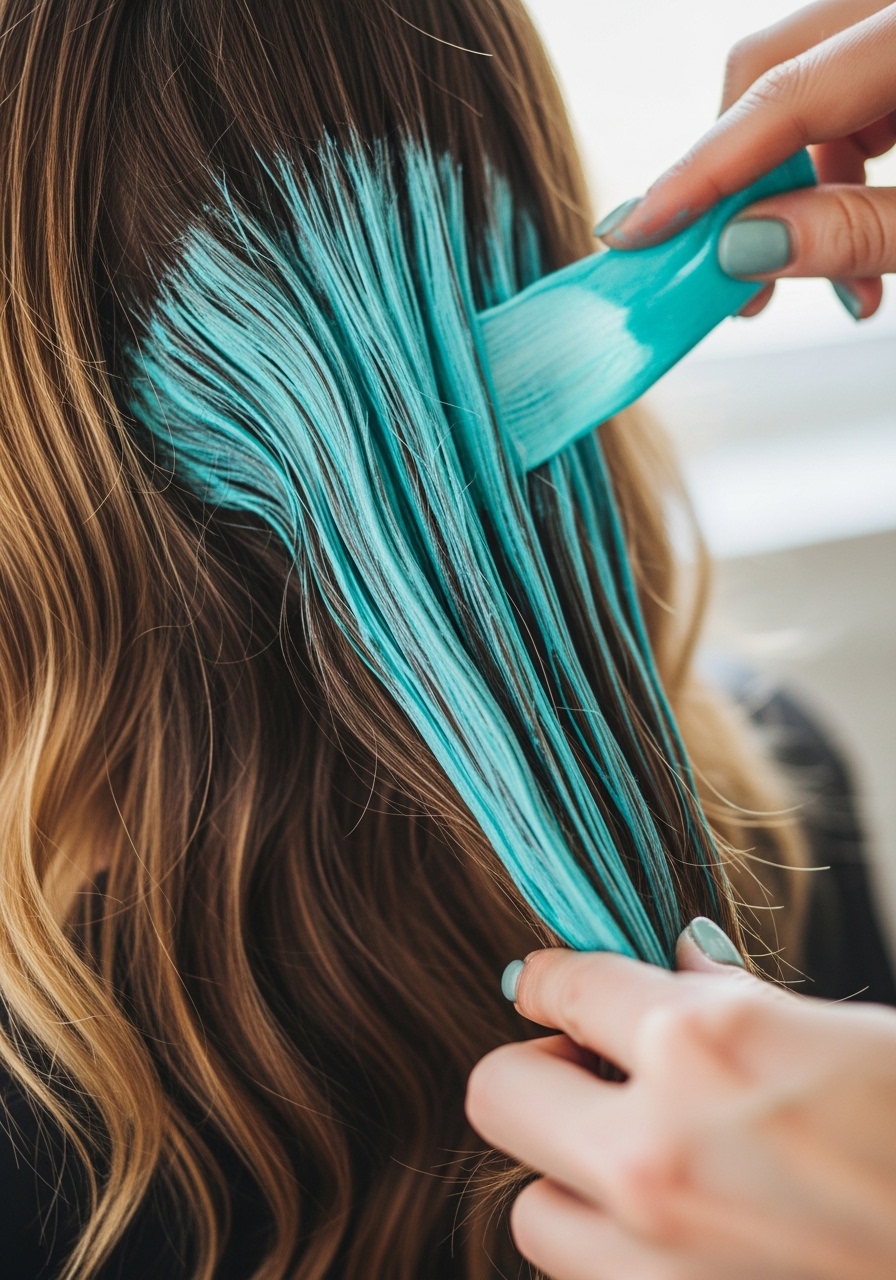
5. Turquoise Streaks with Temporary Hair Paint
I used temporary hair paint for party-ready turquoise streaks. I painted a few face-framing pieces and sealed them with a light spray. It lasted a wash or two and came off clean.
In real life this looks bold up close and subtle from afar. I used it when I wanted color for a weekend and didn’t want to commit. On humid days some feathering happened near my hairline, so I avoided rubbing it.
This is perfect for trying turquoise before any salon service. Bring your paint swatch to the salon so they match placement if you go permanent later.
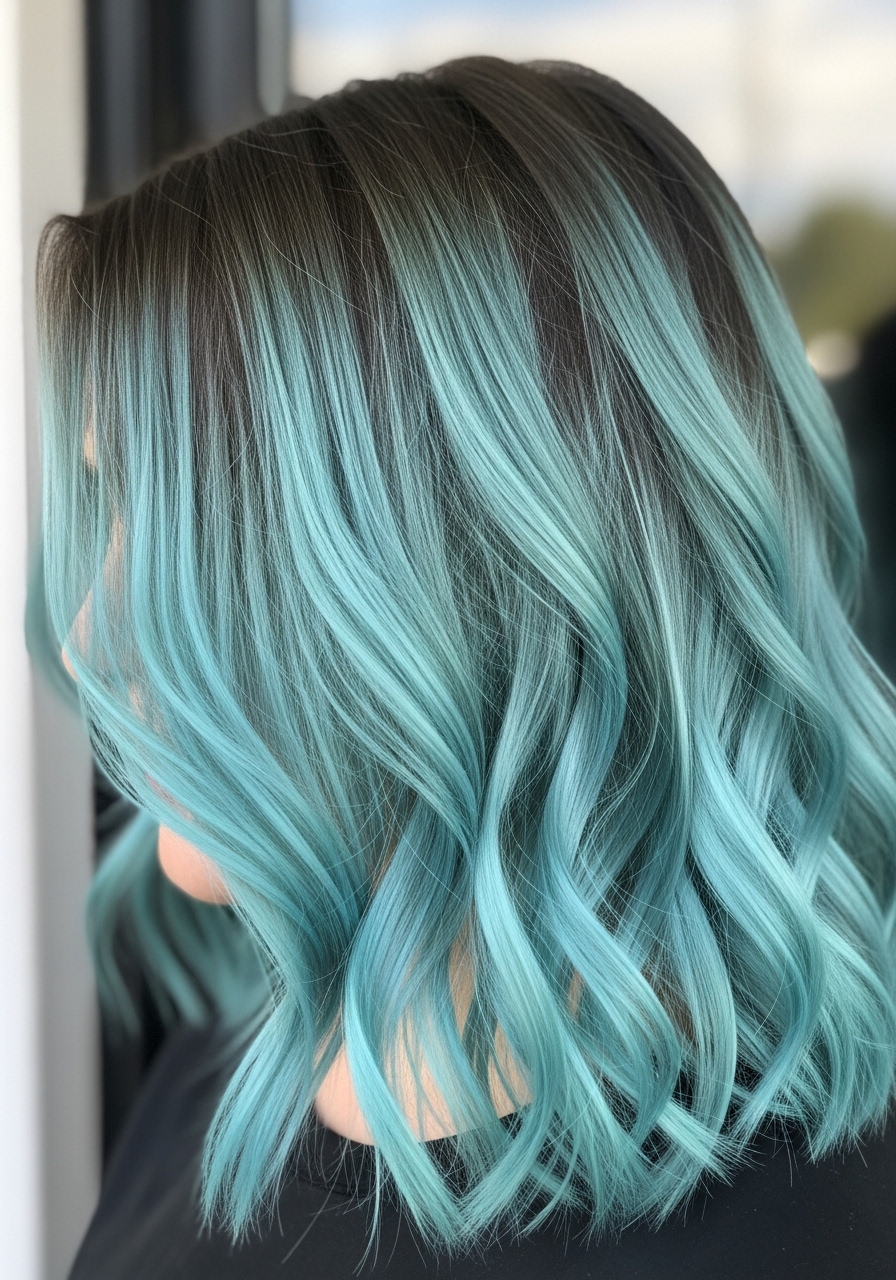
6. Turquoise Balayage Painted on Dark Hair (Low Lift)
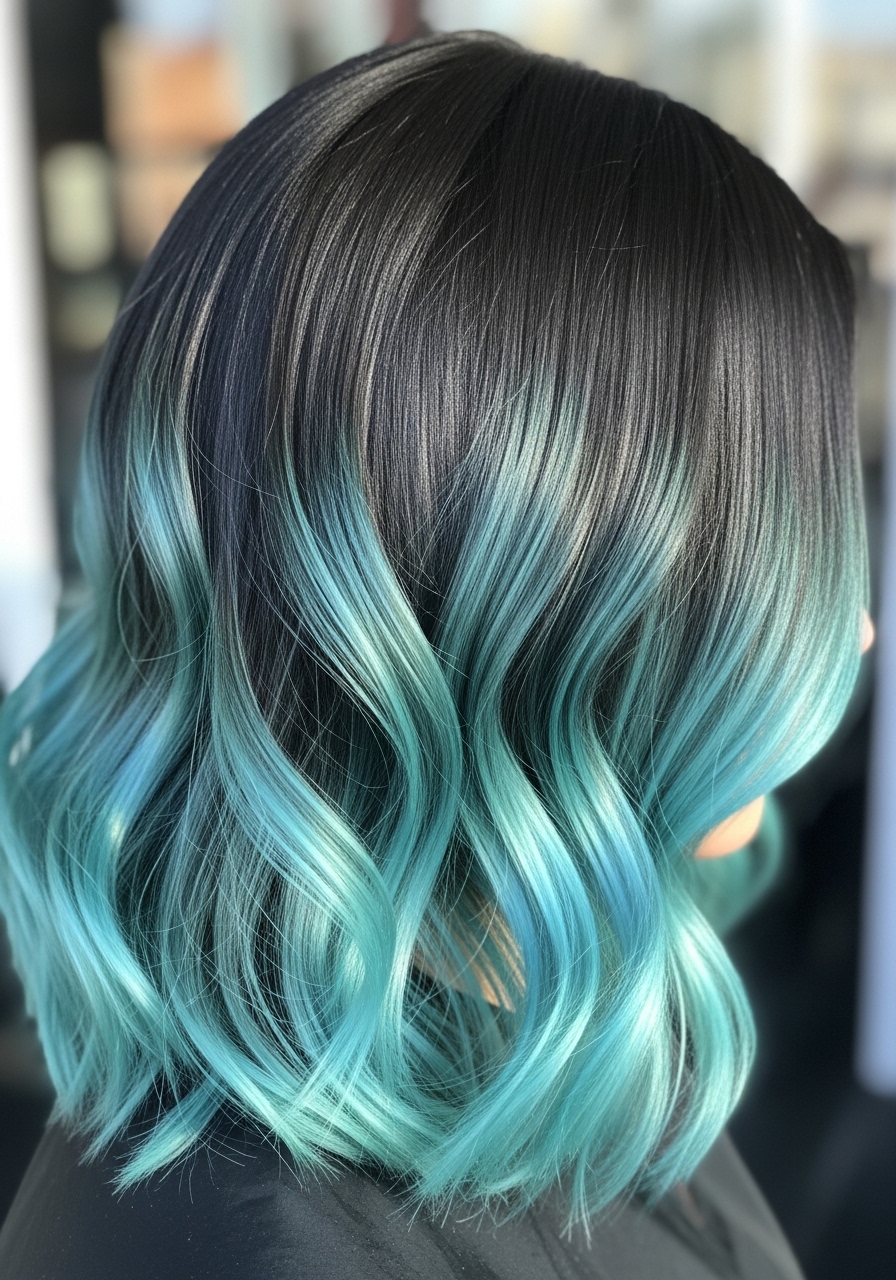
My dark-haired friend had balayage painted with a low-lift technique then toned turquoise over it. It wasn’t bright blue, but it gave a jewel tone shimmer that looked rich in dim light.
We made a mistake the first session by asking for too many pieces. It read patched. The second visit we focused on larger, softer pieces and it melted into her hair better.
This method needs patience. Ask for “bigger painted bands, lower saturation.” It reads wearable and lasts longer than all-over semi.
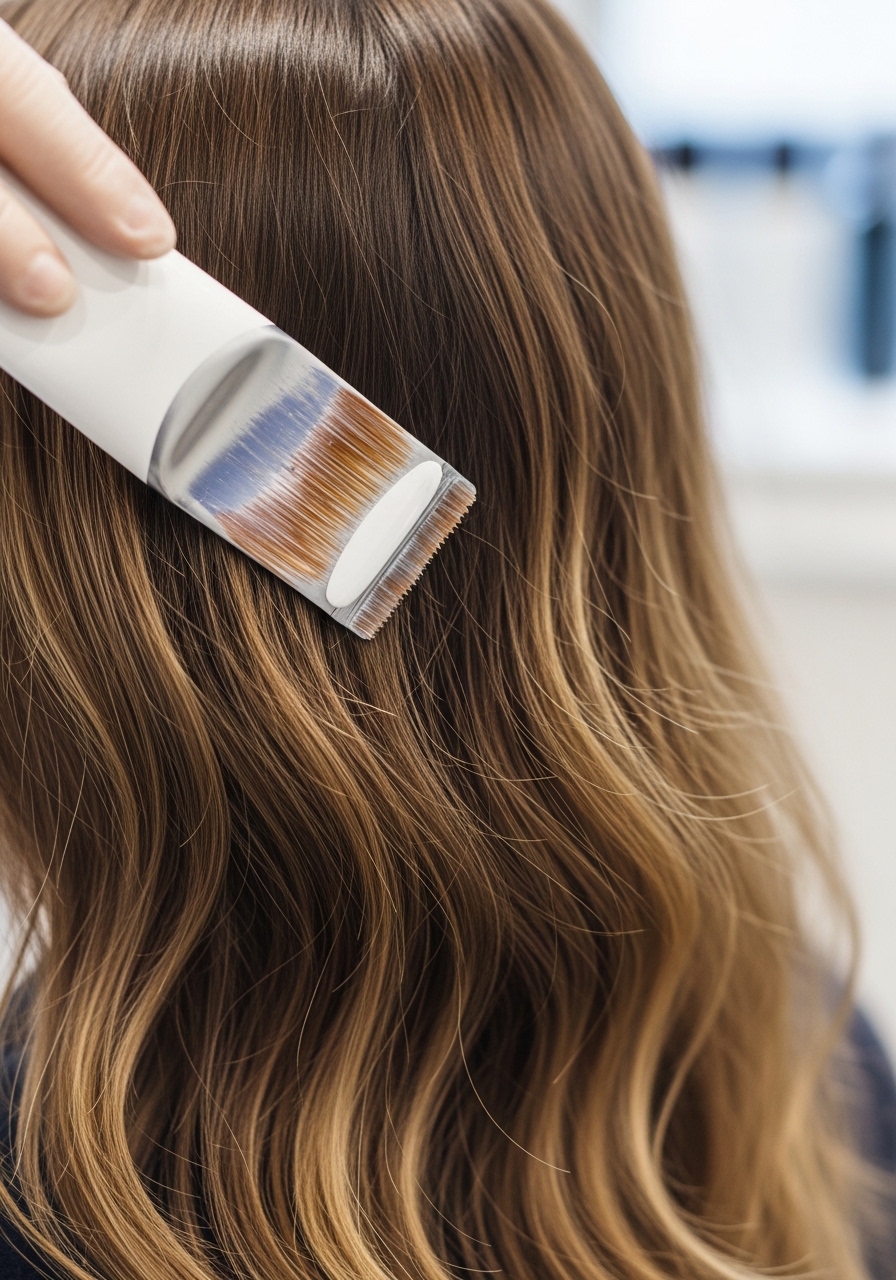
7. Turquoise Gloss Between Color Sessions
When my turquoise faded to sea-washed blue, my stylist used a turquoise gloss to revive it. I loved the quick boost. The gloss added shine and smoothed brassy bits without altering texture.
In daily wear the gloss softened the edges and made the color look fresh for two to three weeks. It’s a gentle nudge rather than a repaint. On thicker hair it sunk in well; on fine hair it felt light but visible.
Ask your stylist for a demi or gloss deposit. It’s the least scary refresher I’ve used between full colors.
8. Pastel Turquoise with Diluted Semi-Permanent Dye
I mixed semi-permanent turquoise with conditioner for a soft pastel. The first time I left it overnight and woke to a pillowcase faintly dyed. That taught me timing matters.
Once I stuck to 20 minutes the pastel came out even and soft. It gives a washed, vintage turquoise that survives a few shampoos. Real life: it fades into a cool mint, then into pale green.
This is my go-to when I want color that won’t shock. Tell your stylist you want “diluted pastel” so they don’t go full saturation.
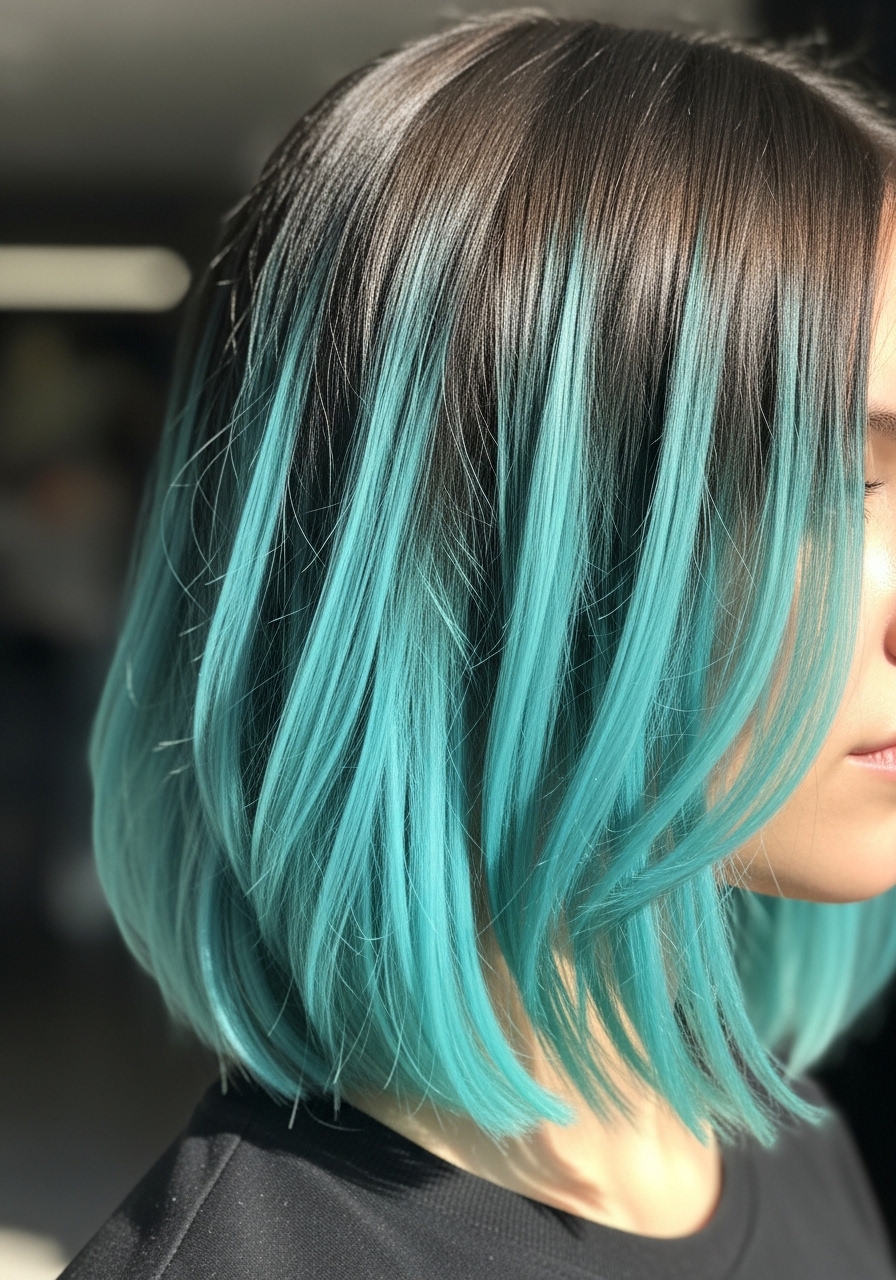
9. Turquoise Underlights That Peek Through

I had underlights dyed turquoise a while back. From the front it reads normal. When I tuck my hair or put it up, turquoise peeks through. I liked the element of surprise.
In reality the underlights fade slower because they’re protected from sun and shampoo. They held a jewel tone for weeks. On coarse hair the color looked denser. On fine hair it felt airy.
If you want something discreet, ask for underlights low at the nape. My stylist suggested smaller sections so it never looked overwhelming.
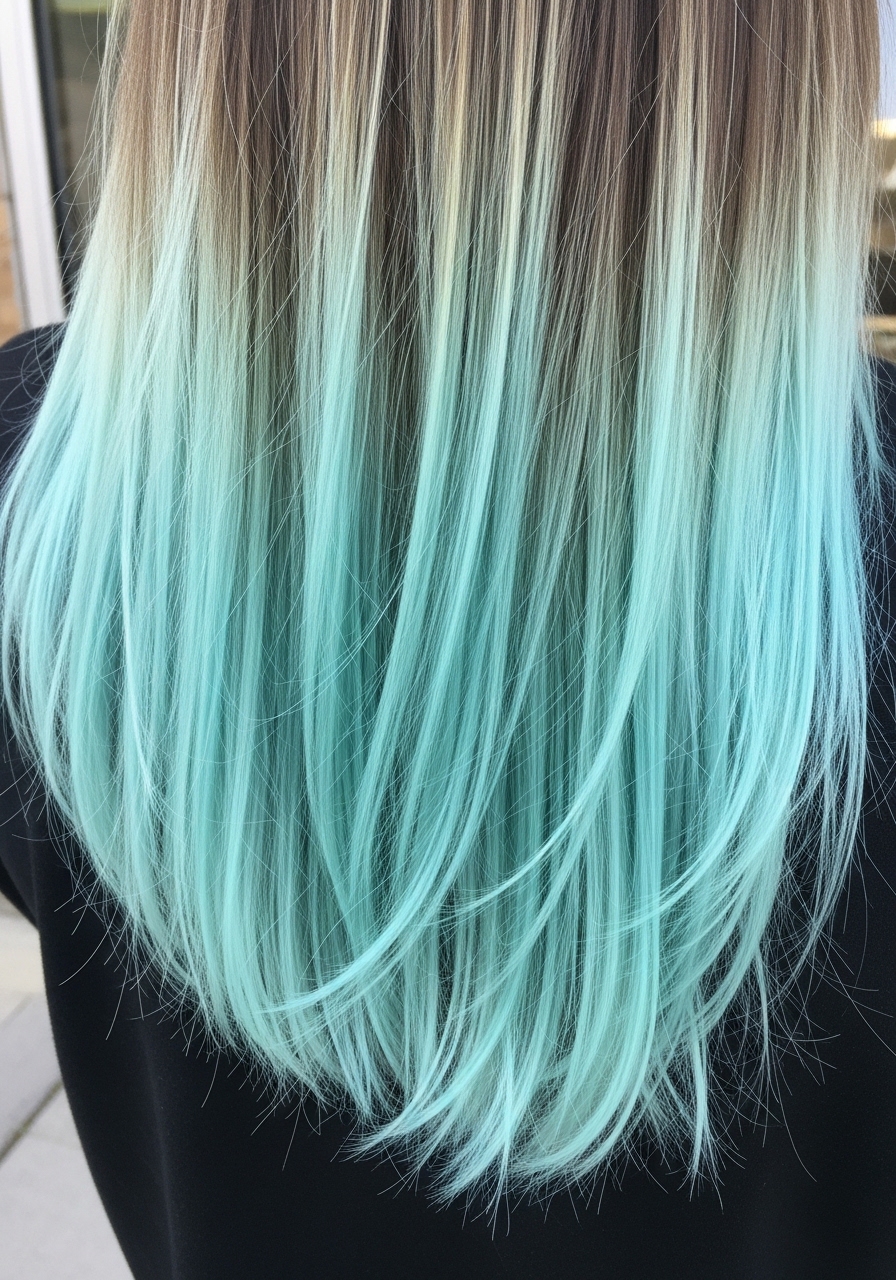
10. Turquoise Color Melts on Previously Lightened Layers
I once asked for a color melt starting with my natural root and ending in turquoise. We used existing lightened layers and dropped the turquoise into the mid-lengths. The first attempt looked too banded because we didn’t blend enough.
We fixed it by softening the transition and adding tiny feathered strokes. In daily life it moves like a soft ombré. On thick hair the melt reads dimensional; on thin hair it needs more blended strokes.
Tell your stylist “soft melt with feathered blending” and expect a two-step session for best results.
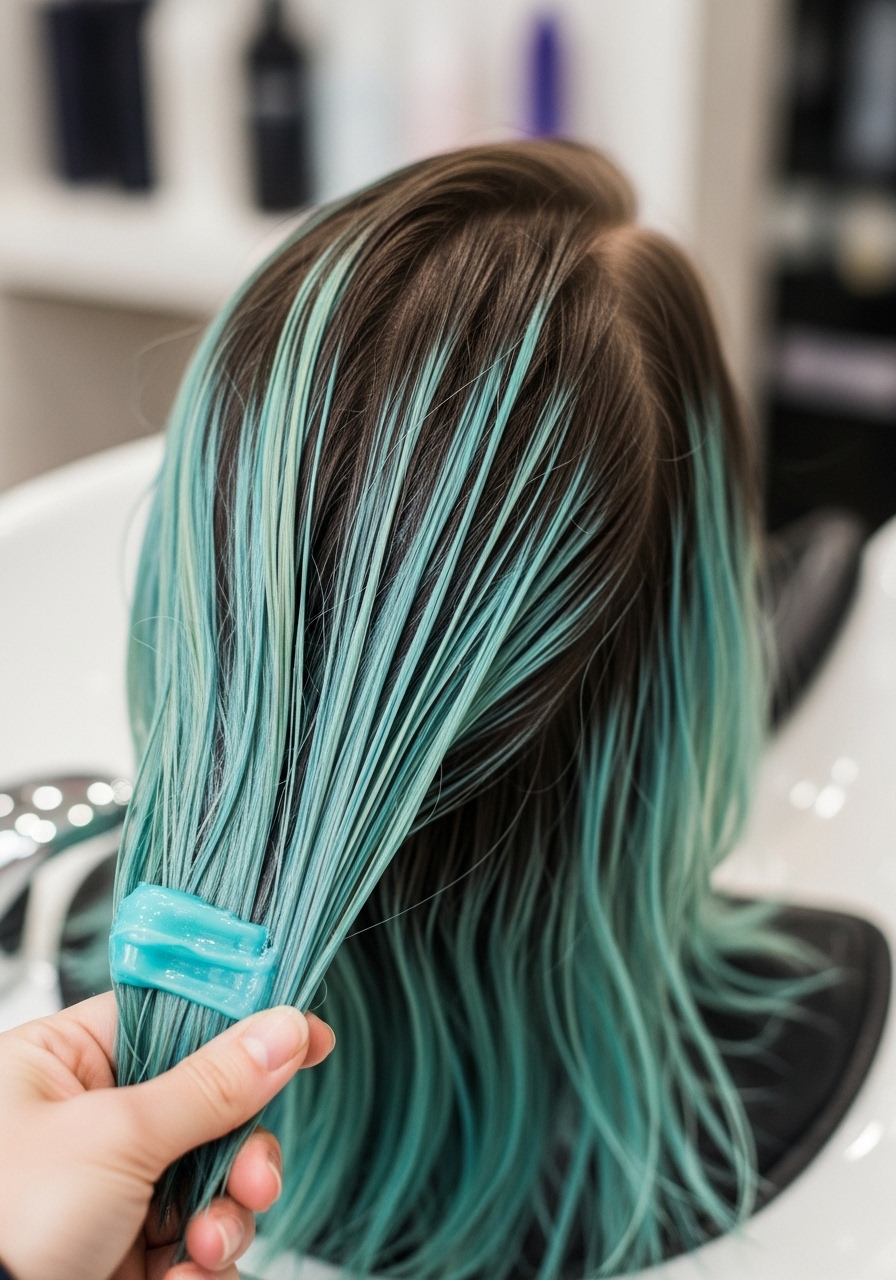
11. Turquoise Toner After Gentle Color Removal
I used a color remover to lift old artificial dye, not bleach. After that gentle removal, my hair accepted a turquoise toner beautifully. It felt less invasive than a full bleach session.
Real life: the remover can be patchy if hair was previously heavily colored, so expect a corrective tone afterward. My hair needed a protein treatment first to avoid gummy porosity.
If your hair has old dye, ask your stylist for “color removal then toner” instead of bleach. It’s slower but kinder to the hair.
12. Clip-In Turquoise Extensions for Zero Commitment

I keep a set of turquoise clip-ins for when I want instant color. I clip in a few pieces around my face and they look surprisingly natural when brushed through. No dye, no risk.
In real life they save me when my roots look dull or when I want a weekend of color. They do need syncing—the shade and texture must match your hair. My first pair was too shiny and looked fake. I swapped for matte human-hair wefts.
These are perfect if you want to try turquoise without altering your hair. Buy good-quality clips and blend the edges.