
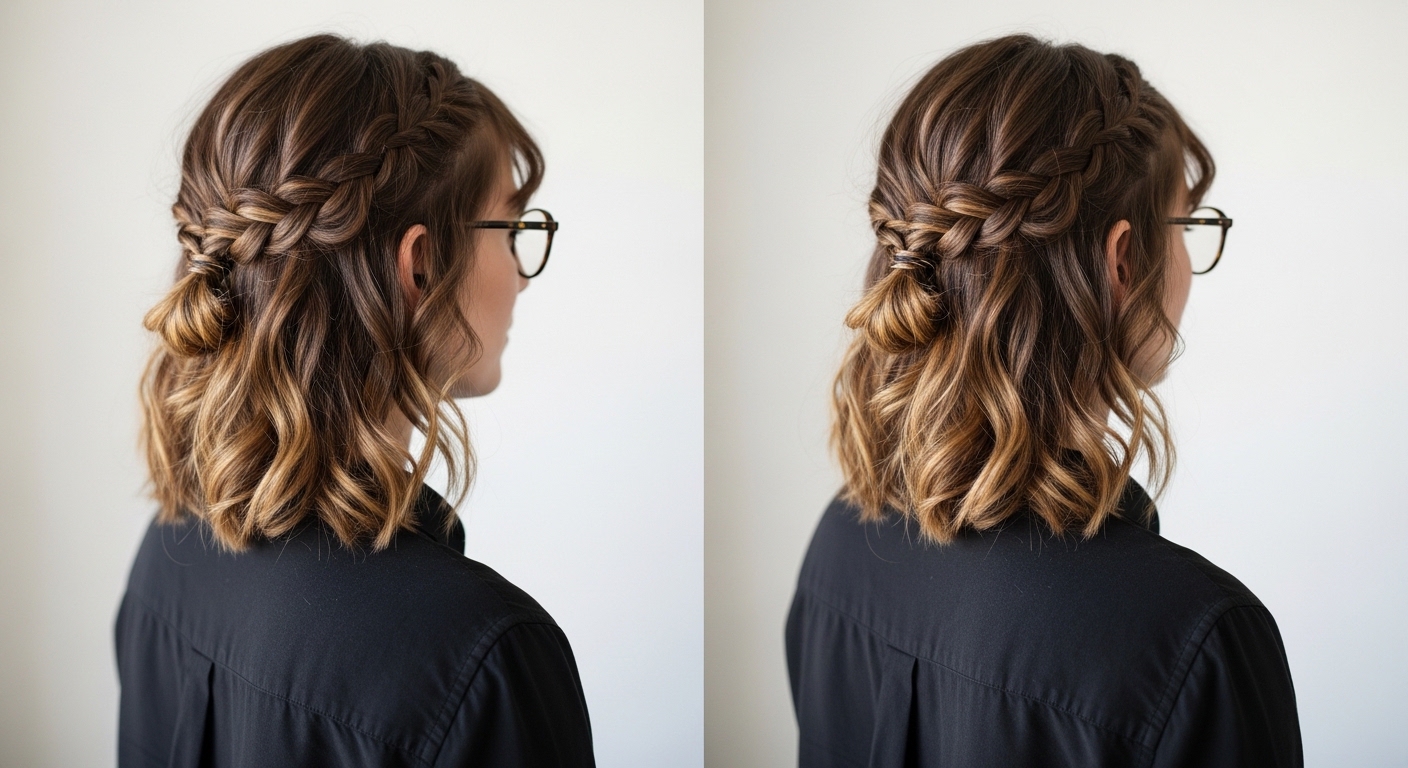
I kept fighting my natural waves for years. I tried straightening, chopping, and copying glossy salon photos that never lasted past my commute.
One day I started braiding just the top and leaving the rest free. It felt easier, and honestly, more like me.
12 Cute Easy Half Up Half Down Braids Tutorial
These 12 easy half up half down braids tutorial ideas are styles I’ve actually worn. They’re simple, realistic, and designed for different textures and lengths. I’ll tell you what worked, what fell flat, and one clear thing to ask your stylist. Exactly 12 practical ideas are below.
1. Simple Crown Half-Up Braid
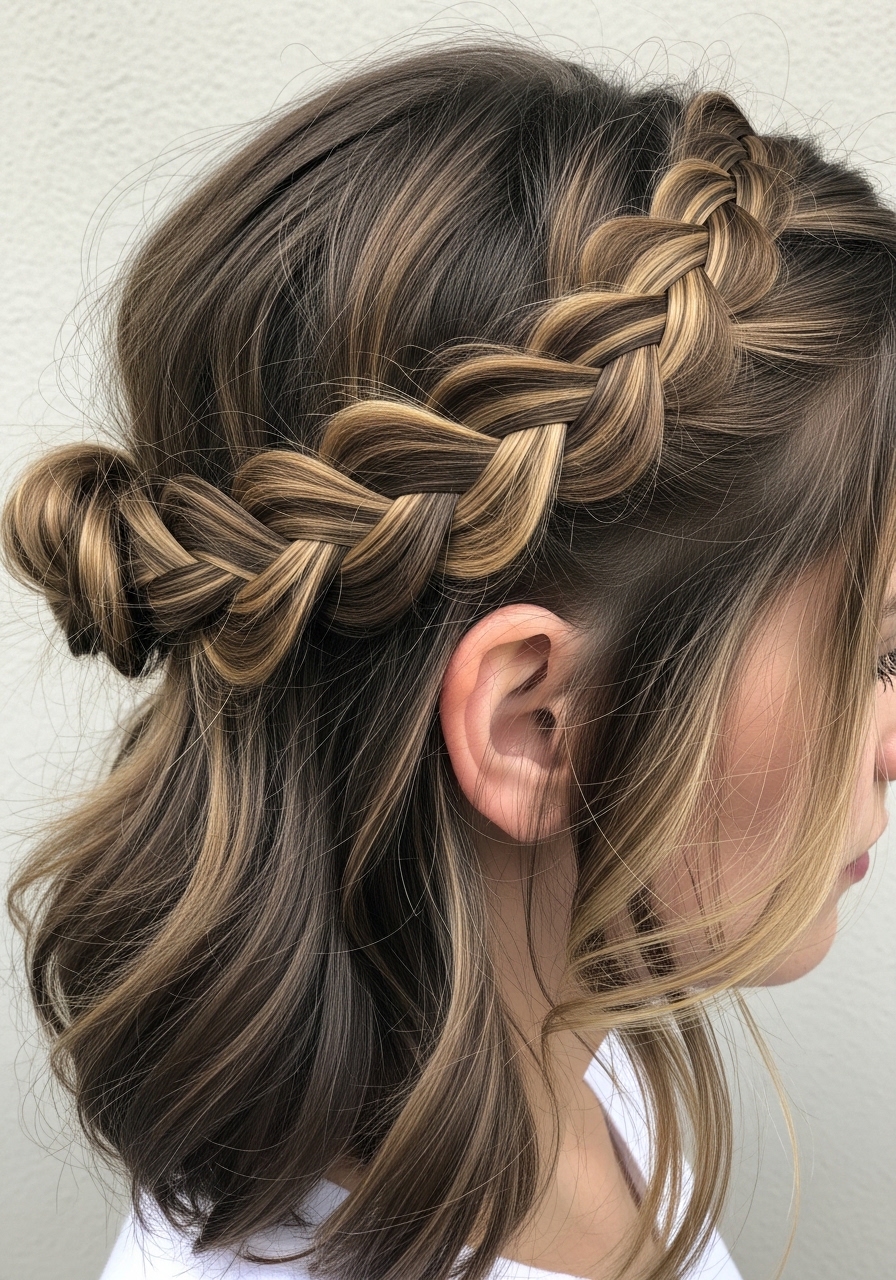
I asked my stylist for a low crown braid I could do in five minutes. It looked neat in the mirror but loosened by lunchtime. My hair is thick and holds shape well, but the braid softens as the day goes on.
In real life it sits like a worn ribbon across the top of my head. It’s flattering on oval and long faces. For fine hair, gently backcomb the roots first.
Tip: use three small bobby pins at the ends, hidden under hair. If it loosens, tug gently at braid loops to fake volume instead of redoing the whole thing.
2. Twisted Rope Half-Up with Braid Accent
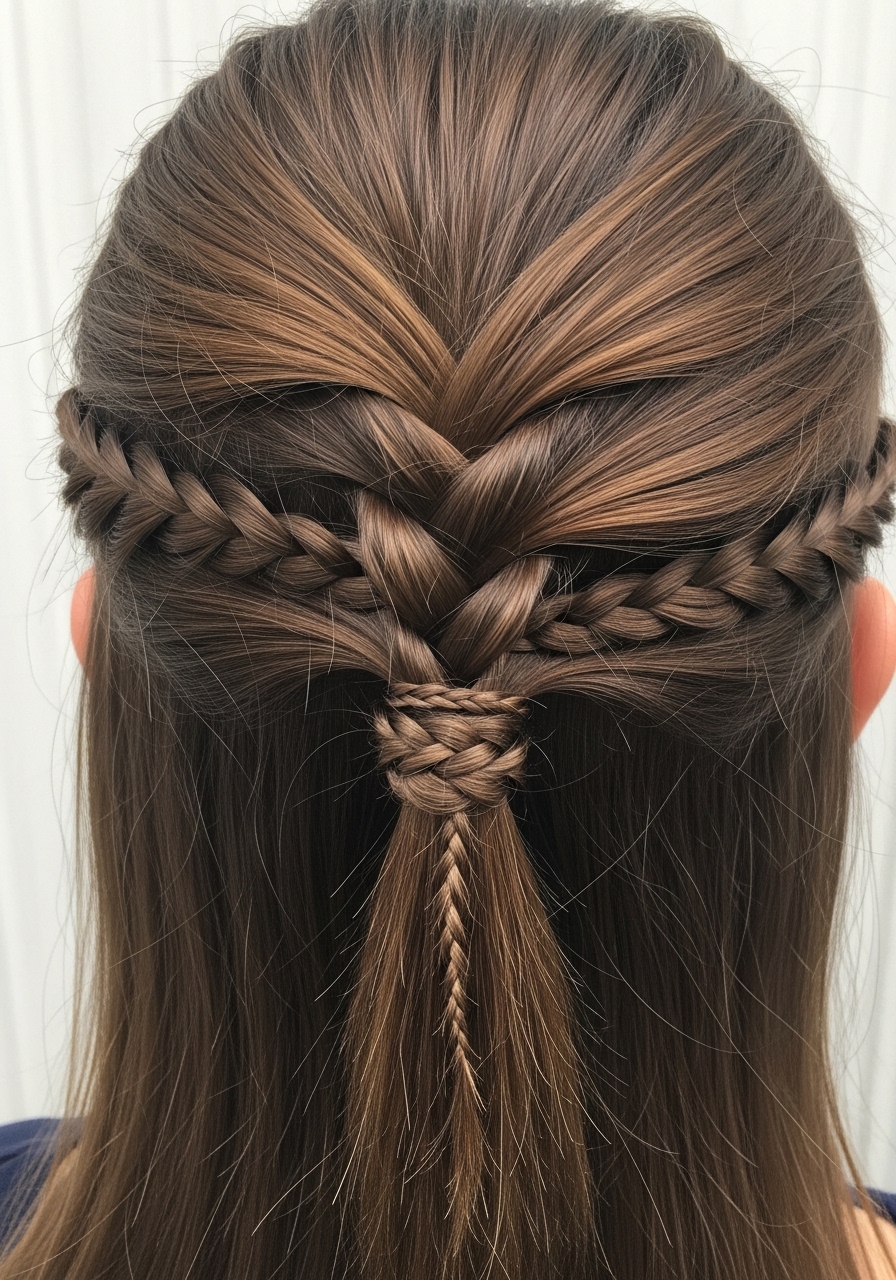
I started twisting sections instead of pulling full braids. The rope twist looks cleaner with a tiny braid tucked under. I messed up the first time by grabbing uneven sections and it looked lopsided.
On second-day hair it grips better. It’s great for straight or slightly wavy hair. If your hair is layered, the shorter pieces will stick out — which I learned the hard way.
Actionable tip: twist each side away from your face and secure with a clear elastic. Hide the elastic with the small braid wrapped around it. That little concealment makes it look salon-ready.
3. Loose Dutch Half-Up Braid
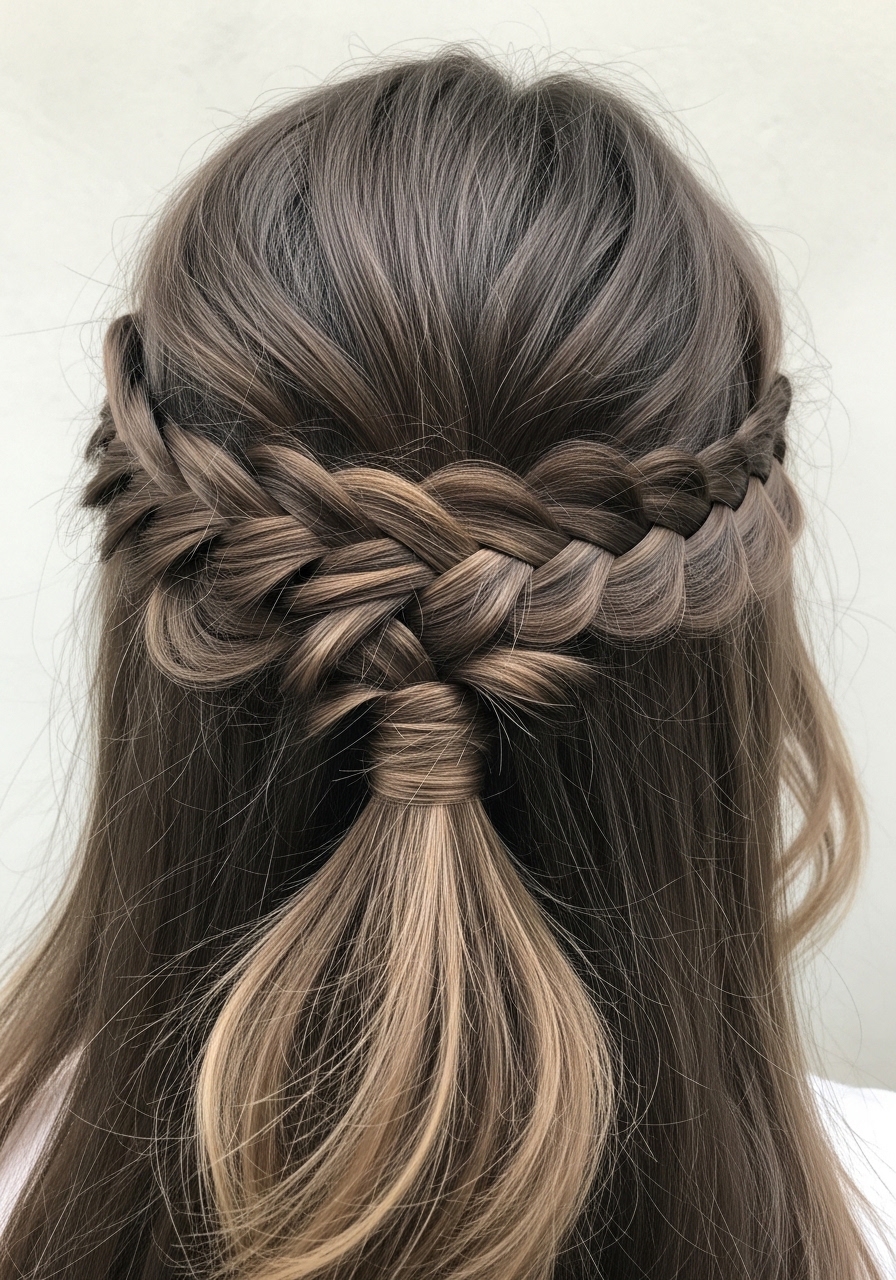
The first time I tried a Dutch braid I pulled too tight. It looked stiff and juvenile. When I loosened it, the braid became soft and low-maintenance. My thick hair loves the weight and the braid flattens slightly as the day goes on.
It’s roomy on thick or coarse hair and gives fine hair the illusion of more body if you pancake the braid gently. Works best on shoulder-length and longer.
Tip: start the braid at the temples and stop halfway down. Tug each braid segment slightly to create that relaxed, lived-in look. Use dry shampoo at roots for hold.
4. Two Mini Boxer-Style Half-Up Braids
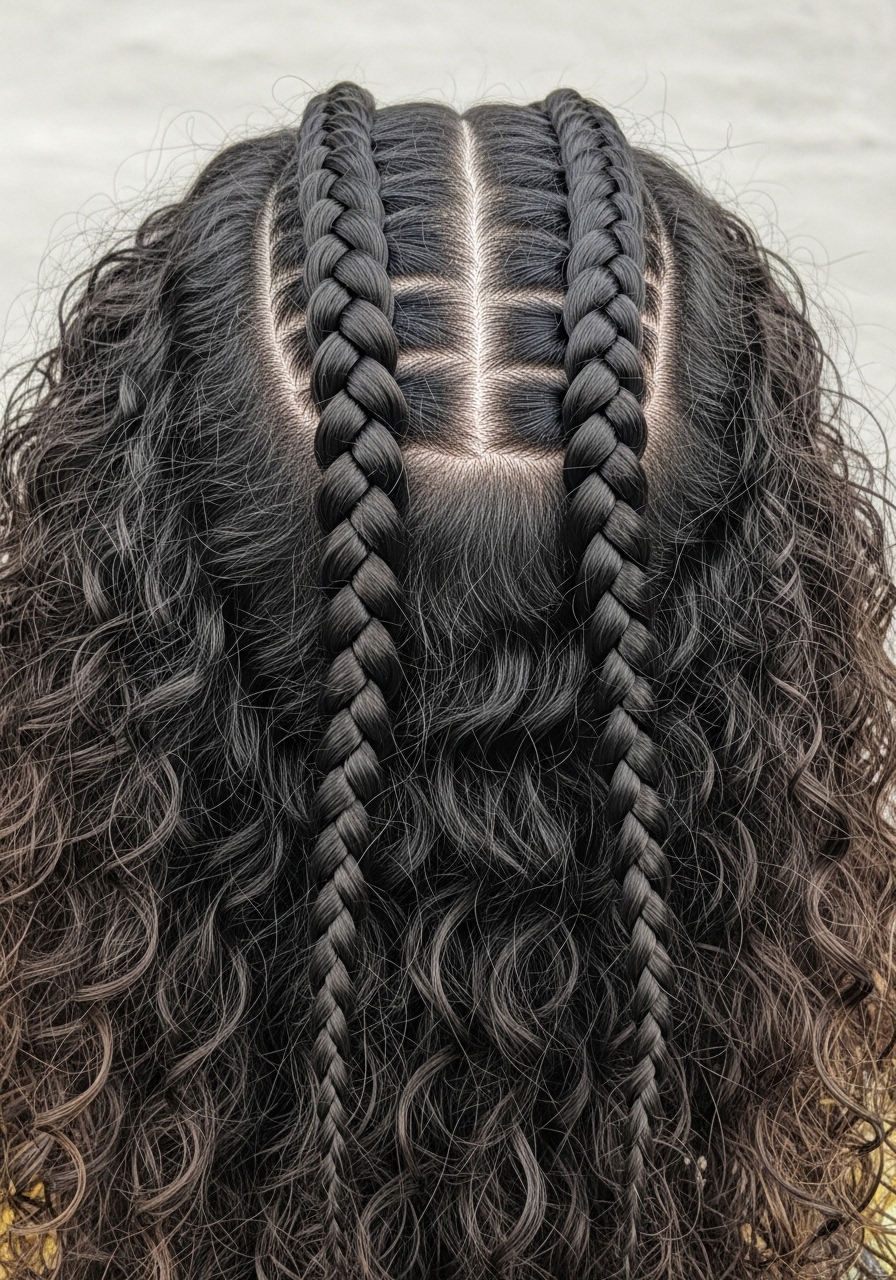
I tried full boxer braids once and regretted the time it took. Mini boxer braids give the same edge without the commitment. My mistake was making them too tight — my scalp protested for a day.
They sit well on curly and coily textures because the hair grips and holds. On straight hair you’ll need product to stop slipping. They’re gym-friendly and still look cute with jeans.
Actionable tip: braid only the top inch to two inches of hair on each side. Finish with tiny elastics and fluff the roots. Tell your stylist to leave short pieces around your face if you want softness.
5. Face-Framing Small Braid with Loose Waves
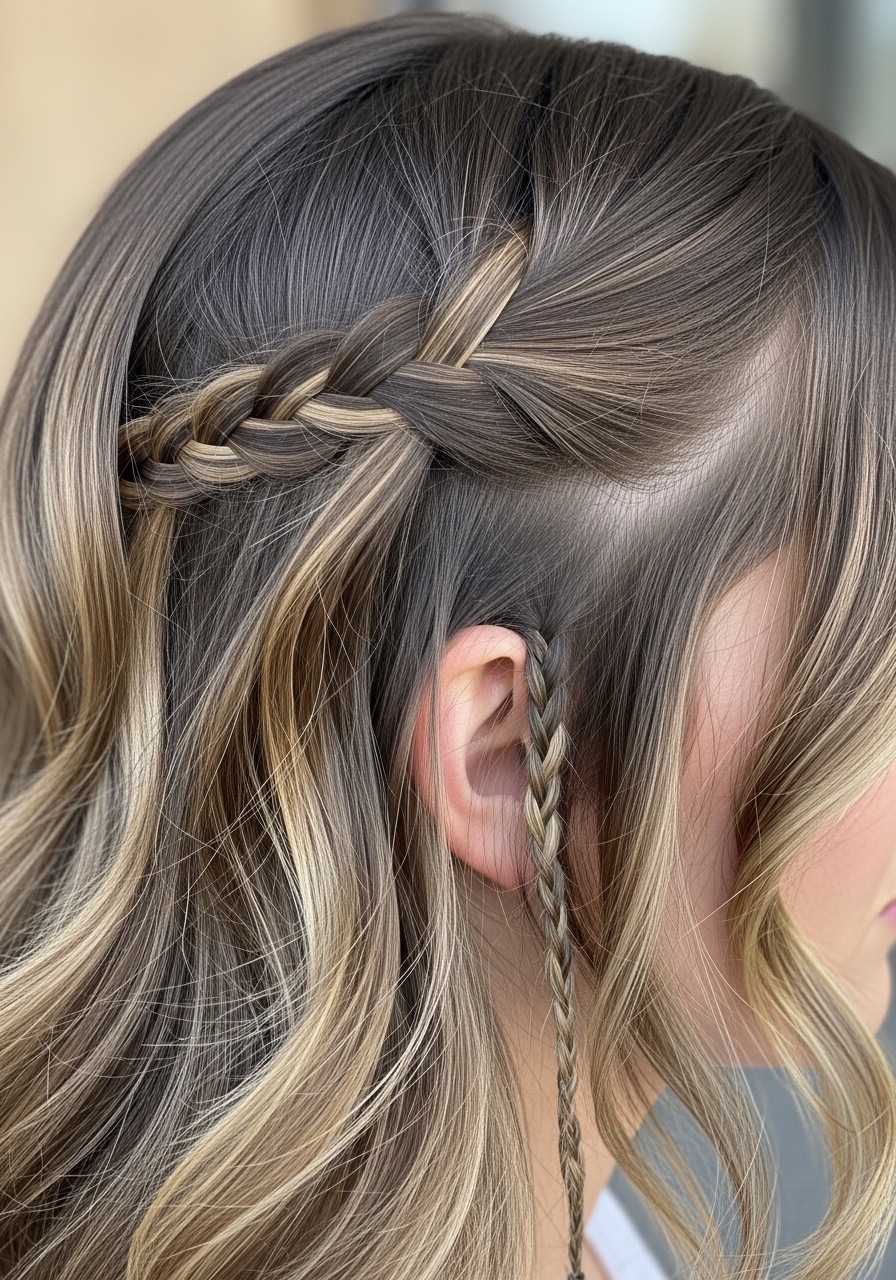
I like the tiny braids because they don’t fight my waves. I braid a slim section near the face and pin it back. At first I over-crimped the ends to make them hold and it looked stiff.
Now I braid on second-day waves and leave the rest soft. It flatters round and heart-shaped faces. Fine hair will need a little texturizer to keep the braid visible.
Tip: keep the braid thin and secure with a bobby pin behind the ear. If you want more hold, spray the braid lightly and scrunch the rest of your hair for cohesion.
6. Messy Fishtail Half-Up Braid
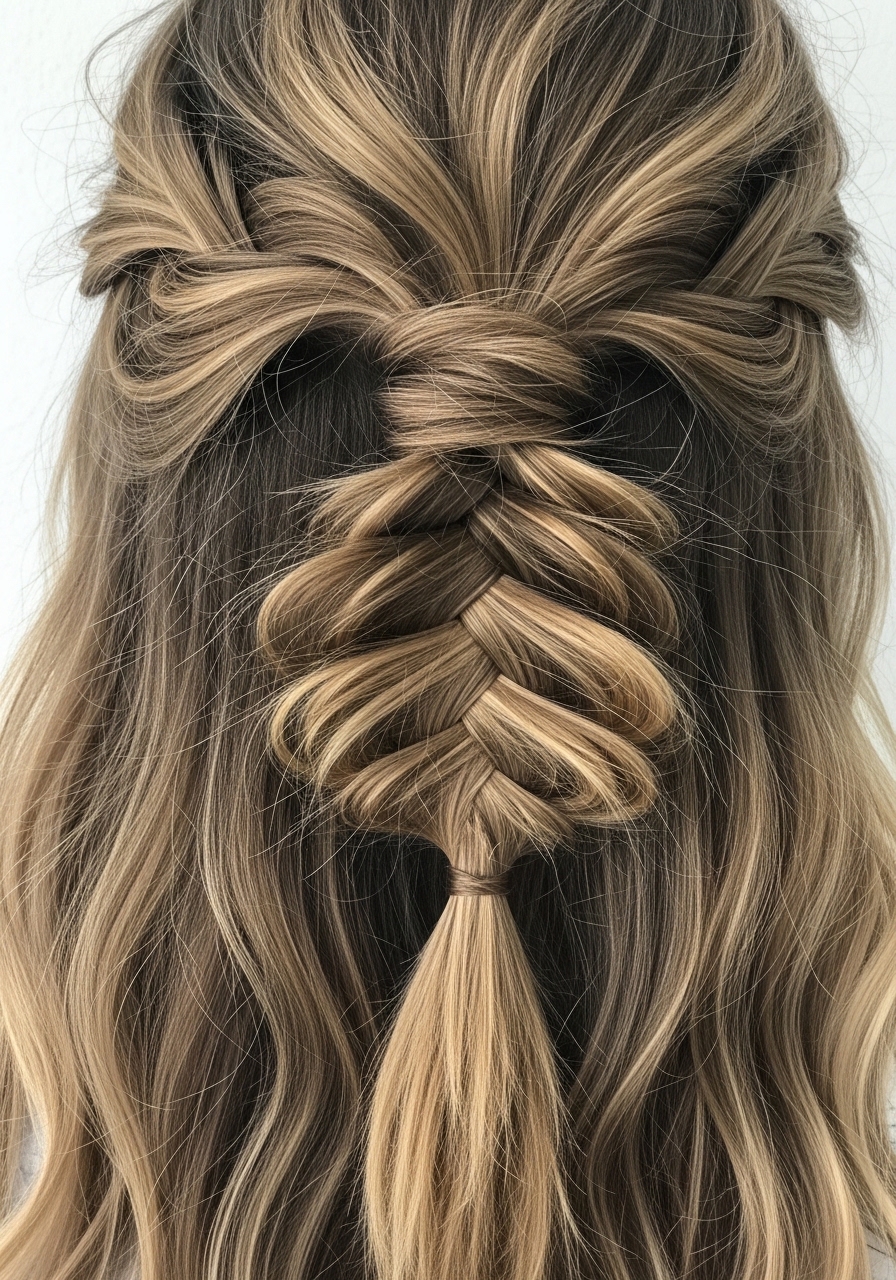
My first fishtail was so tight I lost the casual look. I learned to make it deliberately messy. I pull pieces out to broaden the fishtail and it suddenly matches my lived-in waves.
This style behaves well in humidity because the loose weave hides frizz. It works on thick and medium hair. On thin hair, pancake the fishtail to fake thickness.
Actionable tip: split the section into two and cross small pieces slowly. Stop halfway and tie. Don’t oversecure—use two pins at the base and let the braid breathe.
7. Boho Side Braid Half-Up
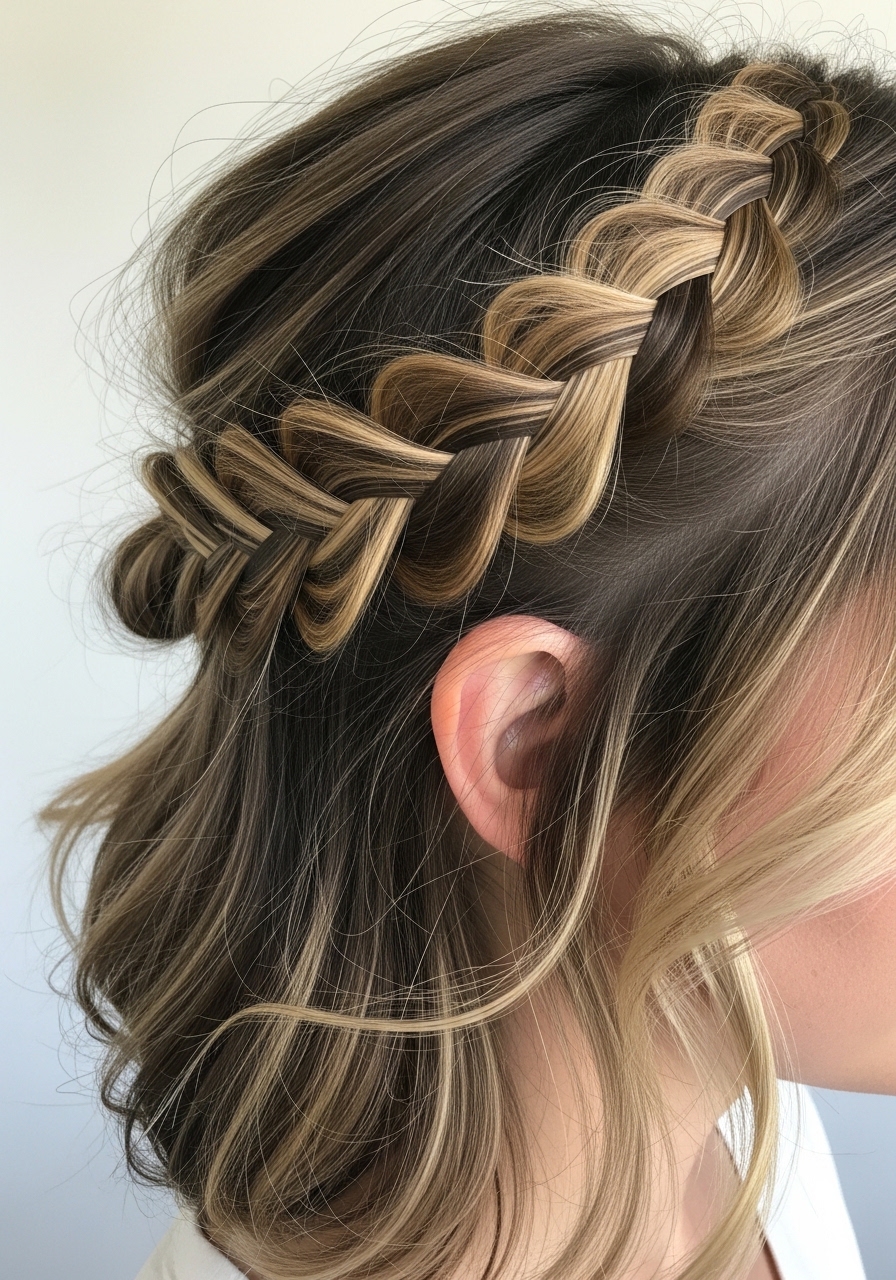
I love a sloppy side braid for lazy weekends. I pull a chunk from one side, braid it loosely, and pin. The first time I tried I pinned it too high and it felt awkward.
It sits better low and near the ear. Great for wavy and medium textures. If you have long layers, they’ll tuck or peek out for that effortless vibe.
Tip: use a small elastic and then cover it with a strand of hair. If it starts to fall, add one discreet bobby pin behind the ear. Ask your stylist for long face-framing layers if you want movement.
8. French Half-Halo Braid
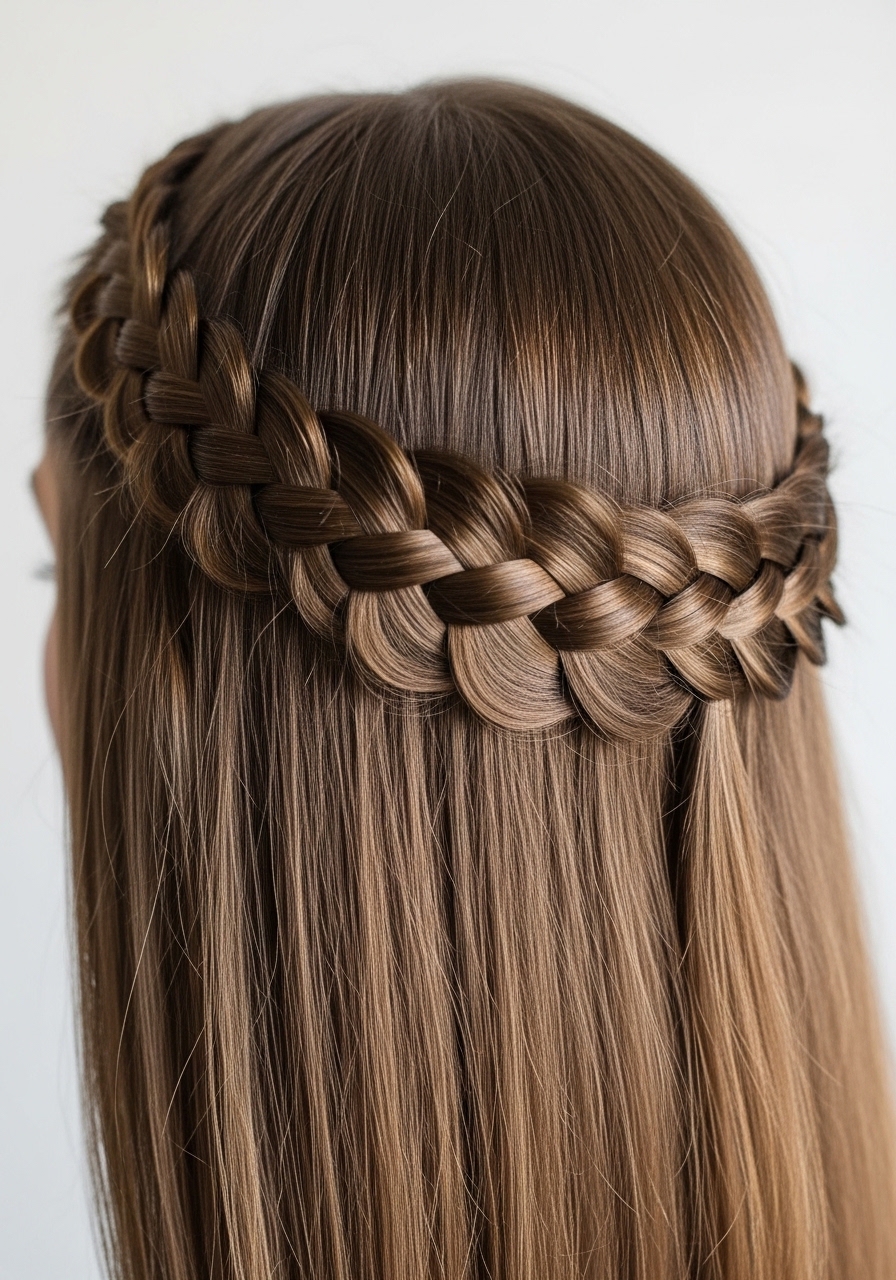
I attempted a full halo once and gave up. The half-halo felt doable. My mistake was starting too close to the part; that made the braid tight and flat.
When I relaxed the start point slightly further from my part it sat naturally. This looks polished on straight and wavy hair. Thick hair gives it weight; fine hair needs backcombing to hold the braid.
Tip: braid along the hairline and stop at the crown. Pin under the hair. Tell your stylist to keep the top layers a touch longer so the braid has length to grab.
9. Double Tiny Braids Pinned Half-Up
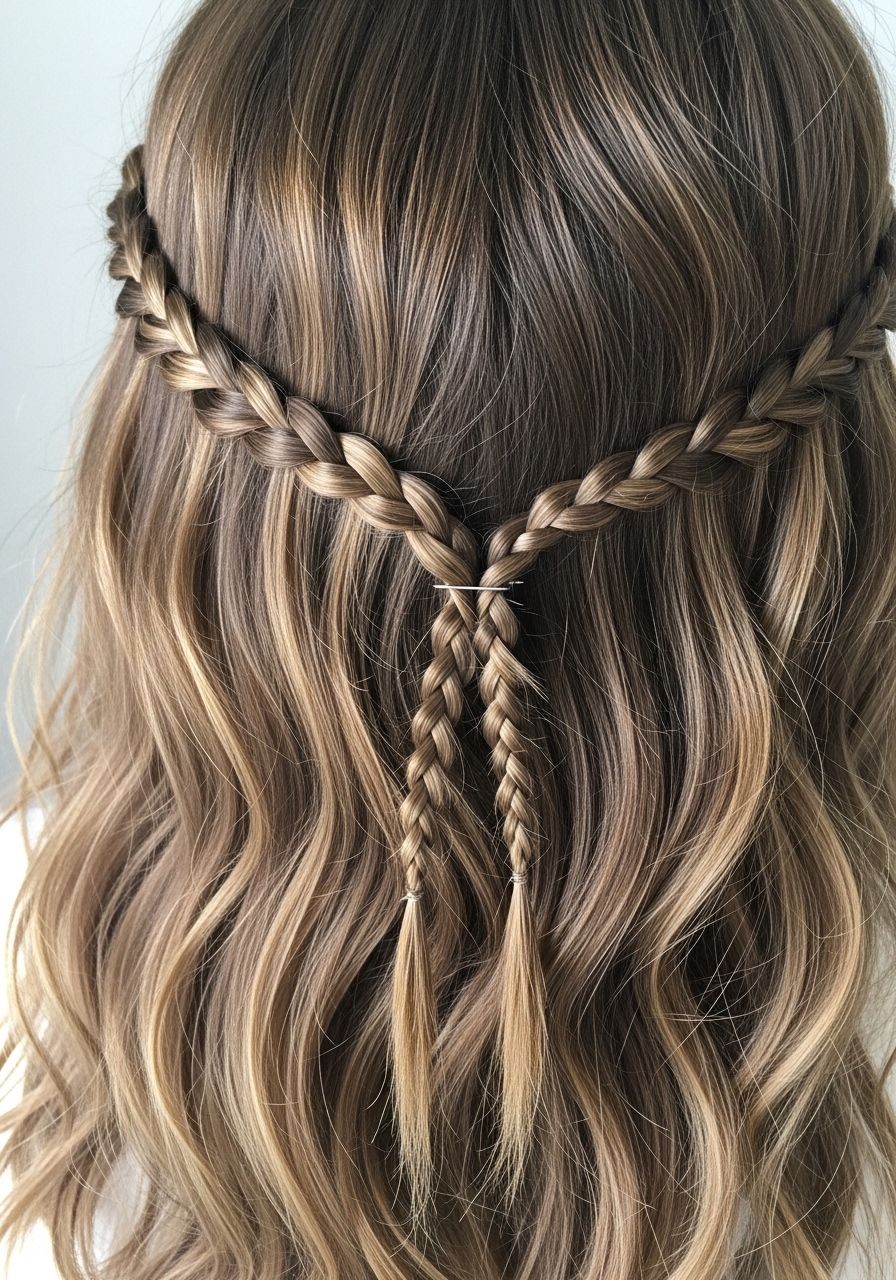
I started doing two tiny braids on each side as a quick detail. It’s low effort and still interesting. They can vanish in thick hair if not pulled slightly apart.
I use them when I want something fuss-free but not plain. Works on all textures but really pops on layered hair. The braids loosen a bit overnight and look better on day two.
Practical tip: braid small sections and pin them across the back. Use matte bobby pins to avoid shine. If you want more hold, add a dab of wax to the braid roots.
10. Asymmetrical Side Half-Up Braid Sweep
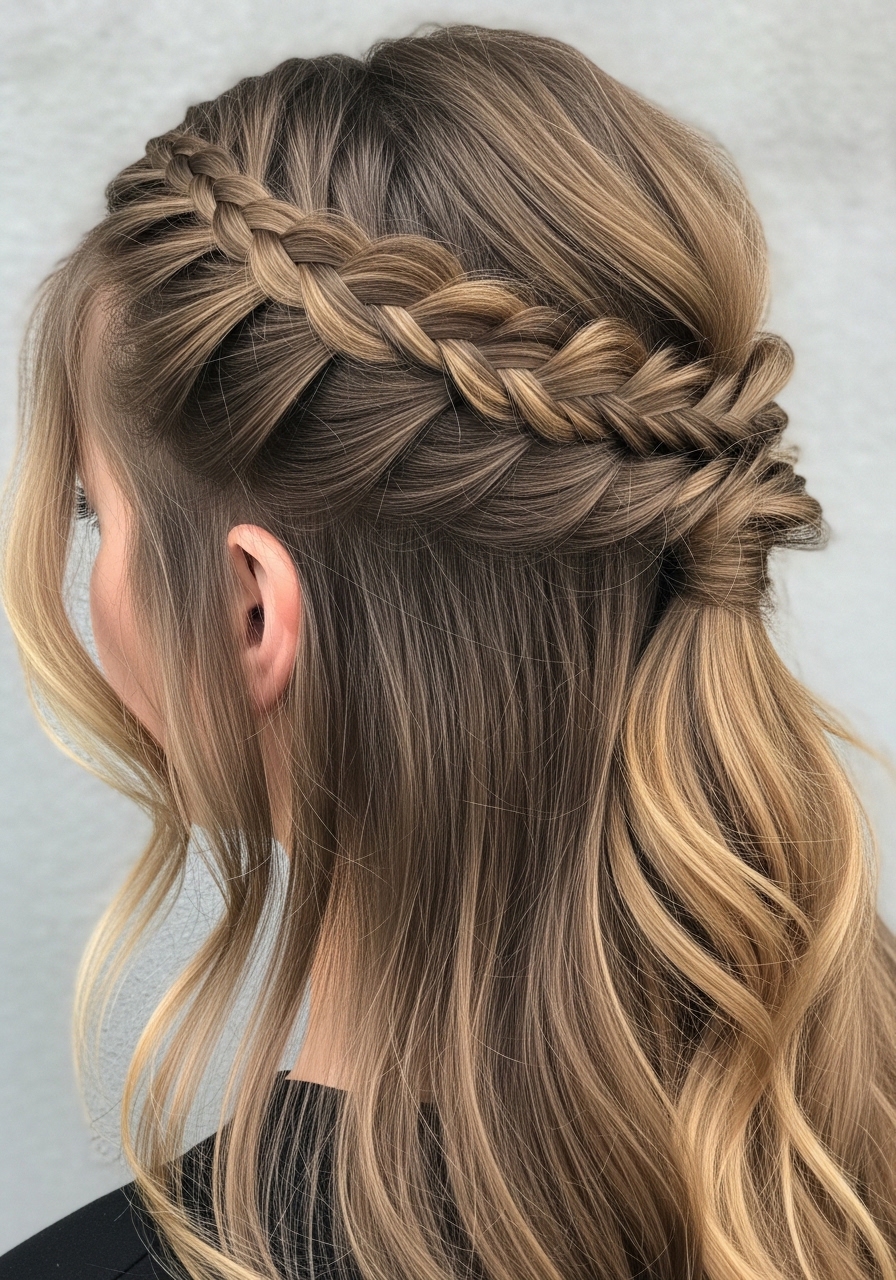
I wanted something that read editorial but still wearable. I swept a braid from one temple to the opposite side and pinned it low. At first I pinned it too tight and it pulled my hair oddly.
Loosening the pin changed everything. This suits long, layered hair best. It keeps hair out of your face while staying soft. Straight hair shows the shape more; waves soften it.
Actionable tip: braid with slightly larger sections to avoid a fragile look. Pin where the braid meets loose hair and tuck the end under a chunk for invisibility.
11. Bubble Braid Half-Up Section
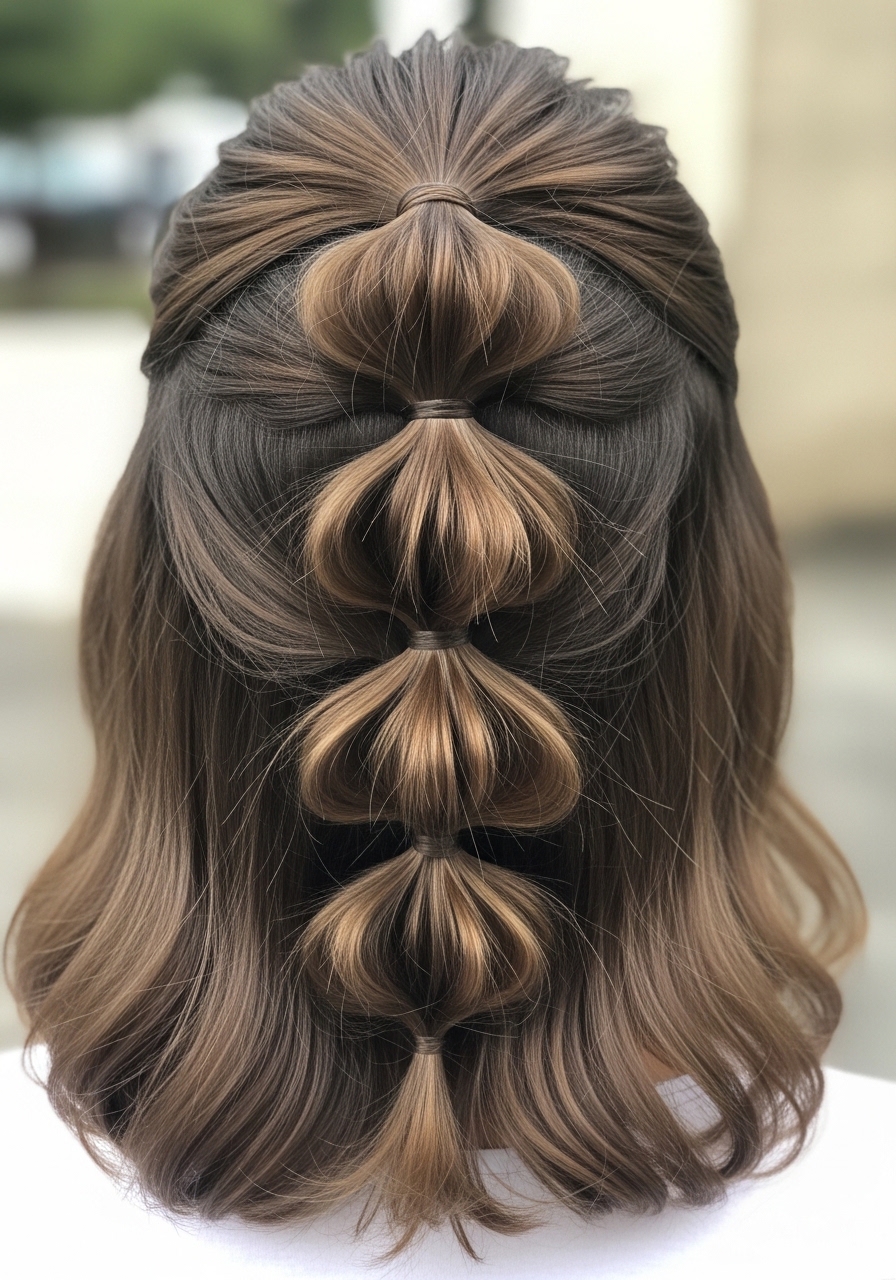
I tried a bubble braid for a change and liked the playfulness. I sectioned the top half, tied three small bubbles, and let the rest hang. My first bubble was too tight and left indentations.
Now I make them loose so they read as rounded, not compressed. This feels modern on thick or coarse hair. Fine hair needs teasing between elastics for real bubble shape.
Tip: use clear elastics and tug each bubble outward to round it. If you want, wrap a thin strand of hair around the bottom elastic for a neat finish. It’s quick and keeps drama low.
12. Ribbon-Threaded Half-Up Braid
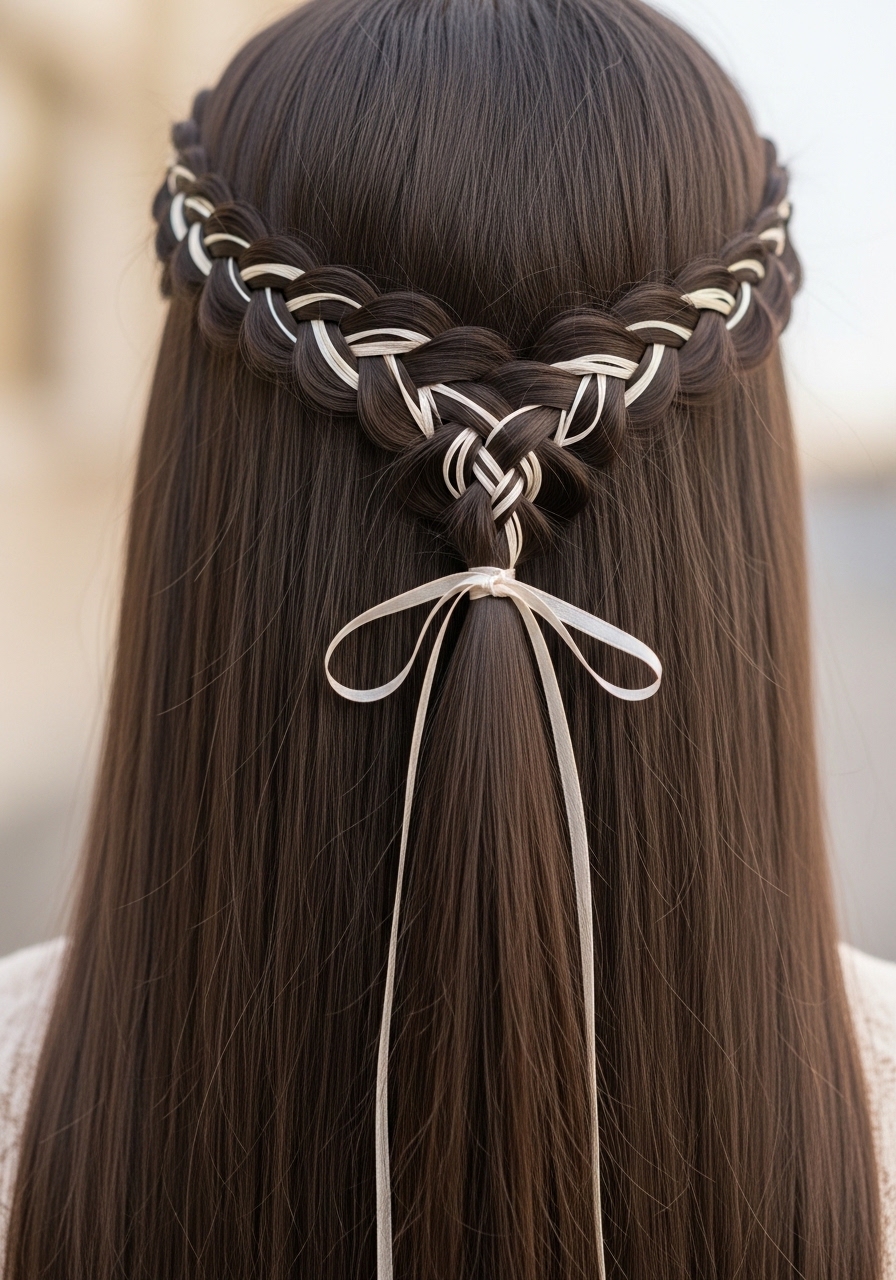
I threaded a ribbon through a half-up braid for a brunch. It felt charming and easy. My mistake was using a slippery satin ribbon that slid out by the afternoon.
Switching to grosgrain fixed that. This approach flatters medium and long hair. On curly hair, pick a slightly thicker ribbon so it stays visible against texture.
Actionable tip: weave the ribbon in as you braid and secure the end with a knot under the hair. Tell your stylist to keep the top section long enough to braid with a ribbon without pulling too much from the face.