7 DIY Pixie Haircut Tutorials That Save You Time and Salon Cash
If you’re considering a pixie haircut, why not take the plunge and do it yourself? With these 7 DIY tutorials, you’ll learn how to create everything from a classic pixie to a trendy textured style. Each guide breaks down the process into manageable steps, making it easier than ever to achieve that fresh look at home. Ready to save some cash and time? Let’s explore these techniques that can transform your hair.
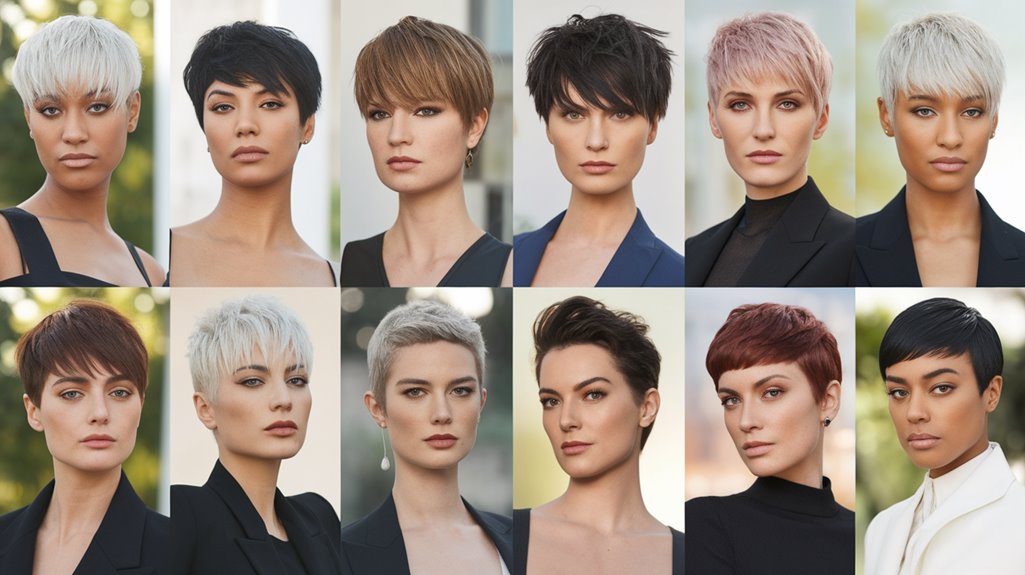
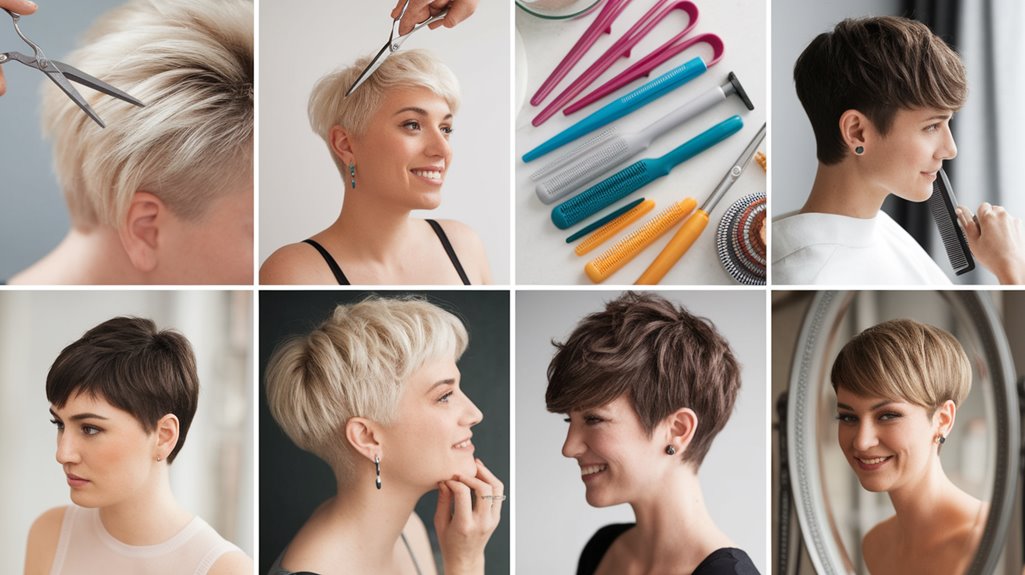
Classic Pixie Cut Tutorial

If you’re ready to embrace a bold new look, the classic pixie cut is a fantastic choice that can transform your style with ease.
To achieve this timeless cut, start by sectioning your hair into manageable parts. Use sharp scissors to trim the back and sides, keeping it short while maintaining length on top for versatility.
For classic styling, you can add texture with a lightweight mousse or pomade.
Remember, maintenance tips are essential; regular trims every 4-6 weeks will keep your pixie looking fresh.
With the right techniques, you’ll rock this chic hairstyle effortlessly!
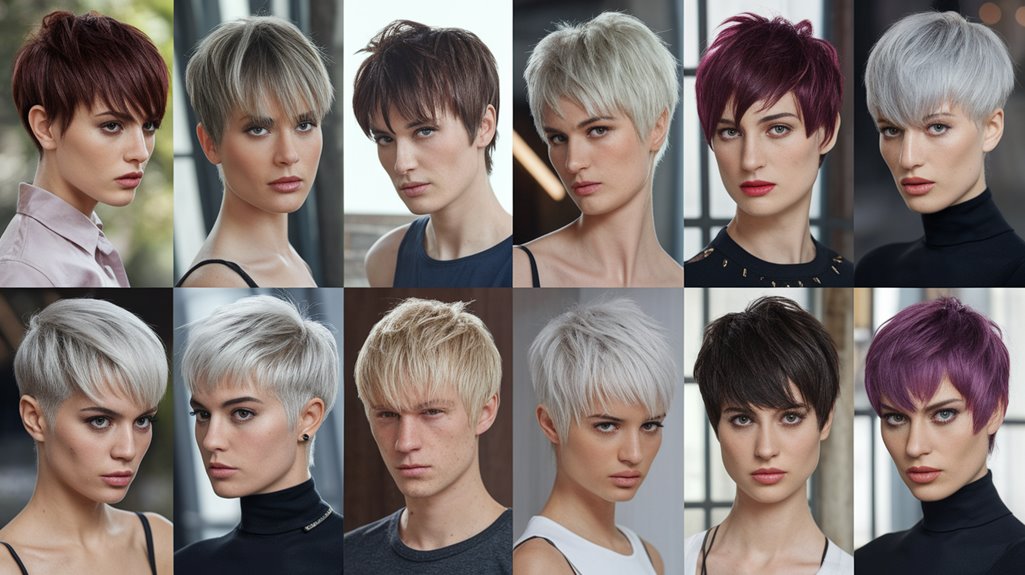
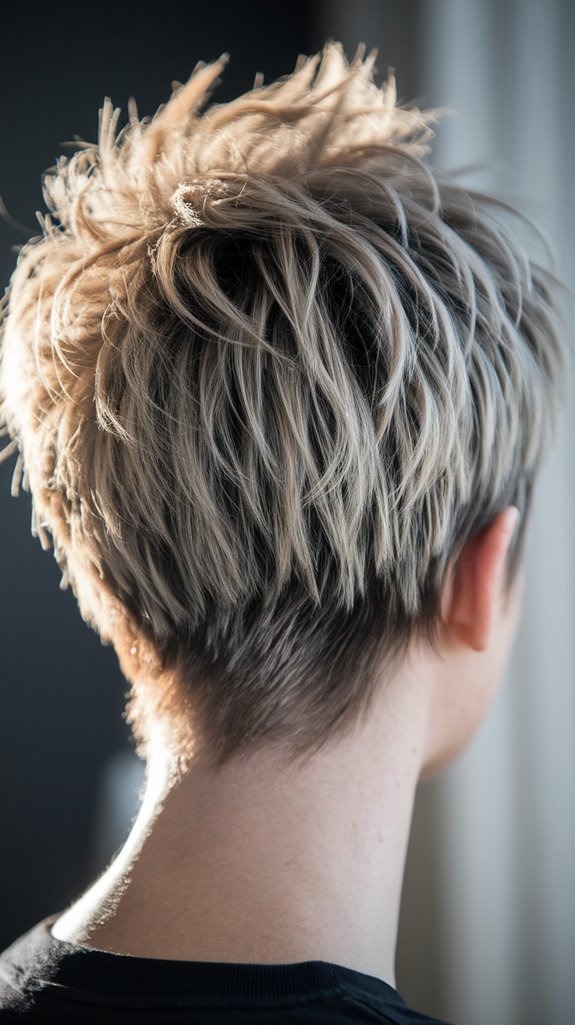
Textured Pixie Cut for Volume

The textured pixie cut takes the classic style to the next level by adding volume and movement.
You’ll achieve this look by incorporating textured layers that create depth and dimension. Start by cutting the base to your desired length, then use volume techniques like point-cutting and layering to enhance your hair’s natural bounce.
Focus on the crown area, lifting sections as you cut to maintain height. Finish with a lightweight styling product to define those layers and add texture.
This effortless, voluminous style not only freshens your look but also allows for easy maintenance—perfect for busy days ahead!
Asymmetrical Pixie Haircut Guide

When you’re ready to make a bold statement, an asymmetrical pixie haircut offers the perfect blend of edgy style and chic sophistication.
To achieve this look, start by determining your face shape; round faces benefit from longer sides, while angular faces can rock shorter lengths.
For asymmetrical styling tips, consider using a side part to enhance the asymmetry and add texture with a styling cream or wax.
Remember to keep one side longer and more layered, creating movement.
This cut not only highlights your features but also allows for versatile styling, making it a stunning choice for any individual.
Choppy Pixie Cut Step-by-Step
Ready to switch things up? A choppy pixie cut is a stylish choice that’s easy to achieve at home.
Start by sectioning your hair into manageable parts. Using sharp scissors, cut your hair into choppy layers, aiming for varying lengths to create texture. Focus on the back and sides, keeping the top slightly longer for a playful finish.
Once you’ve got your layers, run your fingers through your hair for a tousled effect. Finally, grab your favorite styling products—like a texturizing spray or pomade—to enhance those choppy layers and add volume.
You’ll love your fresh, effortless look!
Pixie Cut With Long Bangs Tutorial

Transform your look with a pixie cut featuring long bangs—it’s a chic option that frames the face beautifully and adds dimension.
Begin by sectioning your hair into manageable parts, focusing on the bangs area. Cut the length of your bangs to just below the brow, ensuring they complement your face shape.
For bangs styling, use a round brush while blow-drying to create a soft curve. Gradually taper the sides and back, blending seamlessly into the longer bangs.
Finish with texturizing spray for a tousled look. This versatile cut enhances your features while making a bold statement. Enjoy your fresh style!
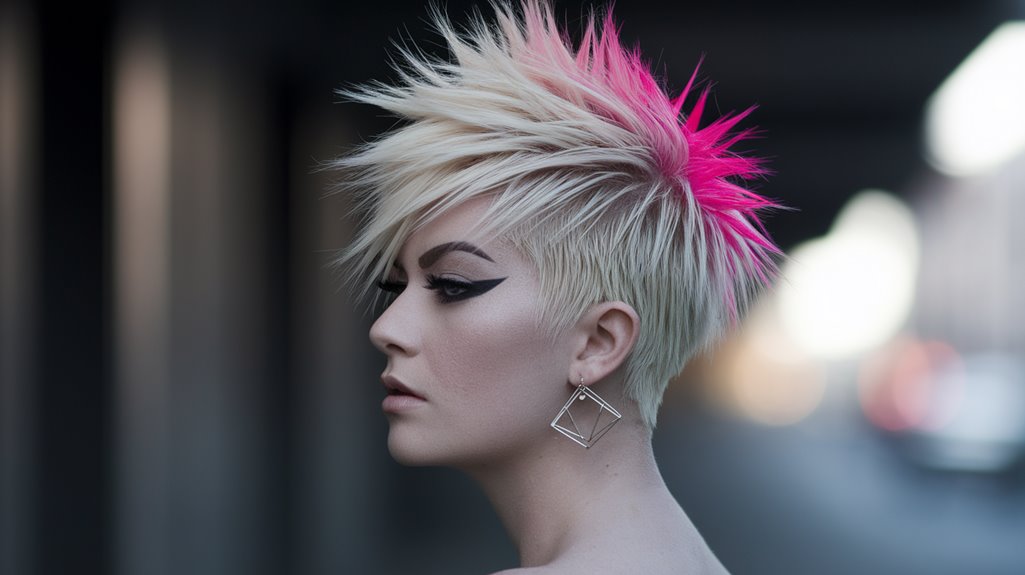
Undercut Pixie Style Instructions

If you’re looking to make a bold statement with your hair, the undercut pixie style is an edgy choice that combines versatility with flair.
Start by sectioning off the top hair, using undercut techniques to shave or trim the sides and back. This creates a striking contrast that enhances your overall look.
Once you’ve achieved the desired length, explore various styling options—try sleek, gelled looks for a polished appearance or tousled waves for a more relaxed vibe.
Finish with a light hairspray for hold. Embrace this daring style that allows for endless creativity and self-expression!
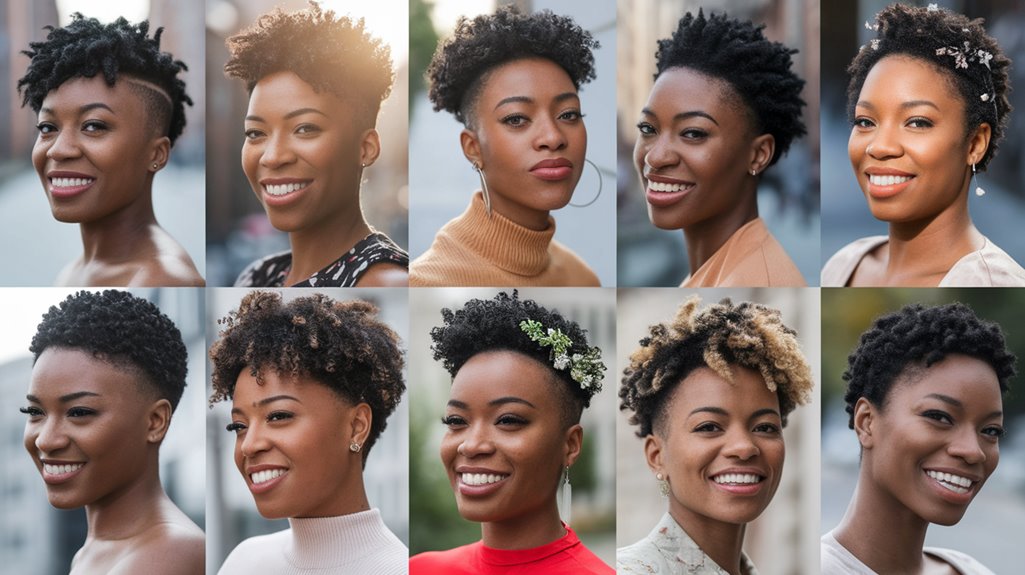
Curly Pixie Haircut DIY Guide

While embracing your natural curls can be liberating, a curly pixie haircut offers a fun way to showcase your unique texture.
To start, wash and condition your hair with products designed for curly haircare.
Section your hair and use sharp scissors to trim the back and sides, gradually working your way to the top.
Remember to cut less than you think; you can always trim more later!
Enhance your curls with styling products like mousse or curl cream to define and hold your shape.
Finish with a light hairspray for extra hold, and enjoy your fresh, vibrant look!