I finally stopped fighting my curls after one bad high-and-tight. I learned that slim doesn't mean flat — it means controlled shape that still reads like hair.
This list grew from years of trial and error. Each pick is wearable, school-friendly, and something I actually asked for in the chair.
25 Slim Curly Teen Boy Hairstyles
These 25 slim curly teen boy hairstyles are the exact ideas I tried or recommended. They’re realistic, low-drama, and you can tell your barber what to do. Expect clear cues for hair type, how it behaves, and one honest tip for each look.
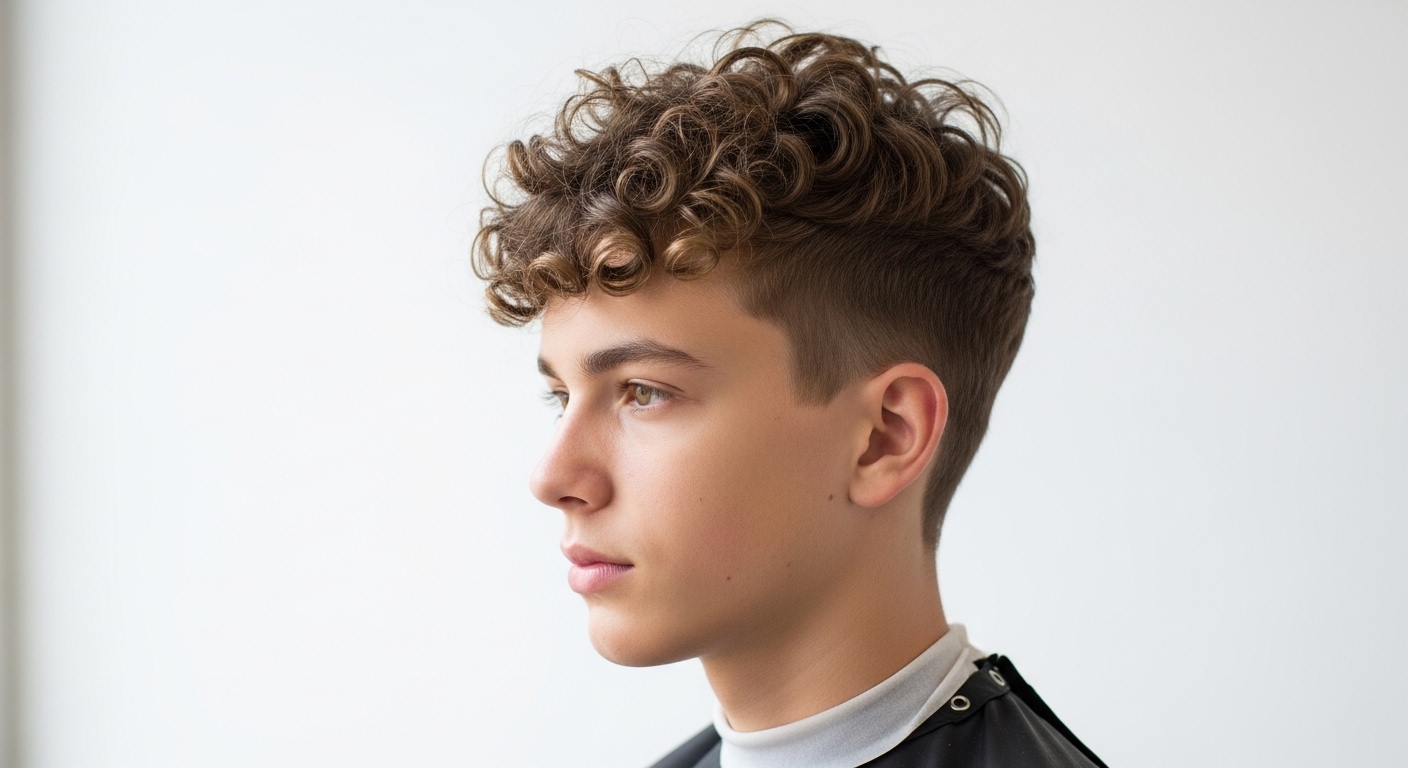
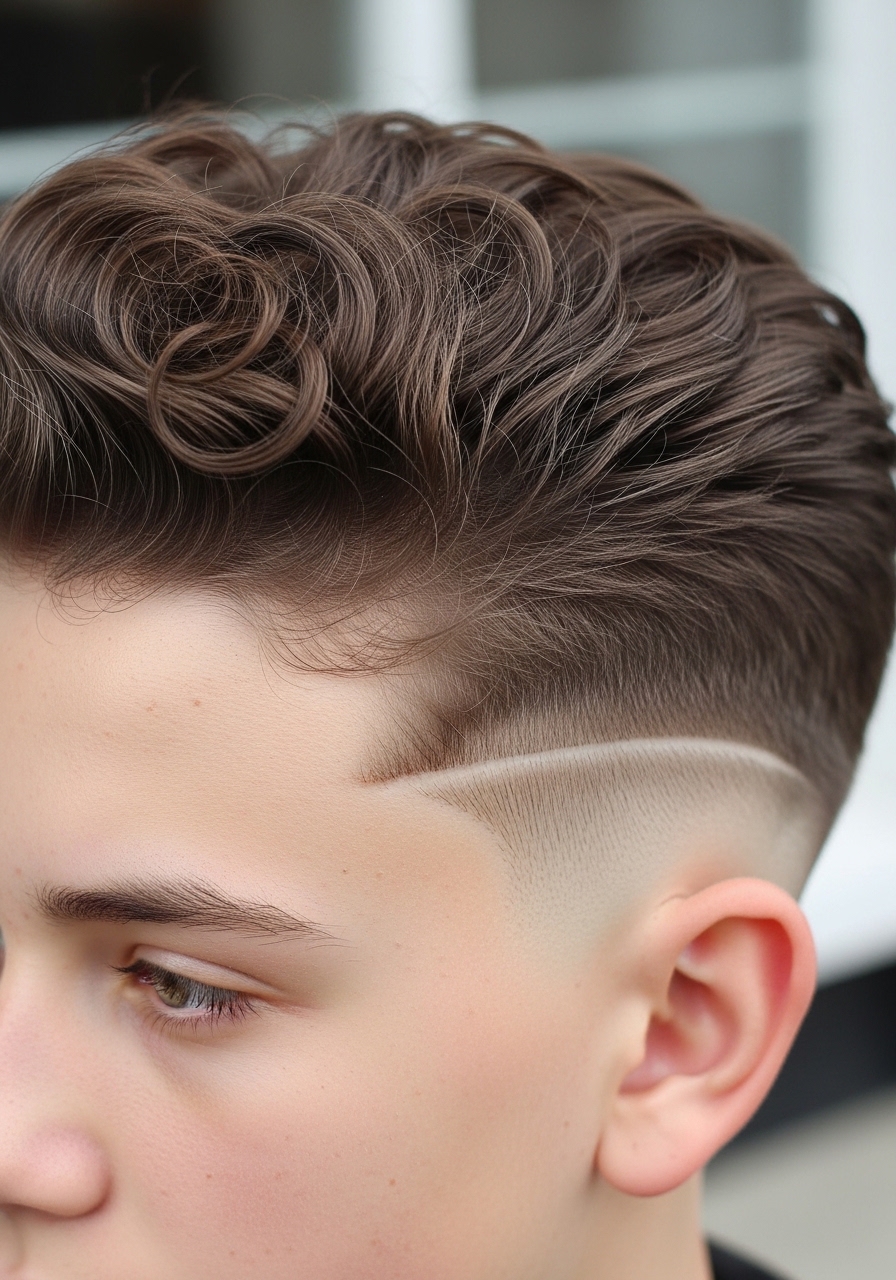
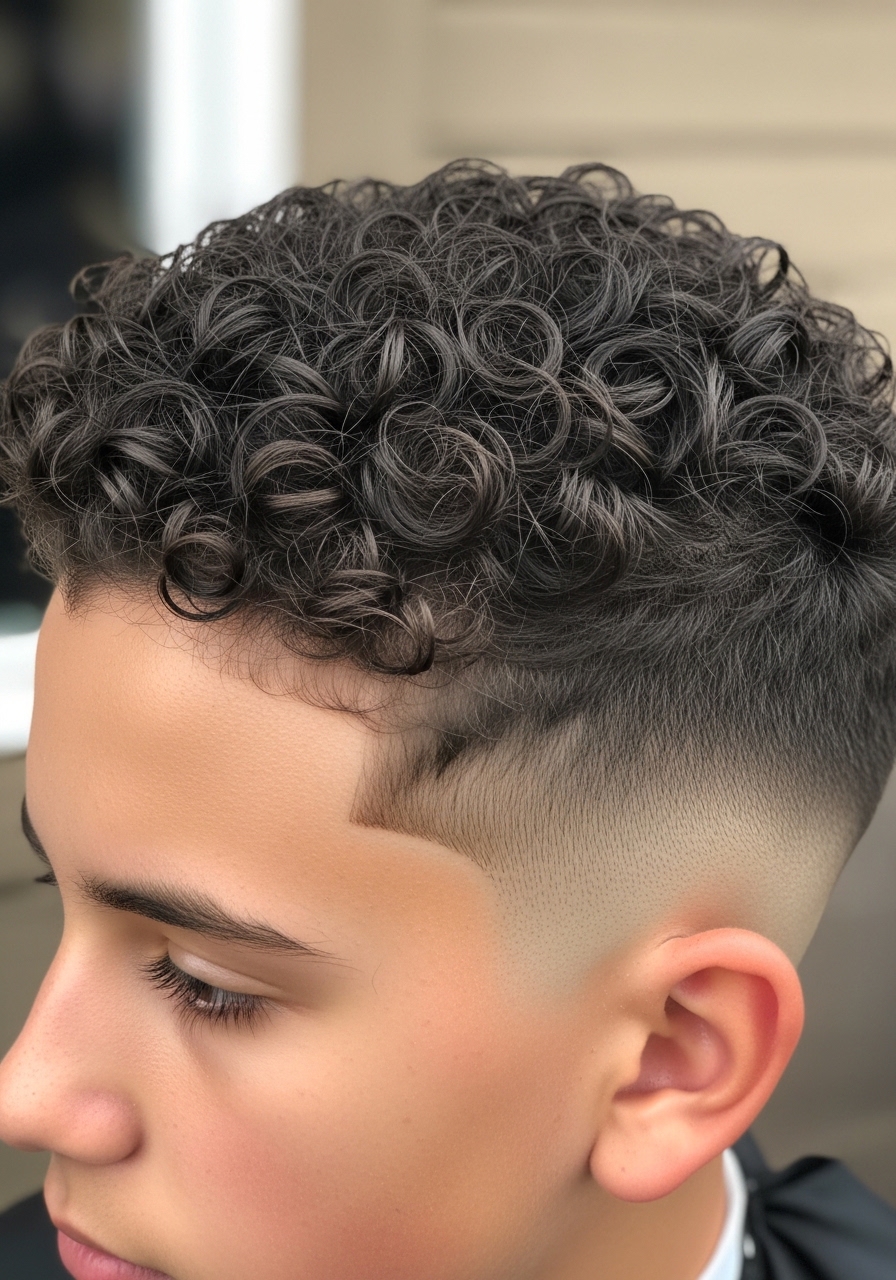
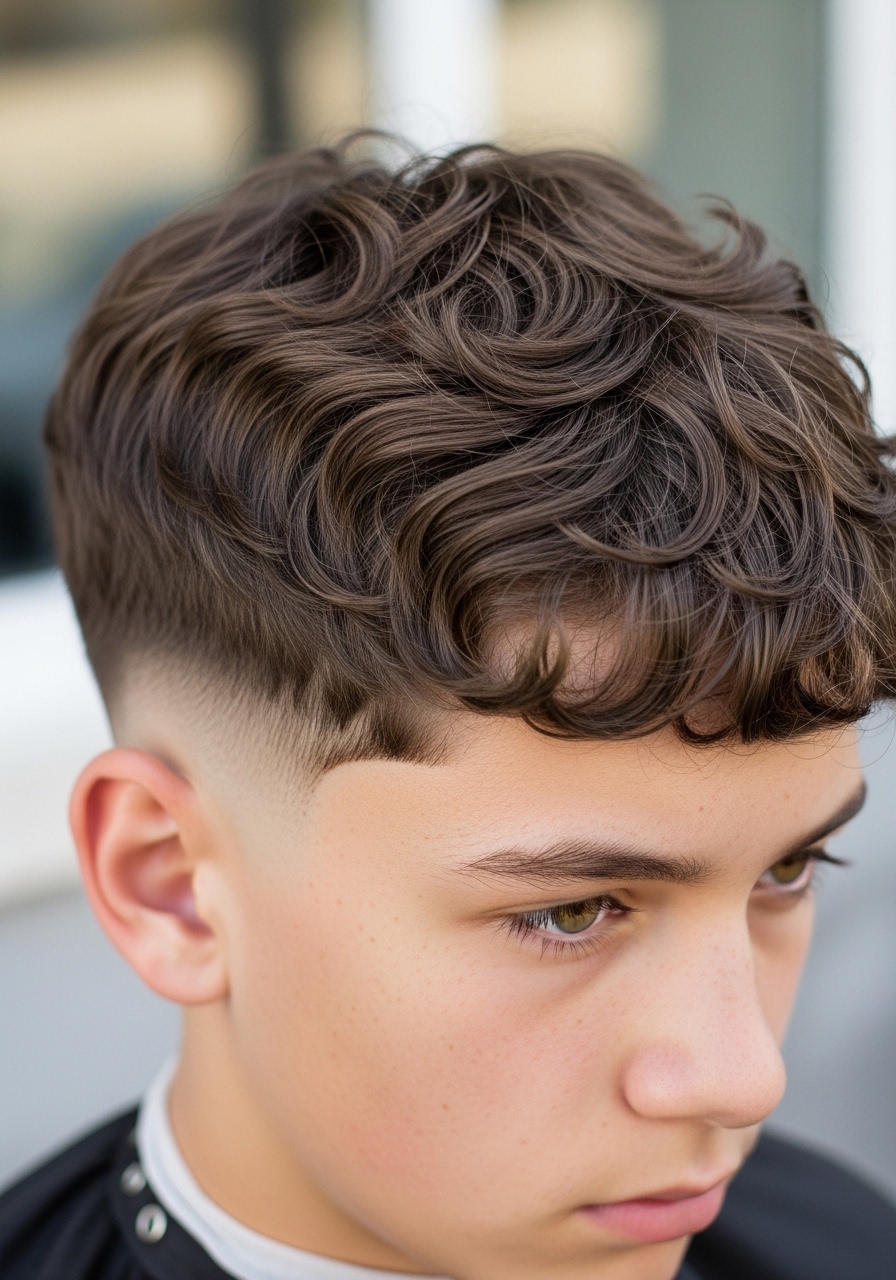
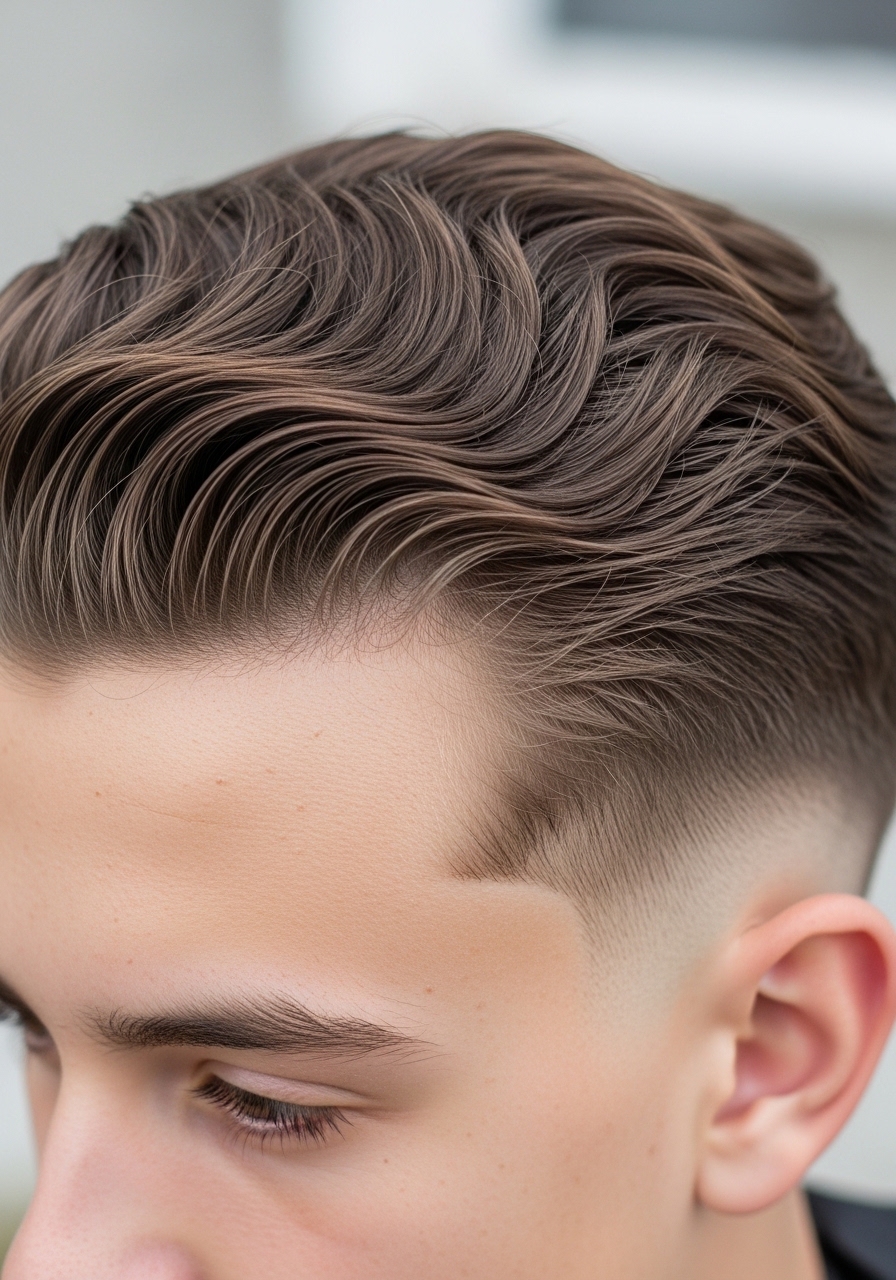
- Low Taper with Soft Curly Top for a Slim Profile
I asked my barber for a low taper and "keep the top light." It gave me a slim silhouette without killing my curl movement. In photos it looks tidy; in real life the top still bounces and frizzes a bit in humidity.
Works best on loose to medium curls that want a little height but not bulk. The taper keeps cheeks and neck clean, so the face reads slimmer.
Tip: tell them to point-cut the top and not to over-compress the curls. I once asked for too much clipper and lost my natural shape for weeks.
- Cropped Curly Fringe That Keeps Things Narrow
I tried a cropped fringe after a summer experiment. In pictures it looked edgy. In real life the fringe shrank faster than I expected and needed trims every 3–4 weeks to stay slim.
This works if your curls are springy and you want something face-framing but not heavy. It reads slimmer than a full curtain because the length is minimal.
Tip: ask for a slightly longer initial length so it can settle. I learned the hard way and had to grow it out because I asked for it too short.
- Side-Parted Slim Curls for a Clean School Look
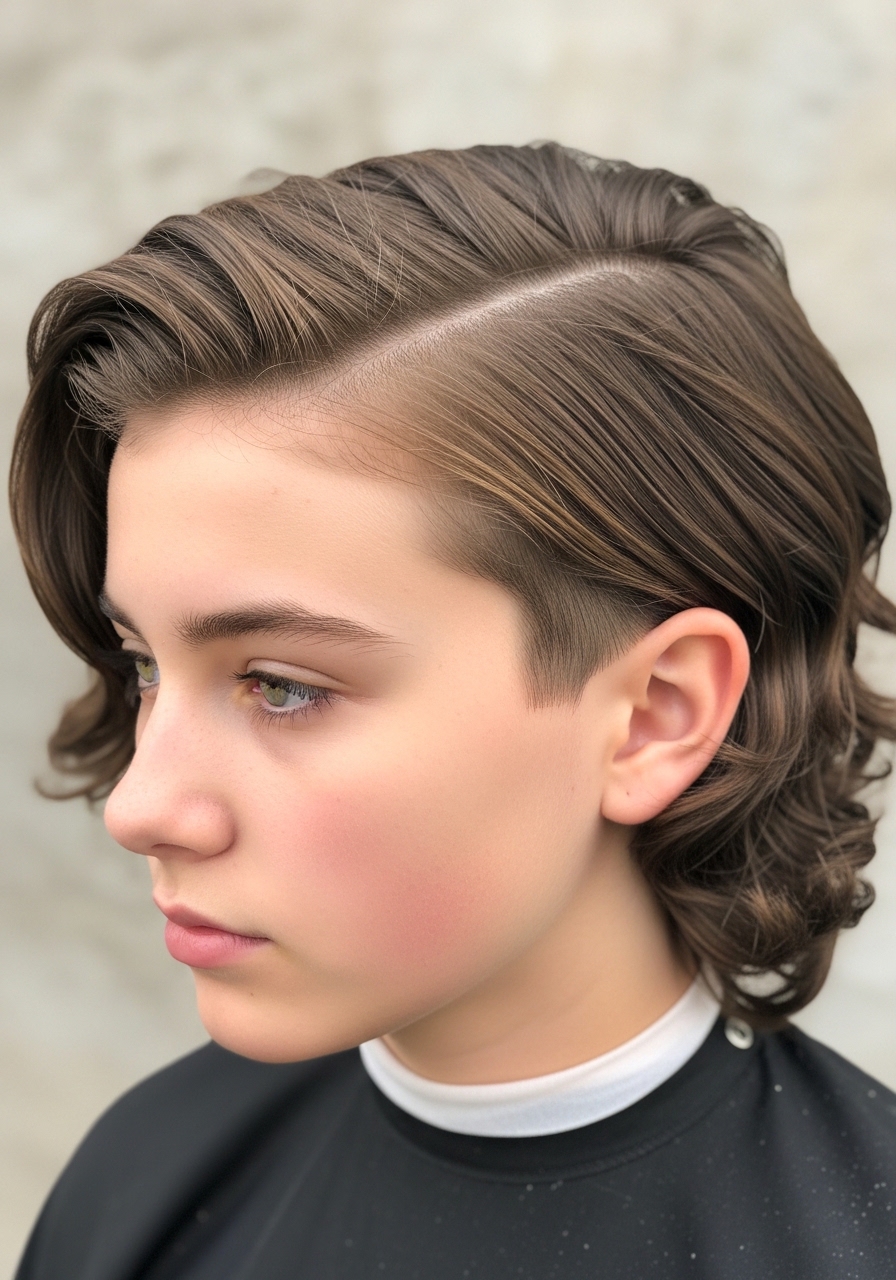
I used to avoid parts. Then I asked for a subtle side part and it made my curls look intentional. Photos online made it look crisp; my first day looked messy because I hadn’t trained the part.
This suits medium-density curls that can be shaped with a comb or fingers. The part narrows the face and controls volume on one side.
Tip: tell your stylist where you want the part to land. My mistake was brushing it in while damp — it relaxed the curl pattern and made the part sloppy until the next wash.
- Textured Pompadour with Curly Lift
I asked for a controlled pompadour with my curls. On reference photos it looked voluminous. In reality, mine lost height mid-afternoon unless I used a light product and a quick blow-dry.
Best for springy, medium-length curls that take a bit of heat. The lifted front keeps the silhouette slim while giving shape.
Tip: ask for length at the crown to be left a touch longer. My early attempts failed because I dried it too hot and made the curls crisp instead of soft.
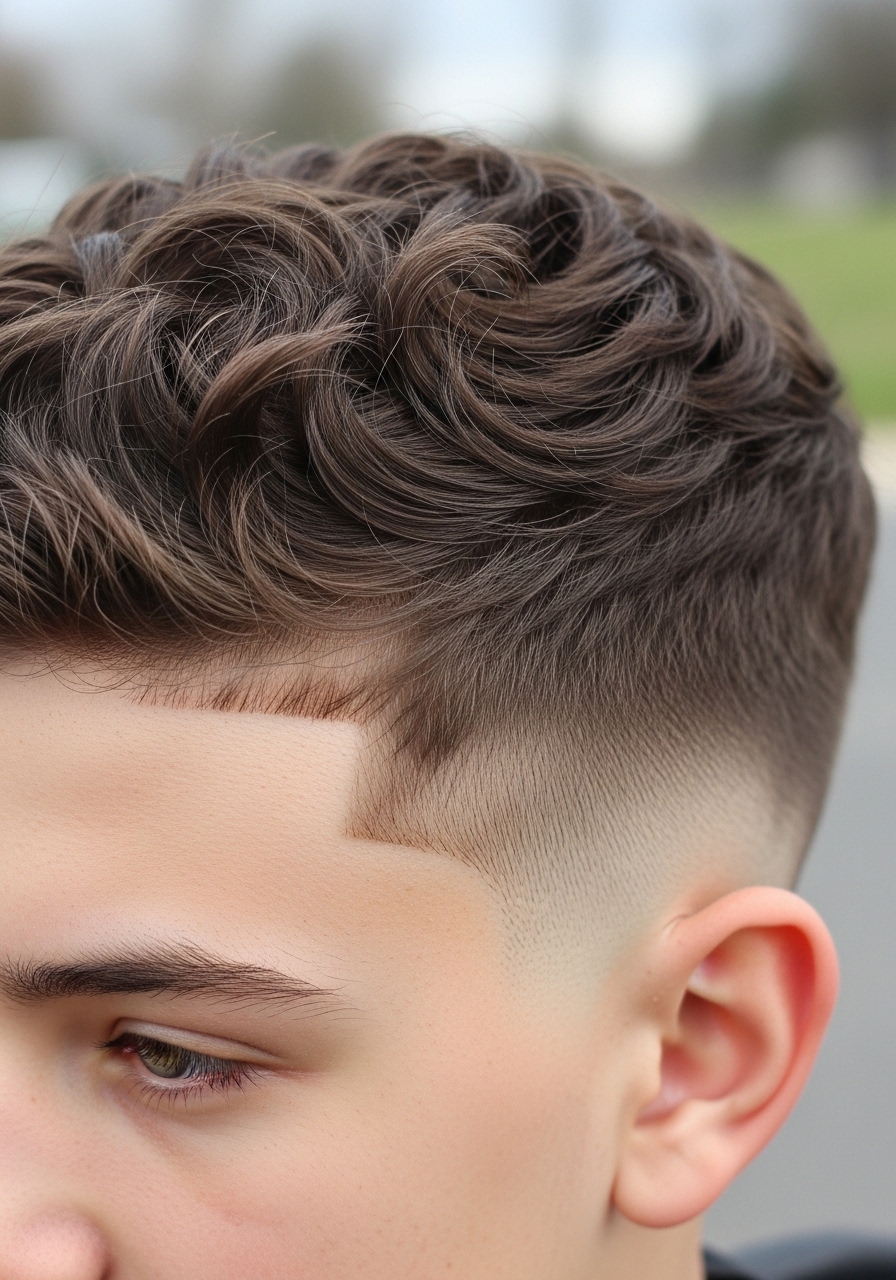
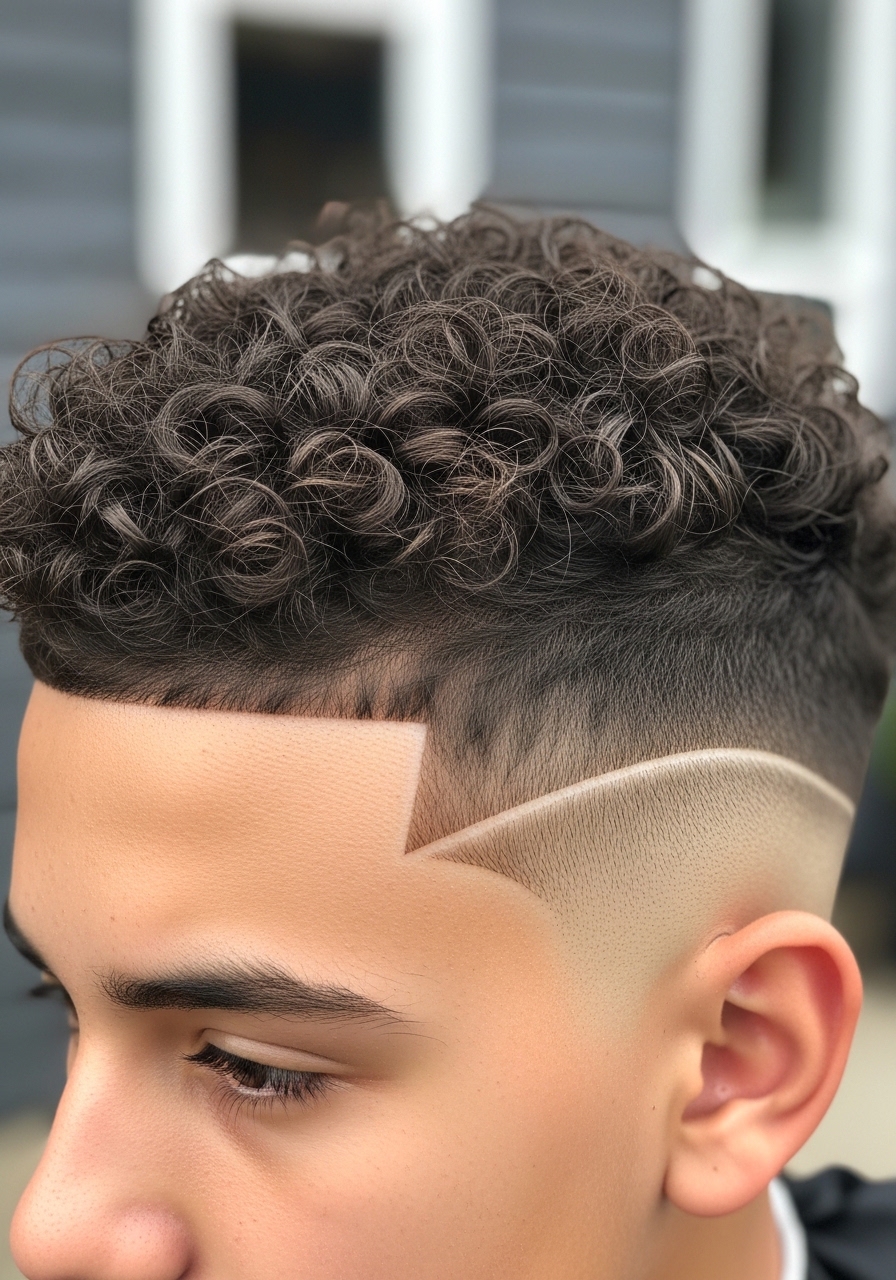
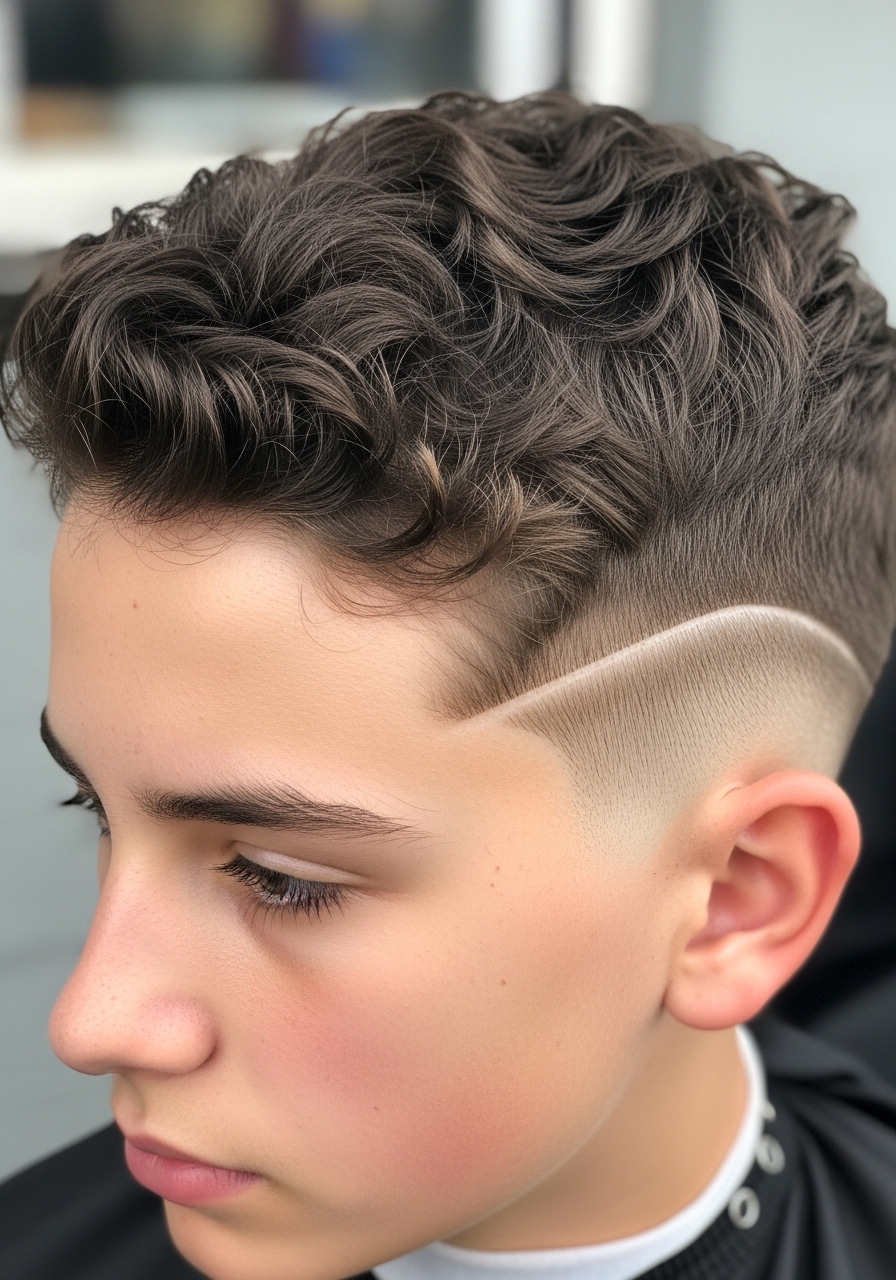
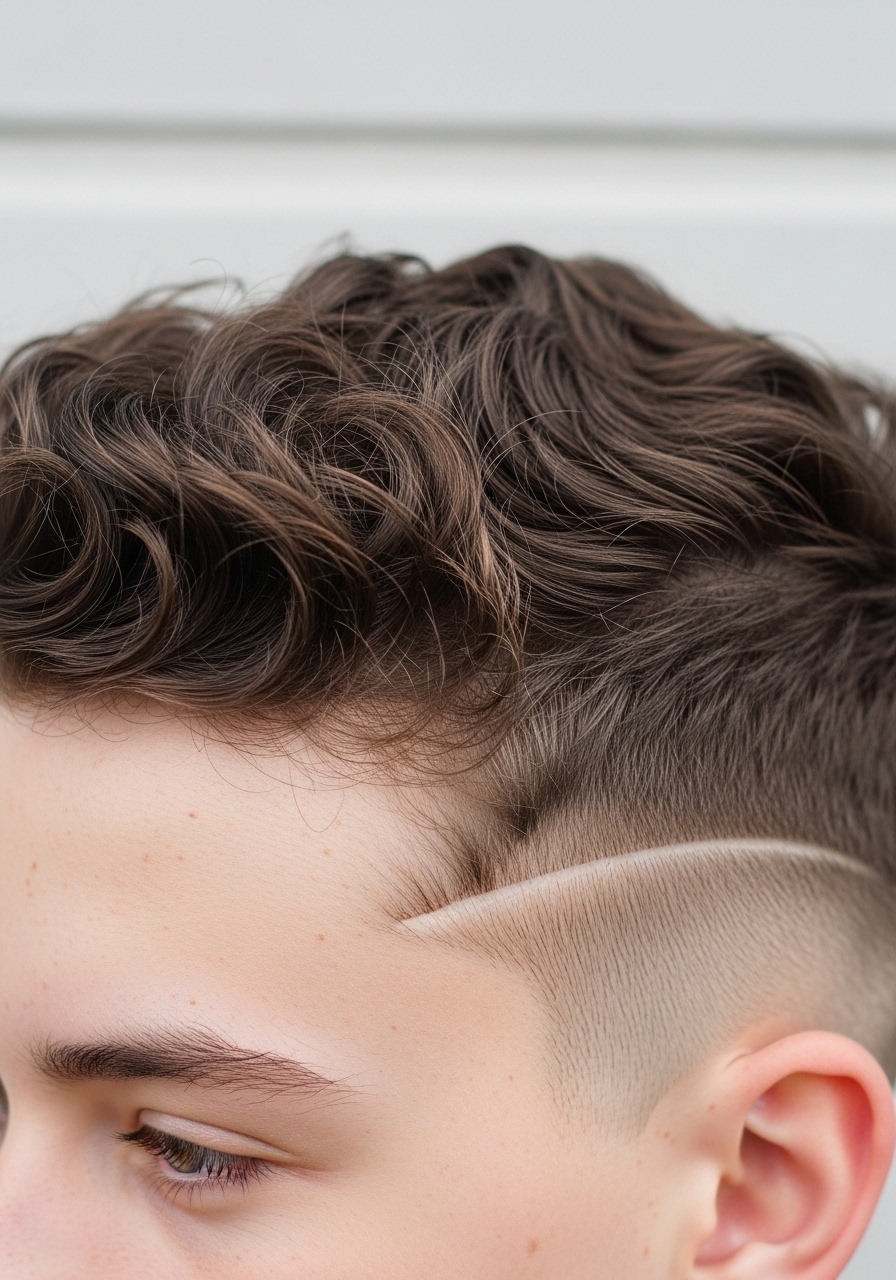
- Shaved Sides with Defined Curly Top
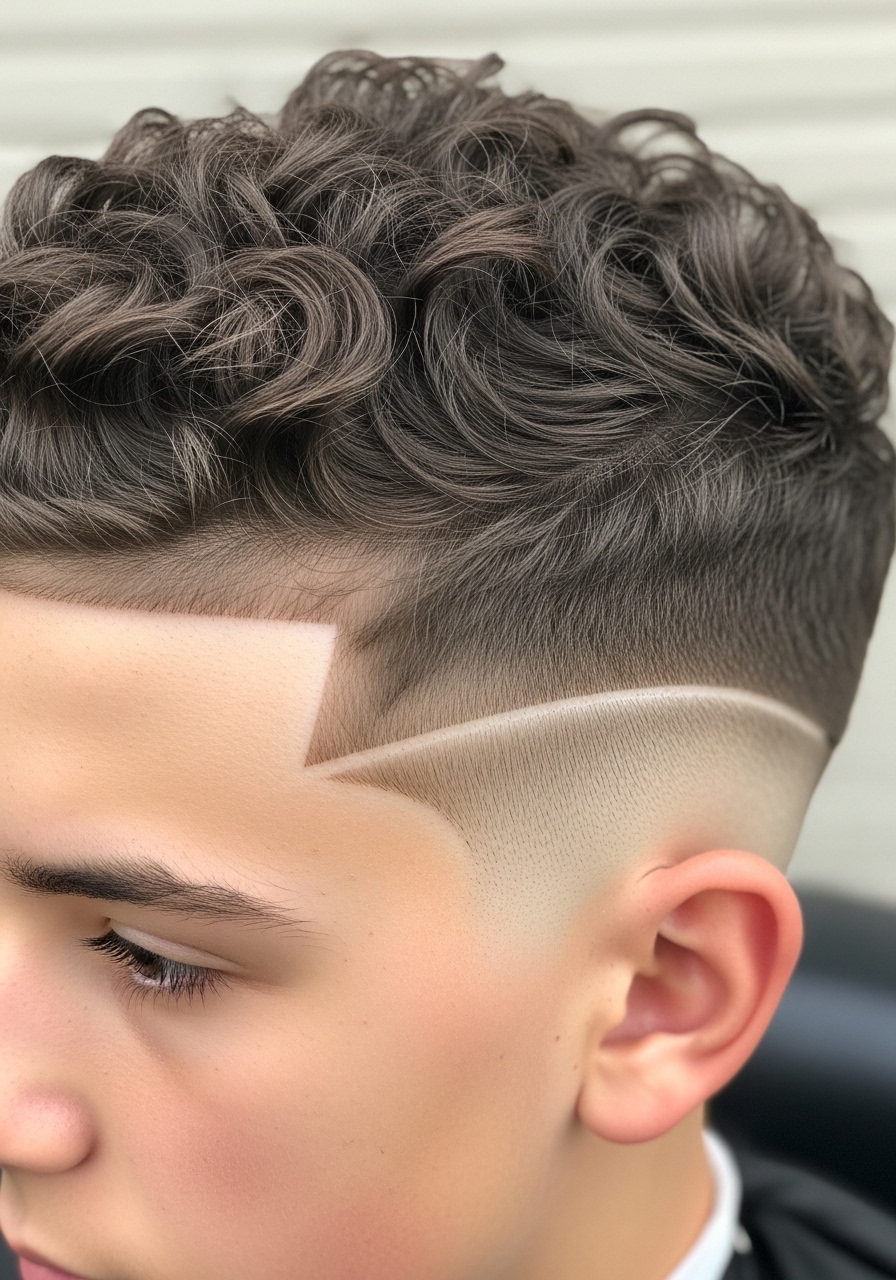
I went for shaved sides once to clean up my face. It made the top read slimmer and more deliberate. In photos it’s bold; in daily life it felt fresher but required regular trips to the barber.
Works on tight to medium curls that you want to display on top. The shaved sides reduce bulk so the face looks leaner.
Tip: say how high you want the shave. I learned to keep a small shadow fade so it didn't look like a scalp stripe when it grew out too long.
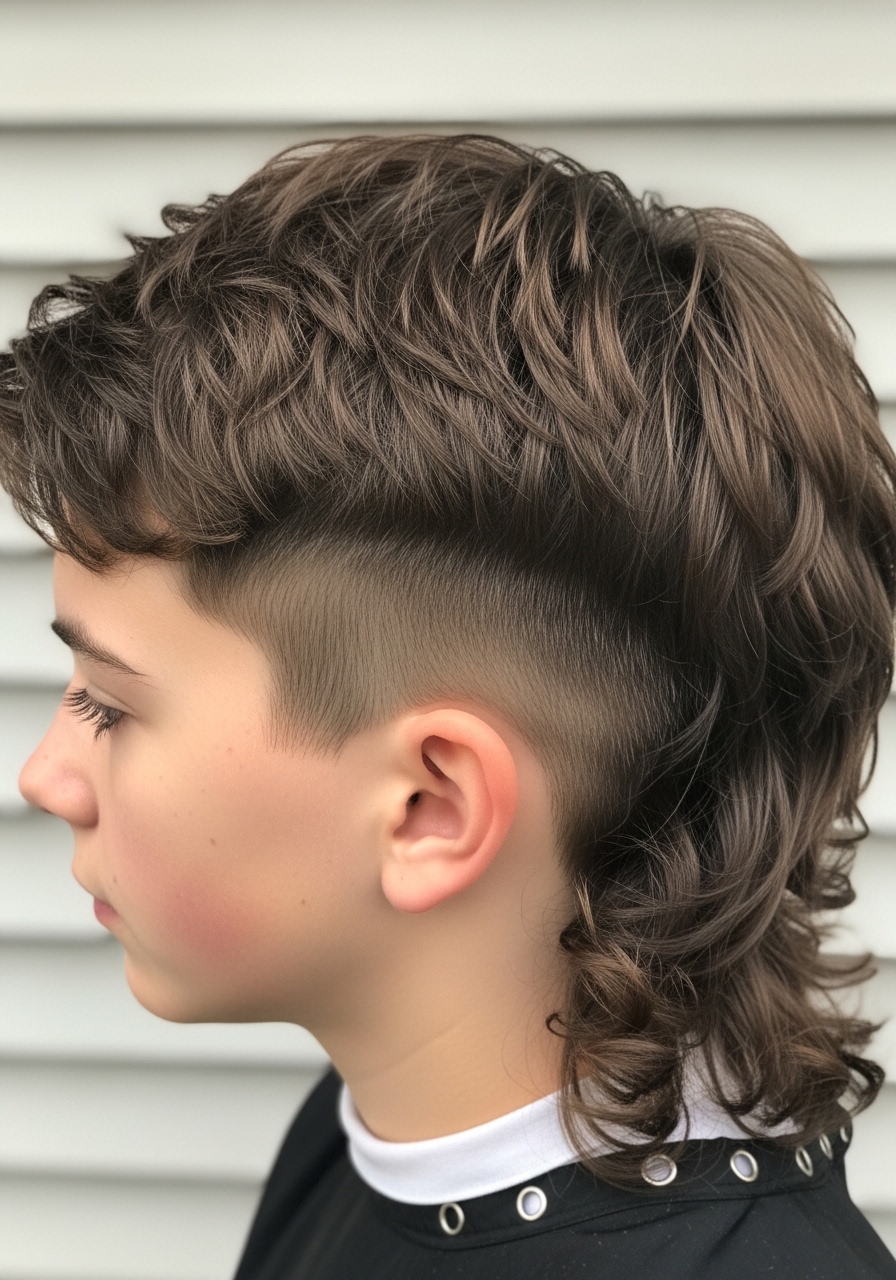
- Curly Mullet with Slim Back and Longer Top

I tried a subtle mullet when my curls were growing out. It surprised me — photos made it look retro-cool; in real life it read modern because the back stayed slim, not heavy.
This fits loose, wavy curls that gain character with length. The key is keeping the back narrow and the top trimmed so it doesn’t puff out.
Tip: tell the stylist you want the back tapered, not bulky. My first cut had too much length at the nape and it flipped weird under my collar.
- Curly Curtain Bangs That Frame Without Weight
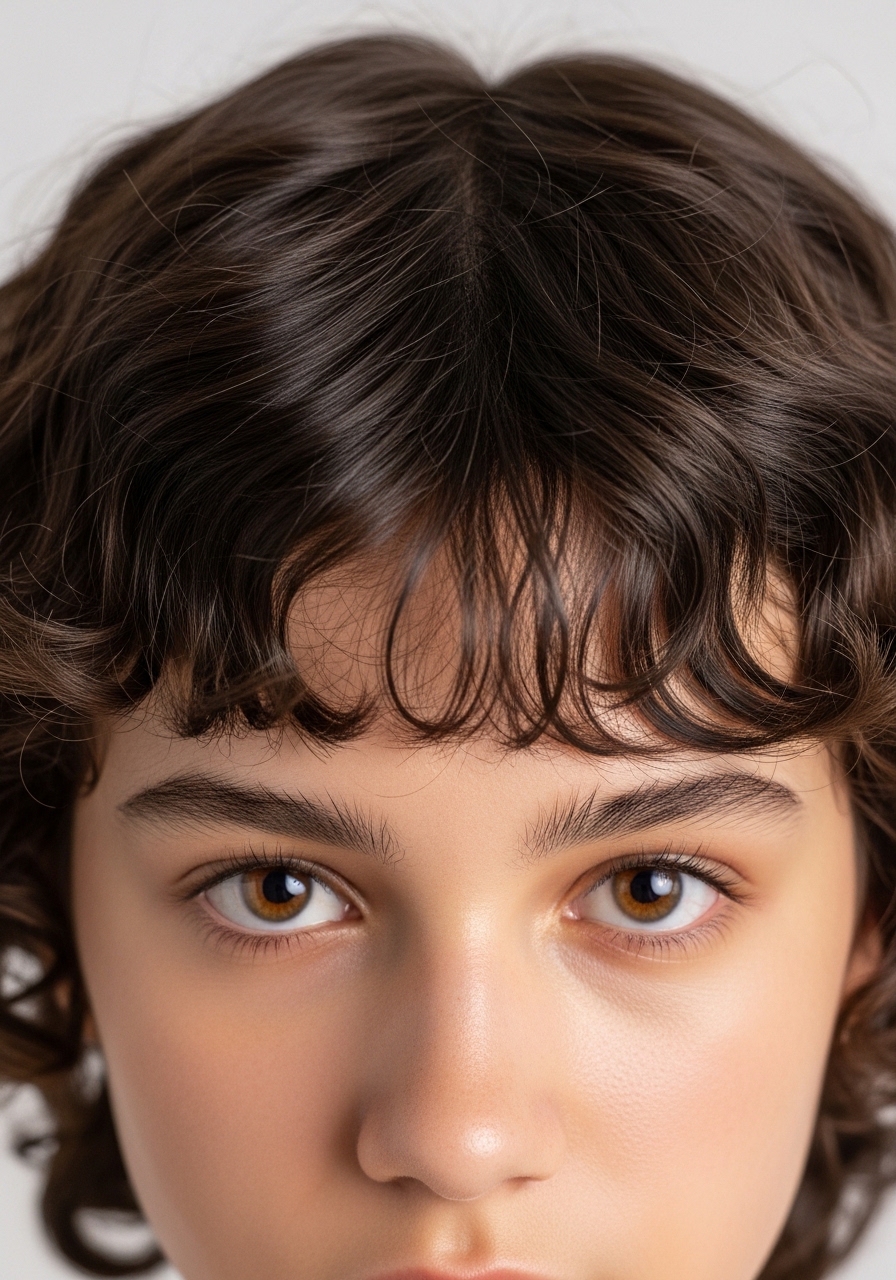
I asked for curtain bangs after seeing a photo. They look so effortless in pictures. For me, they sat differently each day — sometimes neat, sometimes clumpy after sleep.
Ideal for medium-loose curls that can part. The split bang creates a slim vertical line and keeps the face visible.
Tip: ask for slightly longer bangs that dry into place. I made the mistake of cutting them too blunt, and they quickly looked heavy and needed reshaping.
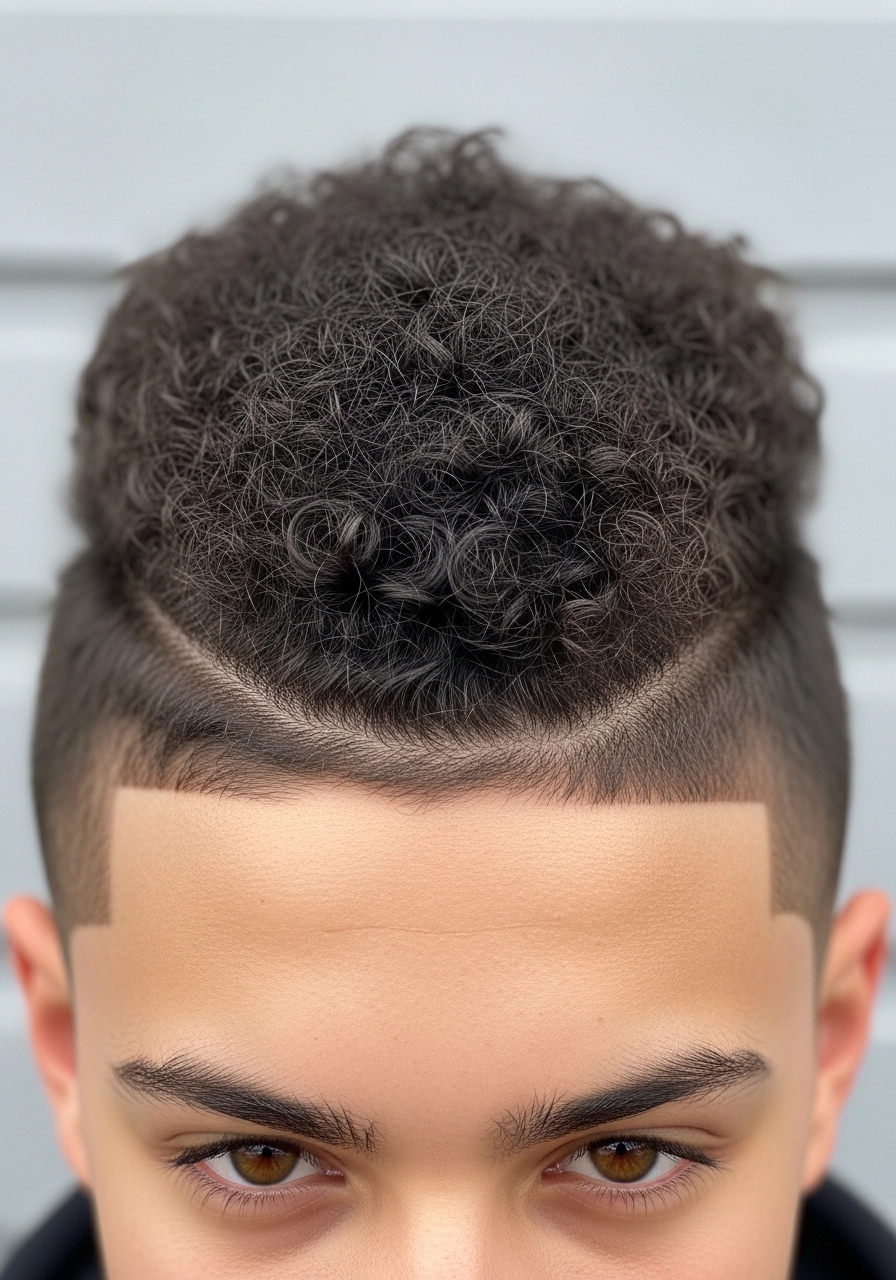
- Tight Crop with Soft Texture on Top
I went ultra-short one summer and liked the low fuss. Photos show it clean; in real life the curl pattern read as soft texture, not a flat buzz.
Best for tight curls or coils where you want minimal styling. The slim shape keeps the head looking elongated and neat.
Tip: tell your barber how much texture you want on top. My mistake was asking for a uniform clipper length — I lost all variation and it looked boxy.
- Long Top, Low Sides for a Slim Oval
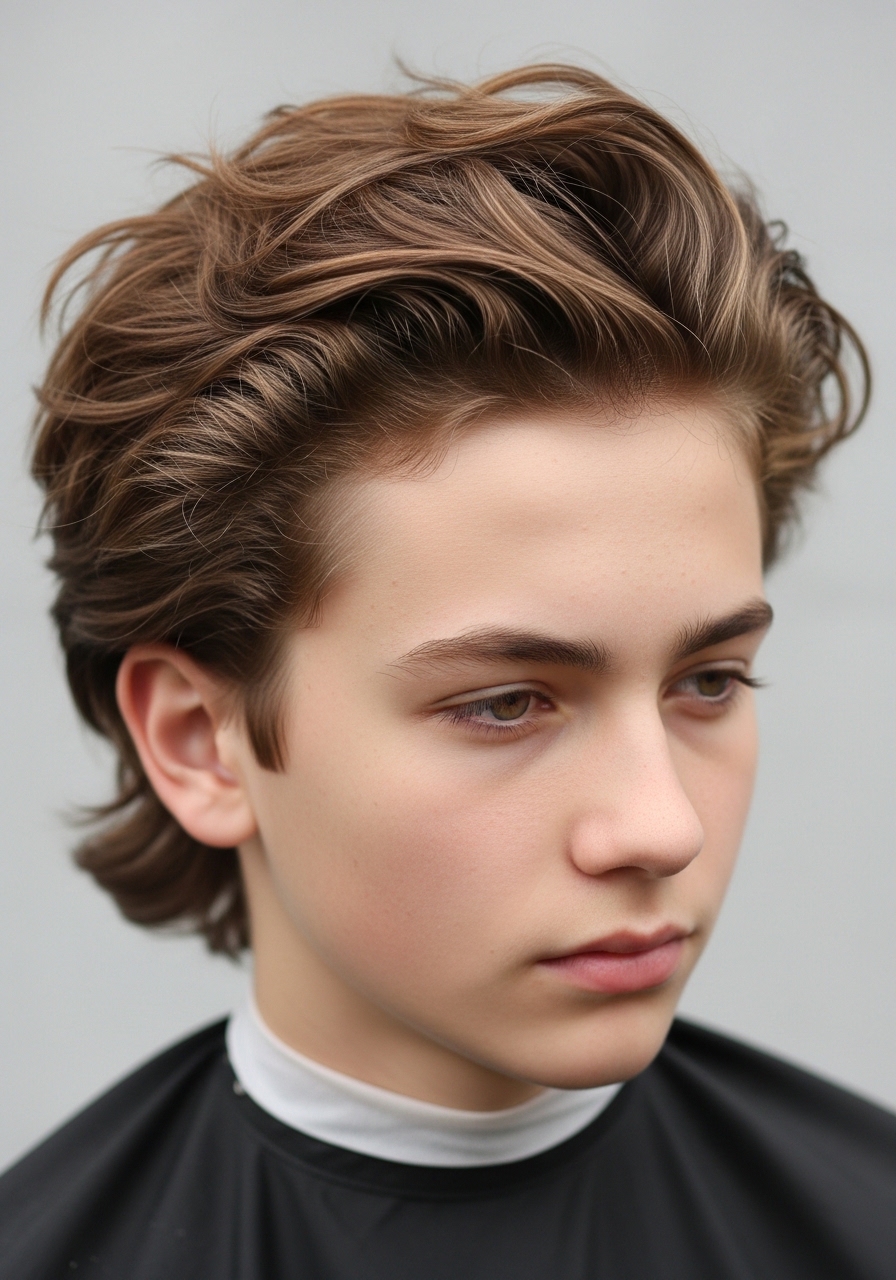
I kept the top longer while dialing the sides down. The long top reads classic in photos; in real life it needs occasional scrunching to keep definition and not look lank.
Works well on looser curls that benefit from gravity. The long top narrows the face line and keeps a slim profile.
Tip: ask for thinning rather than blunt cuts on the top. I learned that heavy ends pull the silhouette wider after a few weeks.
- Narrow Faux Hawk with Curly Peak
I tried a low-key faux hawk when I wanted edge without volume. Pictures make it look dramatic; my version stayed narrow and wearable for school.
Best on medium-density curls that can hold a central ridge. The slim peak draws attention upward and slims the sides visually.
Tip: use a small amount of cream to define the center. I once overloaded with gel and flattened the curls instead of shaping them.
- Curly Side Sweep with Tight Neckline

I liked a side sweep when I wanted a softer look. Reference shots showed smooth motion; my hair often needed a quick finger-comb to stop it from folding inward.
This is great for waves or loose curls that want to drape. The tight neckline keeps the overall look slim and tidy.
Tip: ask for the neckline to be tapered gently. My mistake was letting it grow out blunt, which added unwanted bulk behind my ears.
- Defined Spiral Top with Clean Sides
I asked for defined spirals after a humidity-heavy summer flopped. Photos made them look like ringlets; in reality, they’re softer and separate as the day goes on.
Best for tighter curls that’ll hold shape if trimmed and moisturized. The clean sides keep the head shape slim.
Tip: ask for a light leave-in and diffuse, not heavy gel. I used too much product once and my spirals clumped into a helmet look.
- Short Side-Part with Little Volume
I picked a short side-part when I wanted zero fuss. Pictures made it look sharp; real life required minimal styling to keep the part visible after sleep.
Works on fine to medium curls that prefer being controlled. The low volume keeps the face slim and easy to maintain.
Tip: request a shallow part from your barber. My early mistake was asking for an obvious hard part that looked like a line as it grew out.
- Mid-Length Shag with Slim Layers
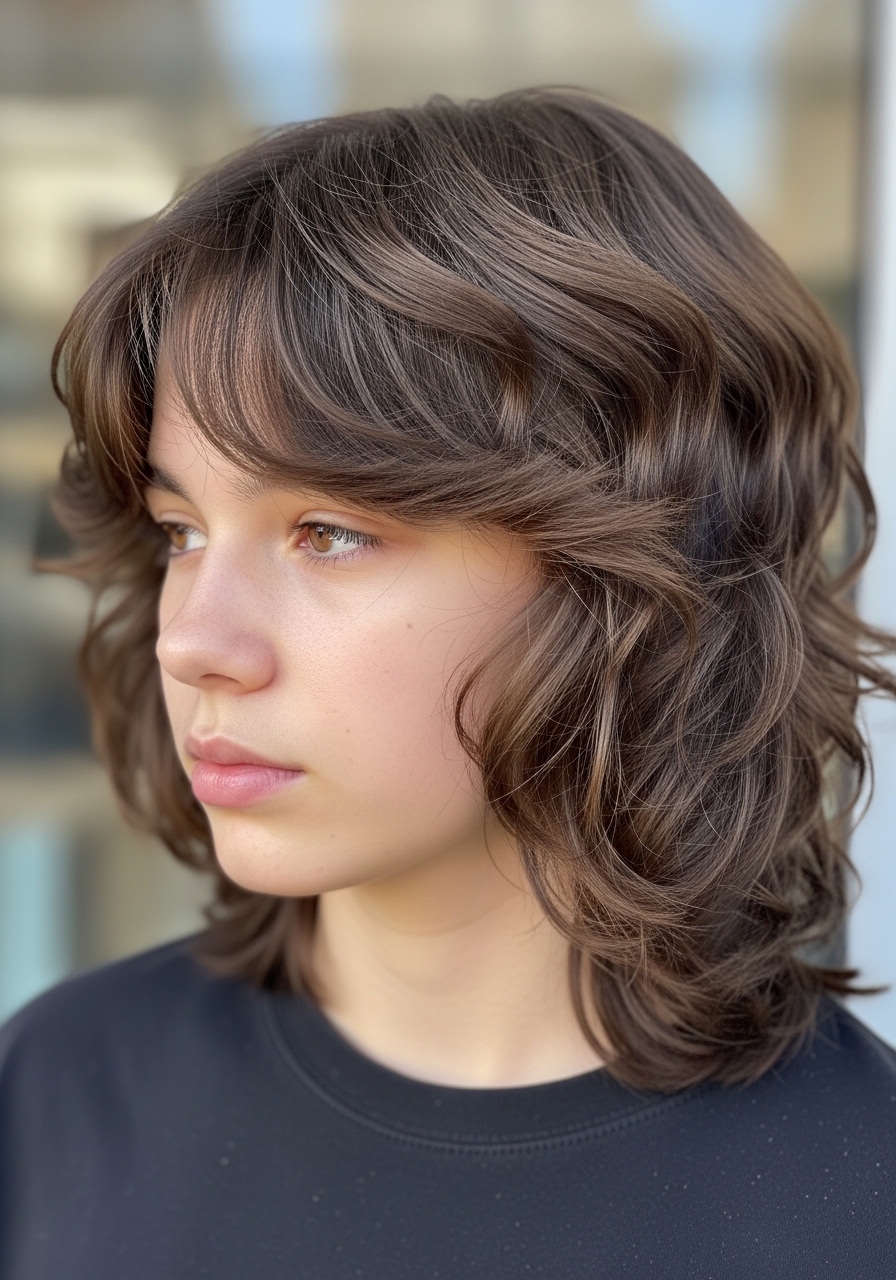
I let my hair grow into a shag once I learned to ask for slim layers. Pictures show movement; in real life the layers stop it from puffing up but still feel full.
Best for medium-density loose curls that need structure. The layers remove weight in the right places so the silhouette stays narrow.
Tip: tell them to point-cut into the ends. I once asked for blunt layers and it made the sides look boxy when it dried.
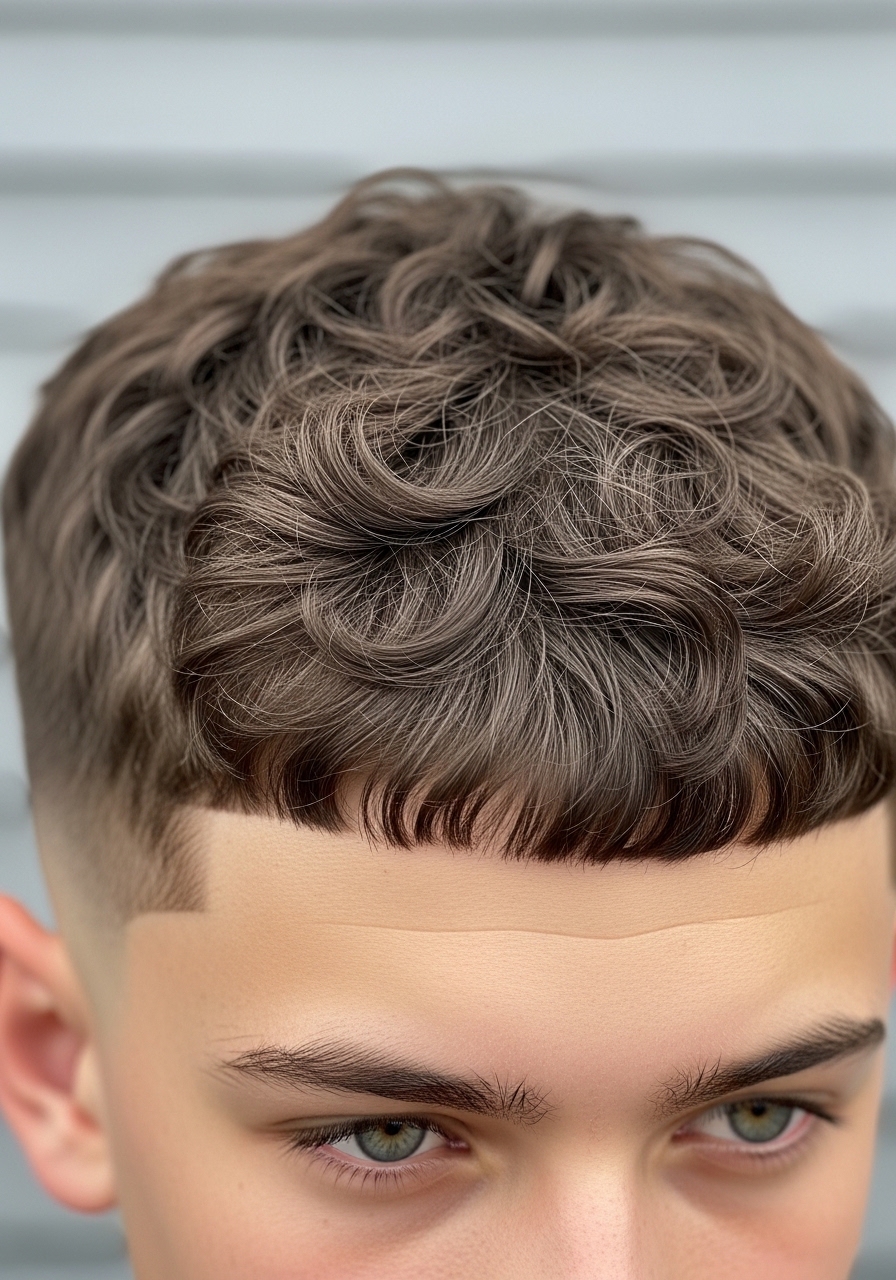
- Clean Curly Bowl with Textured Edge
I tried a modern bowl because it felt nostalgic but not childish. Photos made it look neat; the real test was keeping the edge soft, not helmet-like.
It suits looser curls that can sit flat around the crown without bulking. The defined edge keeps the look tidy and slim.
Tip: ask for texture at the rim. My mistake was accepting a blunt cut and then battling a round, heavy look until the next trim.
- Low-Maintenance Wash-and-Go with Slim Lines

I embraced wash-and-go when I wanted mornings simple. Pictures show effortless curls; my reality required a bit of cream to control frizz on humid days.
This is ideal for medium to loose curls that dry neatly. The key is keeping the sides trimmed so the overall shape reads slim.
Tip: apply product in sections when damp. My mistake was globbing product on once-dry hair and ending with uneven definition.
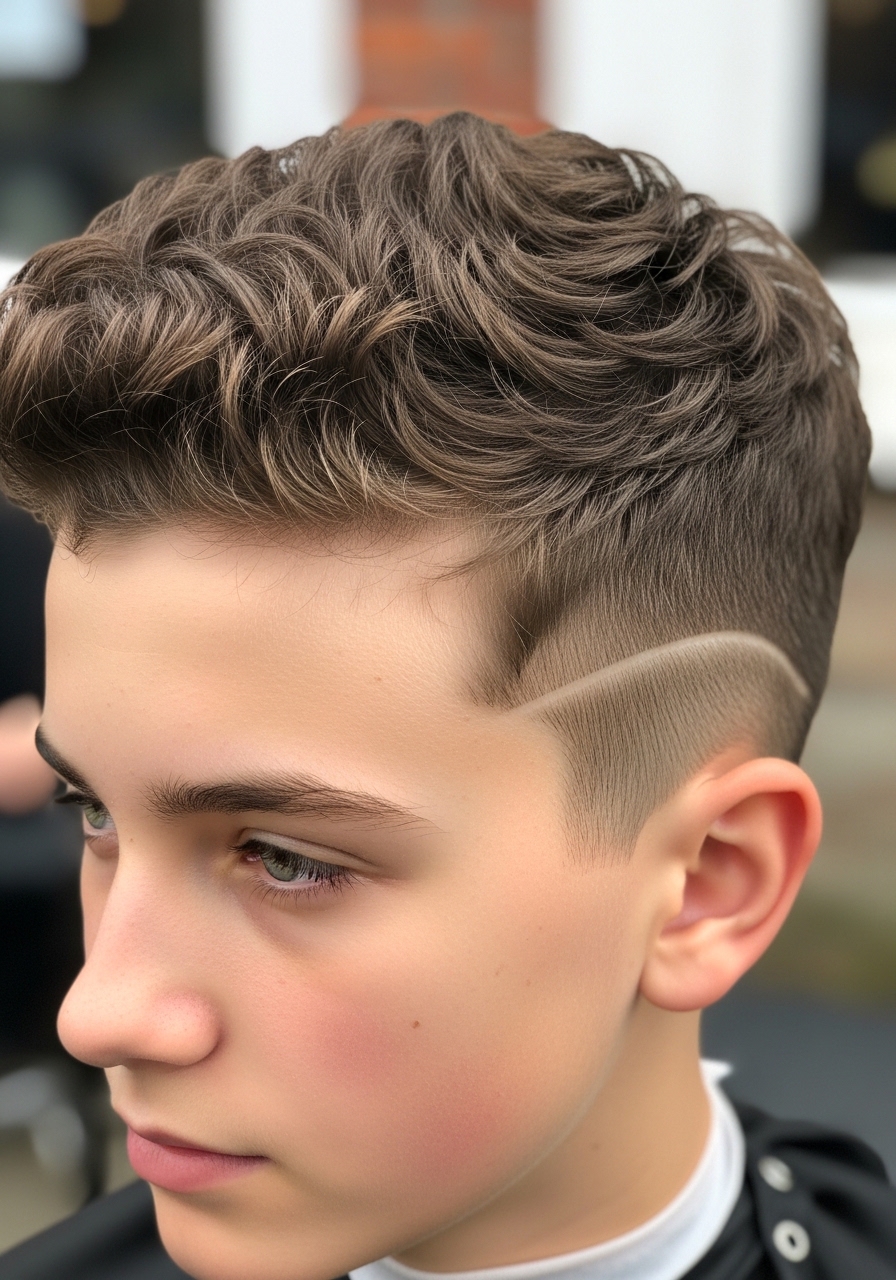
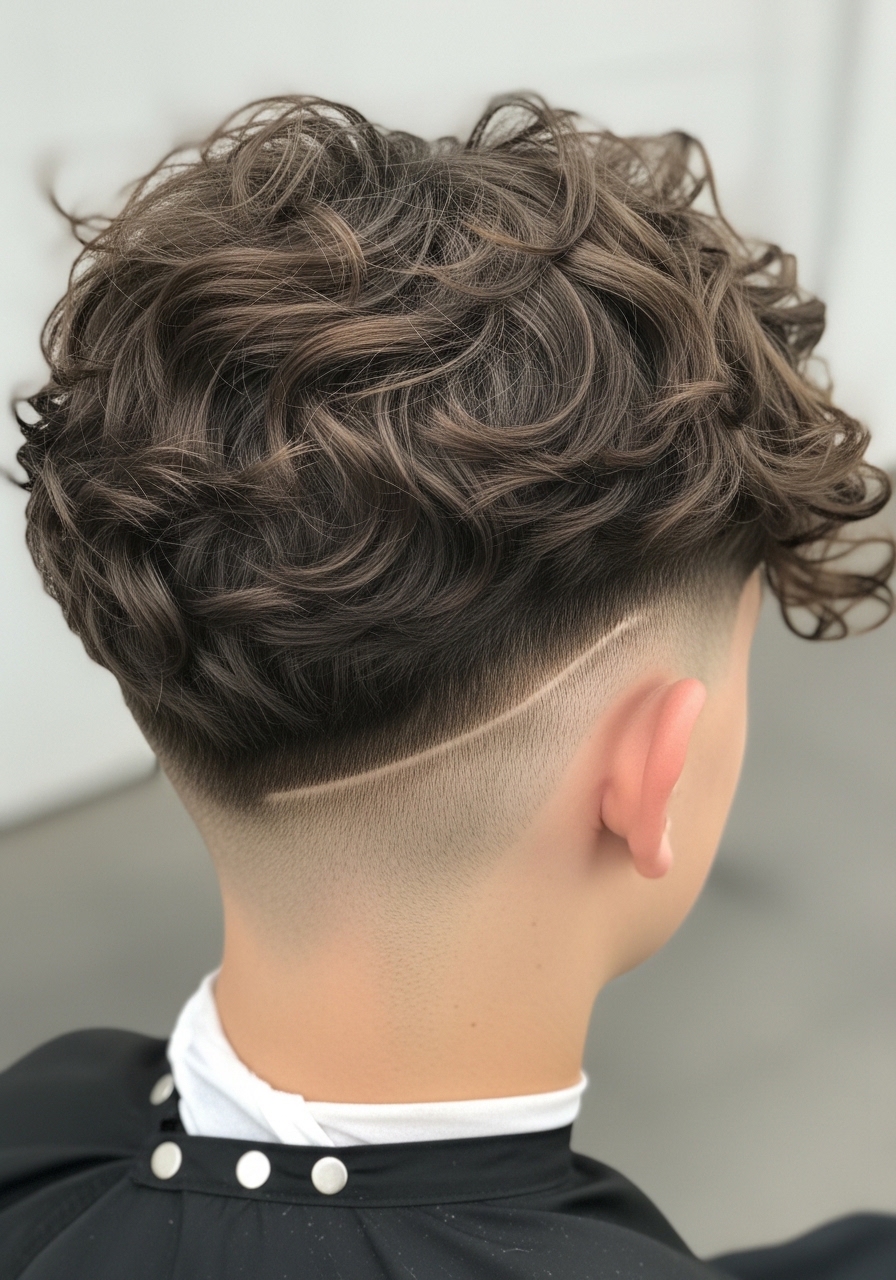
- Curly Fade with Longer Crown for a Narrow Face
I got a curly fade to trim down my cheeks. Photos made the fade look sharp; in real life it framed my crown and made my face look longer.
Best for tighter curls where a crisp fade contrasts nicely with a longer top. The narrow crown keeps everything proportional.
Tip: tell them how high you want the fade. I once asked for too high and it exposed my uneven growth pattern.
- Curtain Curls with Slight Mullet Touch
I experimented with curtain curls and a gentle mullet. Photos made it seem dramatic; my version stayed wearable because the back length was subtle.
This suits loose, flowy curls that like movement. The combo keeps the face slim while letting a bit of length show.
Tip: ask for soft graduation at the back. I erred by letting the back grow blunt, which added unwanted width.
- Slicked-Back Curly Top That Stays Narrow
I tried slicking my curls back for a mature look. Photos show smoothness; in reality, it relaxes into a softer shape after a few hours if I don’t use the right product.
Works for medium curls that can be tamed with cream. The backward motion slims the face and looks intentional.
Tip: use a light cream, not heavy gel. My mistake once was over-gel and the hair stiffened into a helmet instead of moving.
- Short Textured Top with Razored Edges
I asked my stylist to razor the edges for texture. Photos made the cut look detailed; my day-to-day showed the texture helps the curls sit flat and slim.
Great on tight to medium curls that react to slicing. The razored ends give a lived-in look without bulk.
Tip: request light razoring; too much thins the curls oddly. I once let them go heavy and my hair lost its natural shape.
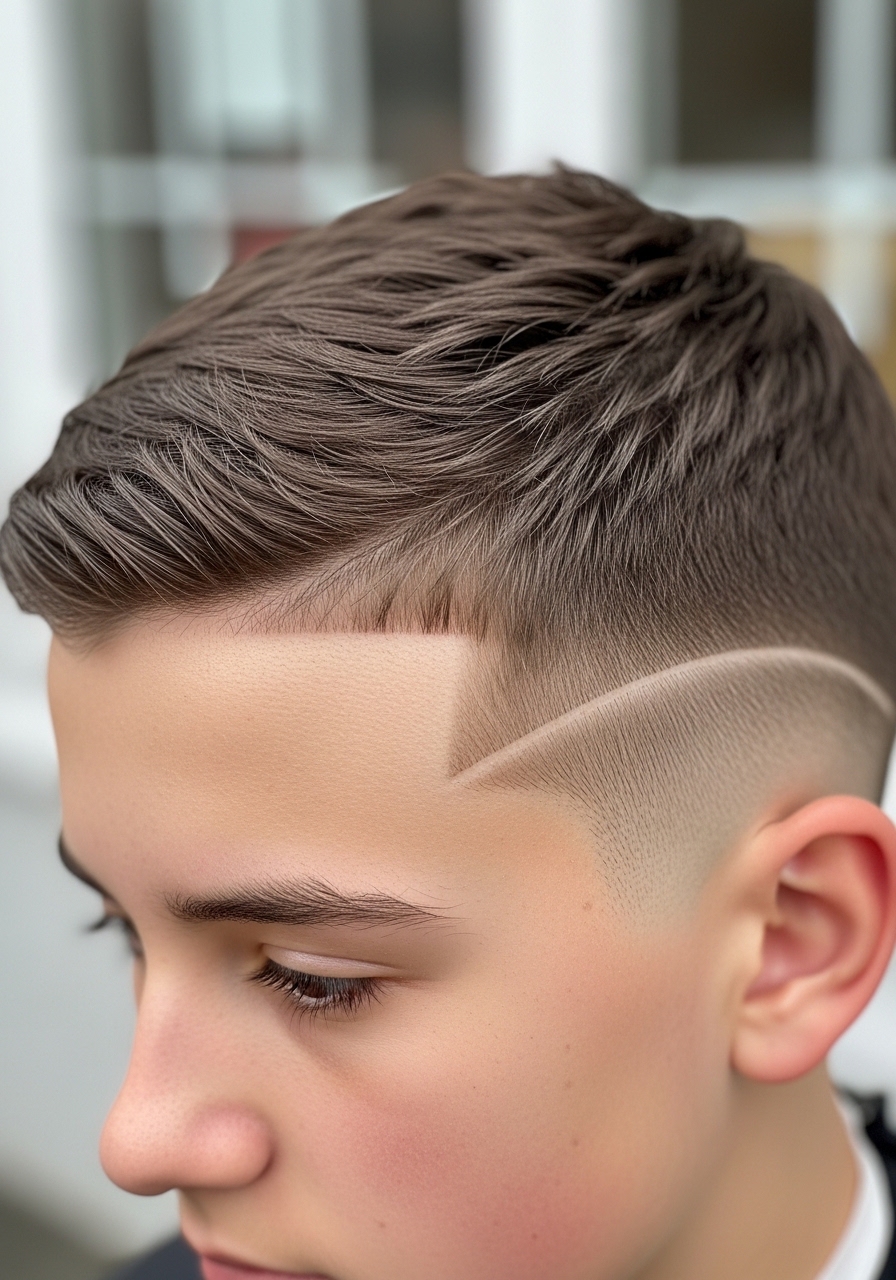
- Flowy Top with Hard Part for Controlled Slimness
I chose a hard part to sharpen my flowy top. Reference images showed precision; in reality, the part needs upkeep or it migrates overnight.
Works on loose curls that split easily. The contrast between the hard part and soft top keeps the face slim and intentional.
Tip: ask for a subtle, not carved, part. My mistake was accepting a deep carved line that looked too artificial after a week.
- Neck-Length Curls with Slim Shoulder Line
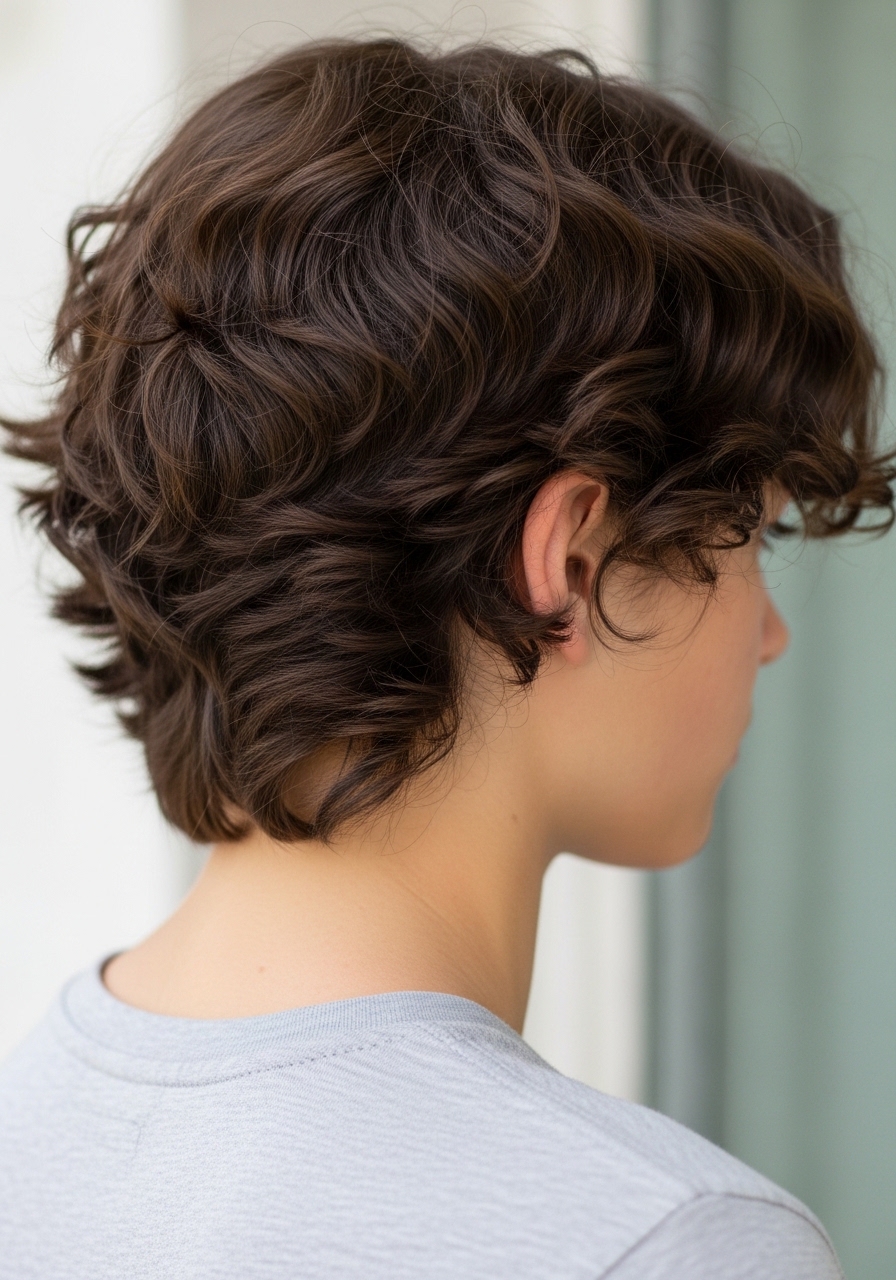
I grew mine to the neck once and liked the movement. Photos show flow; real life taught me it can look heavy at the shoulders unless the ends are thinned.
Best for looser curls that want length. Tapering the nape keeps the silhouette slim and comfortable under a jacket.
Tip: ask for weight removal at the ends. I initially skipped that and had a bulky feel that flattened the whole look.
- Curly Mini Quiff with Skinny Sides
I tried a mini quiff to add just a bit of personality. Pictures made it seem styled; in daily life a quick fingers-through and a dab of mousse did the job.
Works for springy curls that can be pushed up. The skinny sides are the secret to a slim profile.
Tip: don't over-blow the quiff. I once dried it too aggressively and ended up with dry, crunchy curls that lost softness.
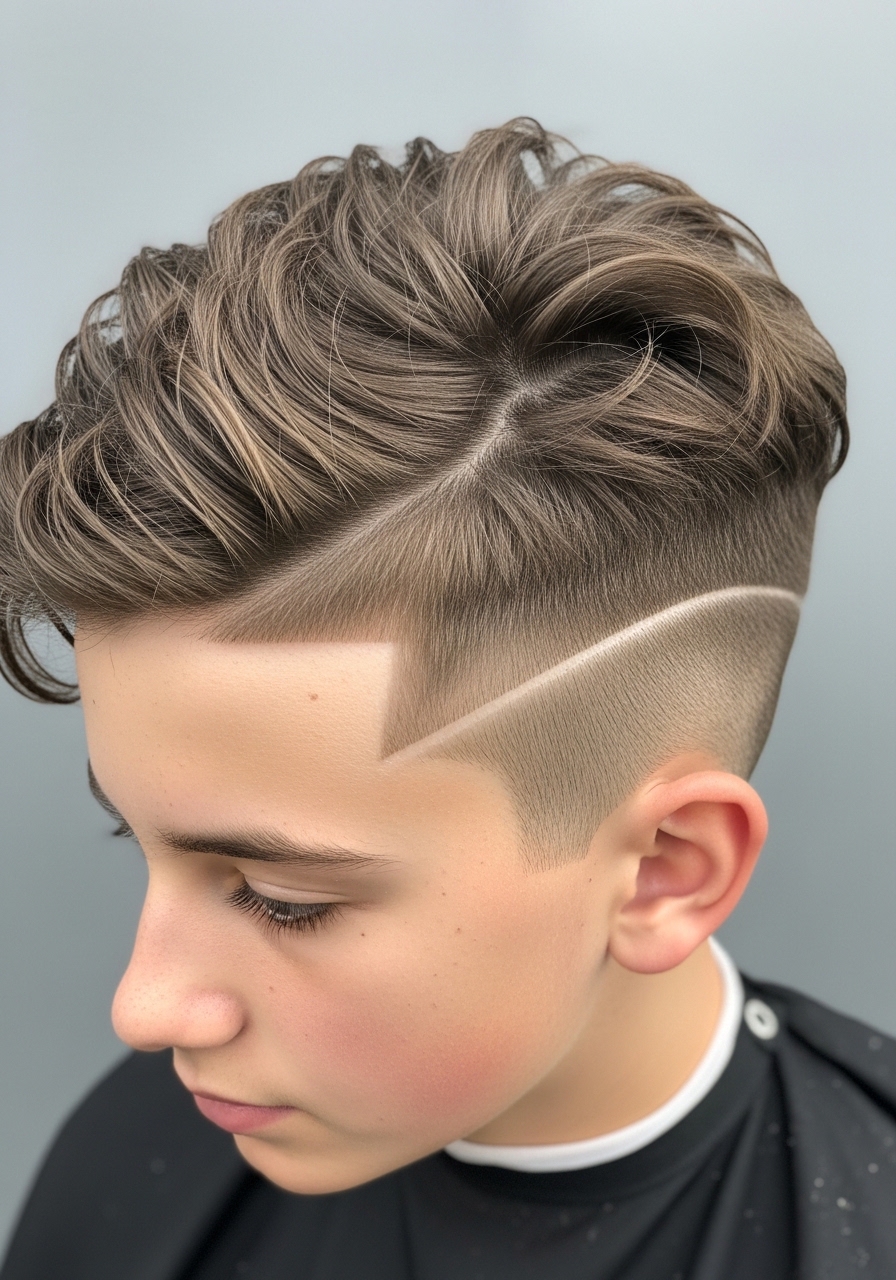
- Curly Faux Undercut with Soft Edges
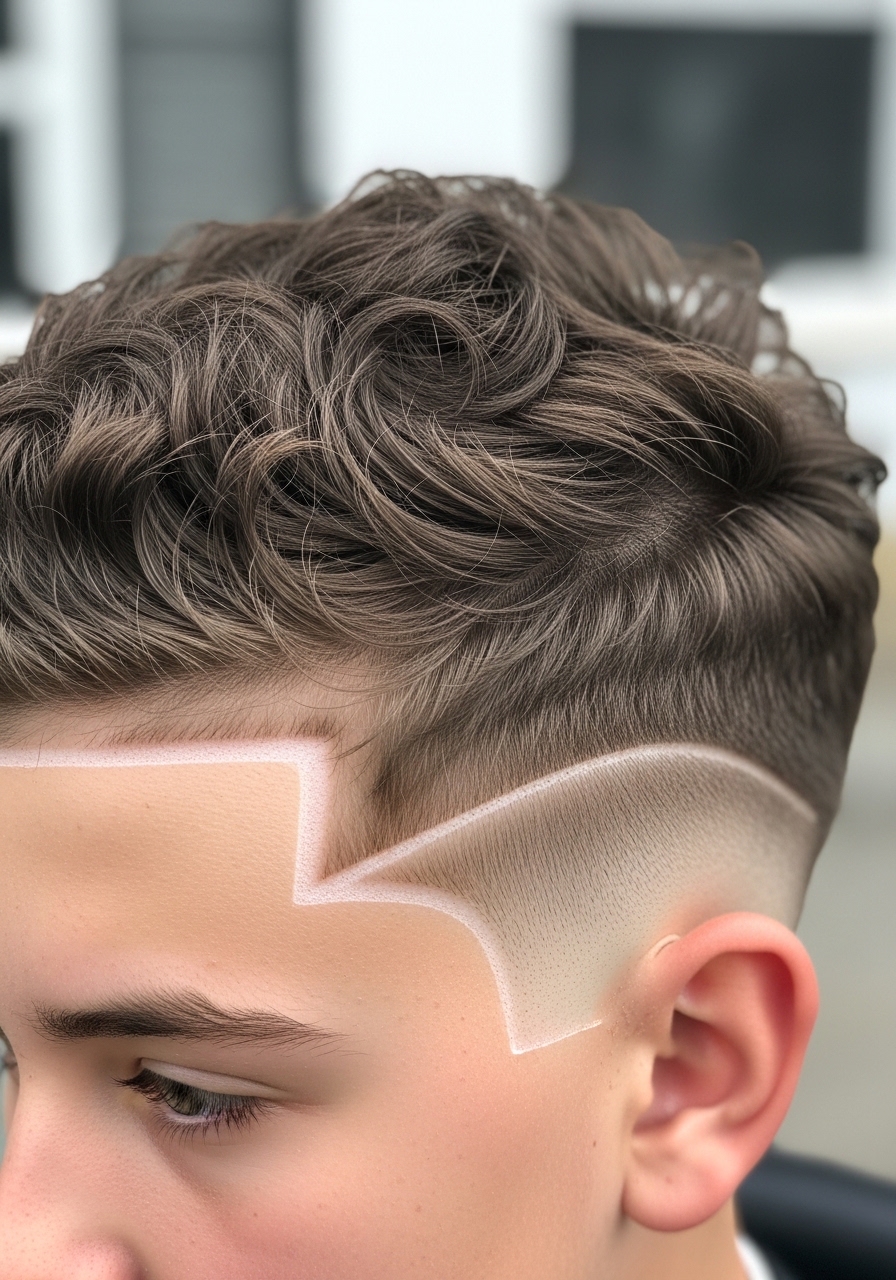
I asked for a faux undercut to avoid the commitment of a real one. Photos looked daring; in practice it’s subtle and keeps the sides slim without exposing scalp.
Good for medium-density hair that wants space without drama. The soft edge blending is key to staying school-appropriate.
Tip: say you want a blended, not harsh, undercut. My first try had a sharp divide and it looked too trendy for my school rules.
- Natural Grow-Out with Strategic Trims
I learned to grow my curls intentionally by trimming only the perimeter. Photos of long curls look effortless; real life is a little messy unless you shape the outline.
This approach suits all curl types who want length without bulk. The strategy keeps a slim profile while letting natural texture show.
Tip: schedule trims every 6–8 weeks to keep the sides from ballooning. I learned that skipping trims made my face look wider as the curls spread.