I ruined my hair with one-too-many trendy cuts. It took years to find long styles that actually behave.
These picks are from my trial-and-error — cuts I kept, cuts I grew out, and the ones that make mornings simple. If I can do it, so can a kid who wants long hair without fuss.
10 Free Boys Long Haircut Styles
Here are 10 boys long haircut styles I actually tried or lived with. Each idea explains how the cut behaved for me, who it suited, and what I told my stylist so I walked out confident.
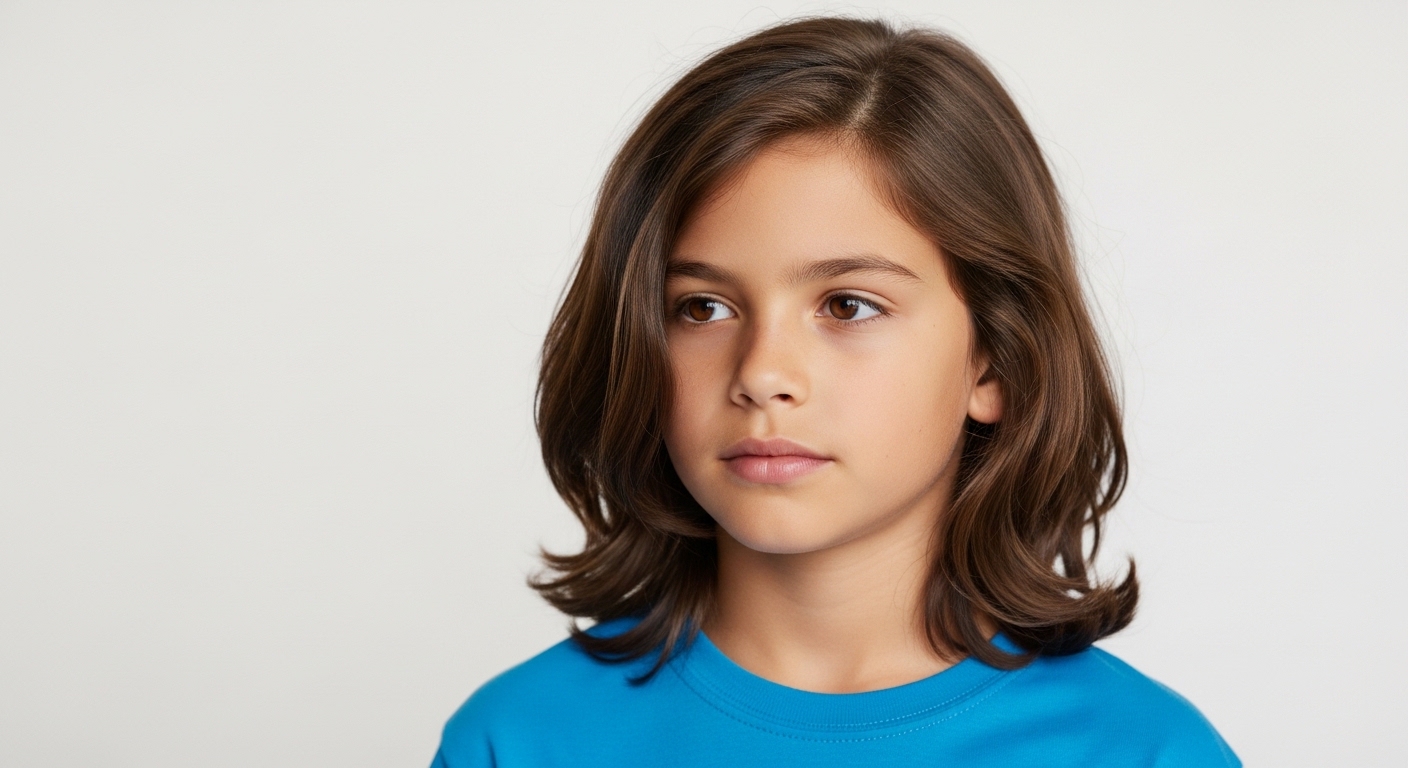
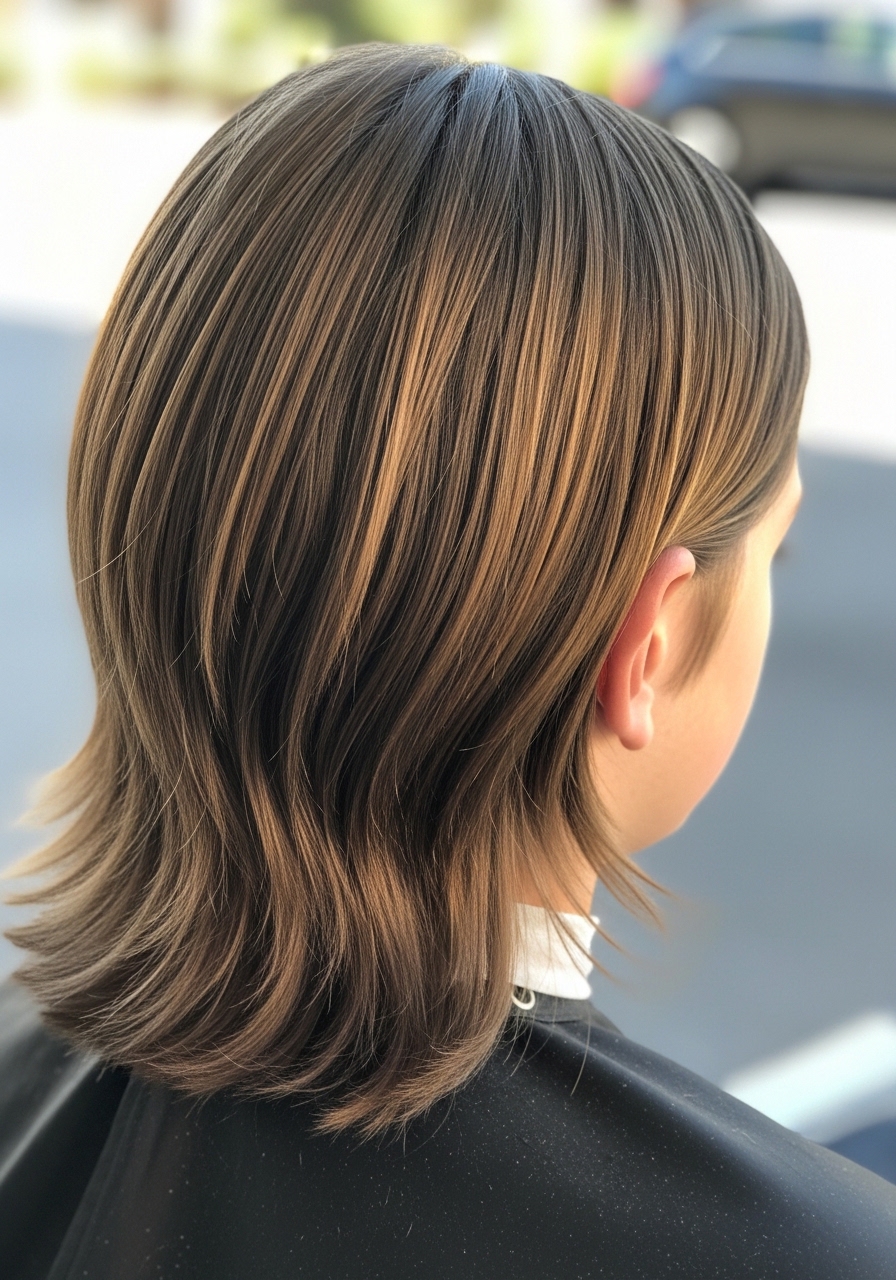
1. Shoulder-Length Shag with Natural Layers
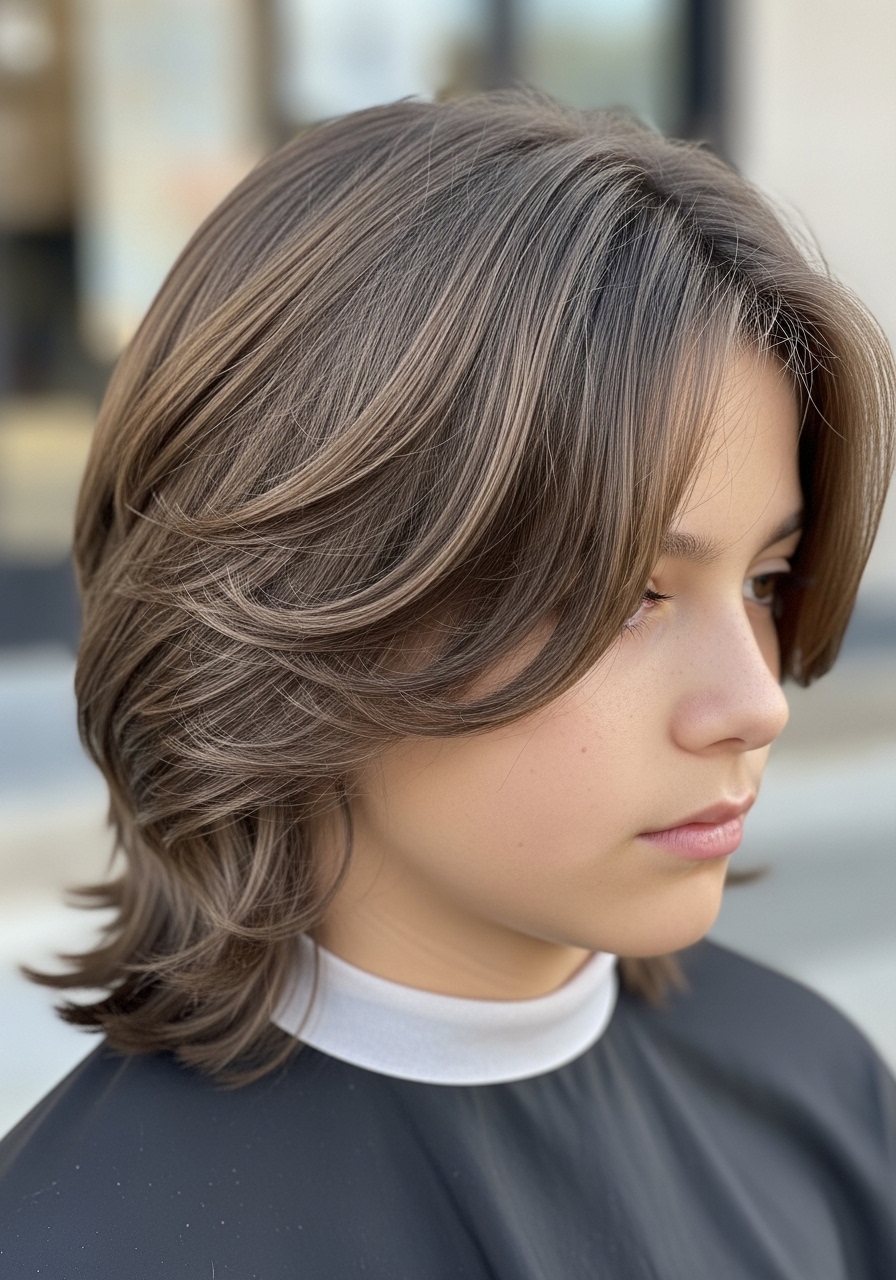
I asked for a shoulder-length shag with soft layers when I was tired of flat hair.
In photos it looked cool and piecey; in real life it settles into a rounded shape that still moves.
It works best on medium to thick hair because the layers give lift. On fine hair I had to ask for thicker sections to avoid wispy ends.
Tip: my mistake was asking for too many short choppy bits at first — it read messy after sleeping. I told my stylist I wanted soft graduation and we avoided micro-layers near the crown. I air-dry it and shake my head to get that lived-in texture. A dab of cream and scrunch is all it usually needs. It lasts two days before I need to refresh.
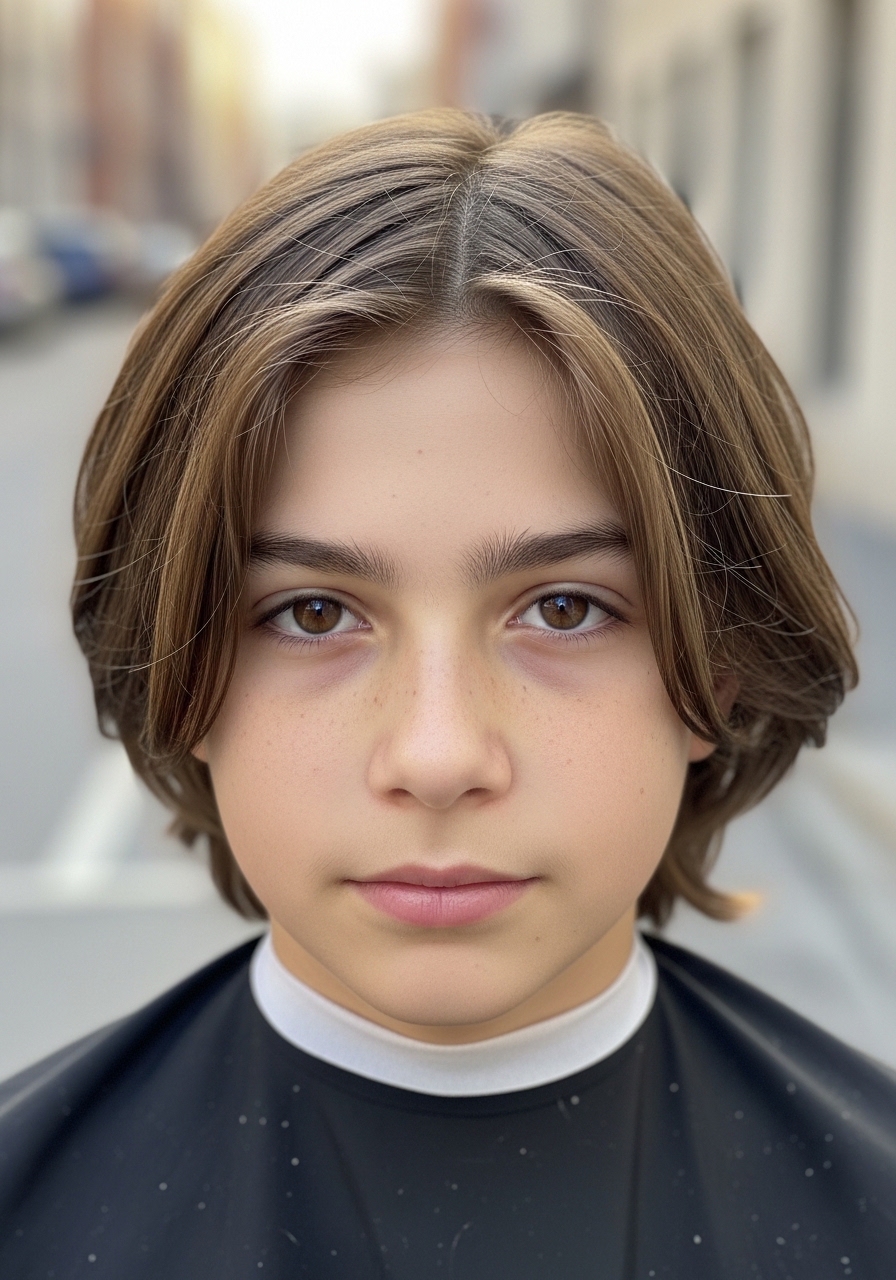
2. Low-Maintenance Curtain Bangs with Tapered Sides
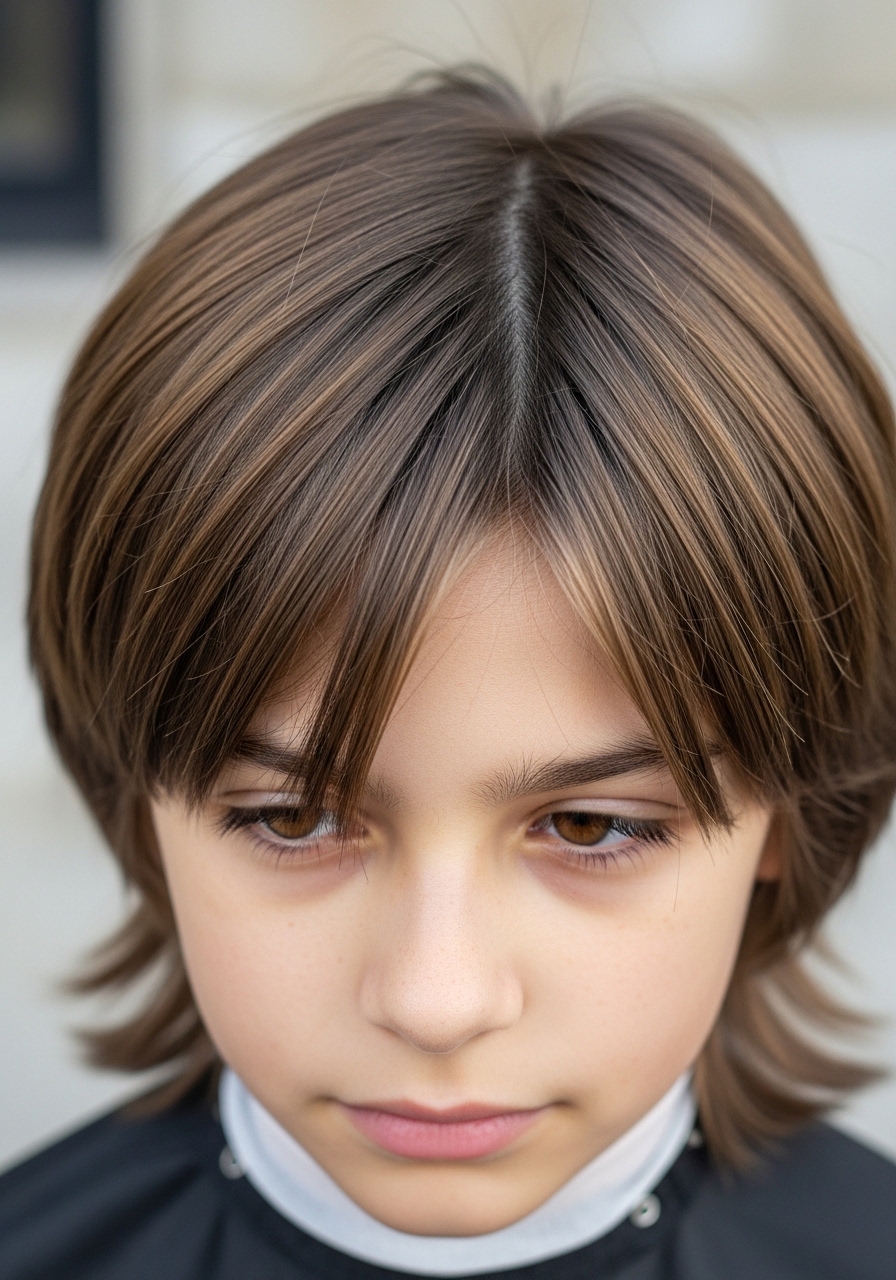
I asked for curtain bangs while keeping the length because I was over forehead sweat lines.
Photos showed soft center parts; in real life the bangs split differently each day and give my face more shape without losing the long look.
Tapered sides keep the weight down so the bangs aren't clinging to my temples. It suits straight and slightly wavy hair best because heavy curls can puff the curtain.
My mistake was asking for very short bangs at first — they flipped and told on me at soccer. Now I ask for longer curtain lengths and trim every 6–8 weeks. I dry them with my fingers and a little paste. It takes two minutes and keeps them from looking too styled.
3. Undercut with Long Top and Soft Ends
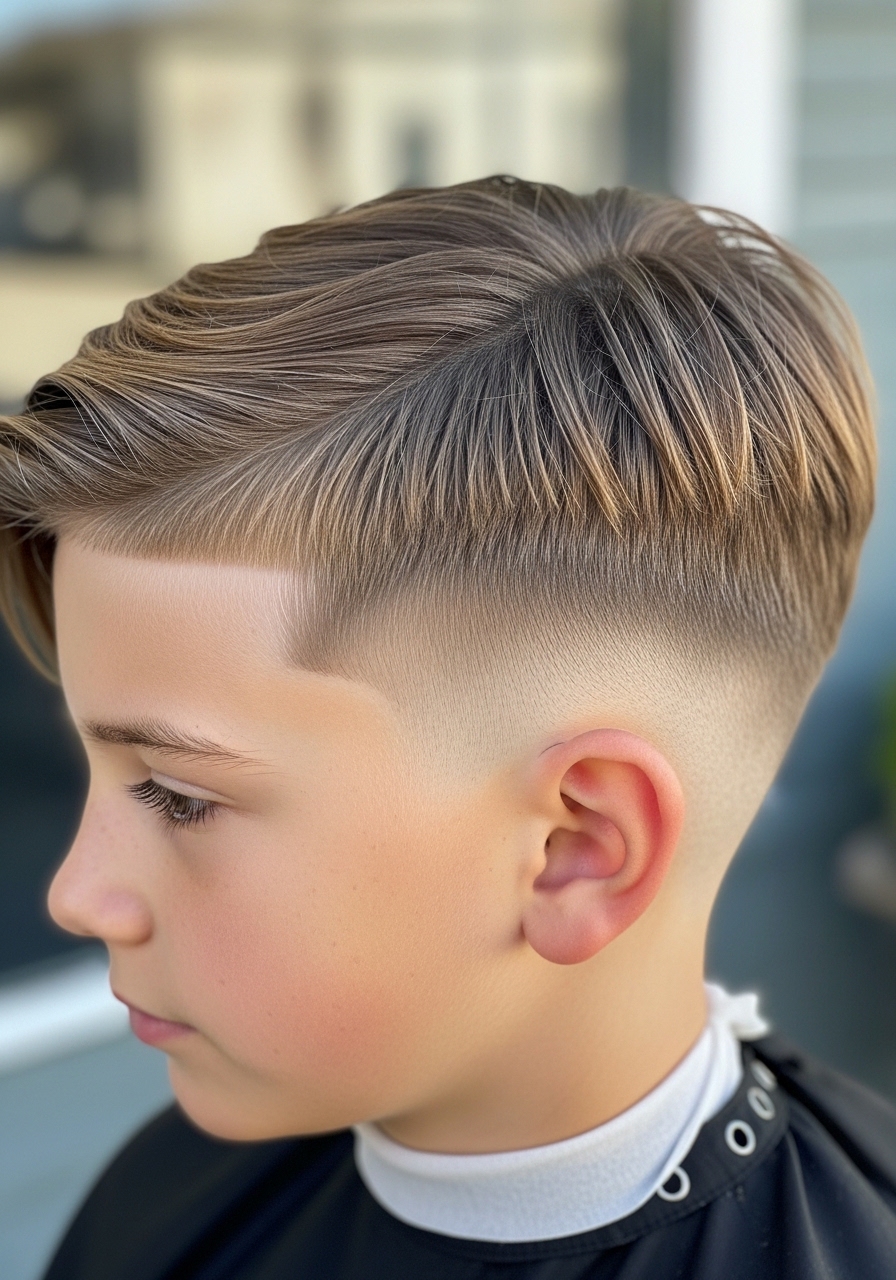
I went for an undercut with a long top when I wanted less bulk around the ears but still lots of length to sweep.
Reference shots showed a dramatic contrast; on me it reads cleaner but playful — the top lays forward or back depending on humidity.
It behaves well with medium and thick hair. My fine-haired friend tried it and needed product to add weight so the top wouldn't separate into stringy pieces.
I learned that asking for too severe a fade made my head look boxy. Now I ask for a soft transition and longer ends so I can tuck hair behind my ears when I want. Styling is two pats of pomade and a blow-dry toward the back. It lasts most of the day.
4. Mid-Back One-Length with Blunt Finish
I grew my hair out to a mid-back one-length because I wanted a clean, simple look without layers.
In pictures it looks sleek; in real life the blunt edge softens after a few days of movement and shows a little bend from sleeping.
It suits straight to slightly wavy hair best because heavy waves can create width. My thick hair kept the line; my thin phases needed a small trim to avoid split ends.
Tip I learned: don't overdo length without planning trims. I waited too long once and the ends looked frayed. Now I book a clean-up every 10–12 weeks. Styling is minimal. I run a wide-tooth comb through damp hair and air dry. A light serum on ends keeps the blunt line visible.
5. Textured Surfer Waves That Air-Dry Well
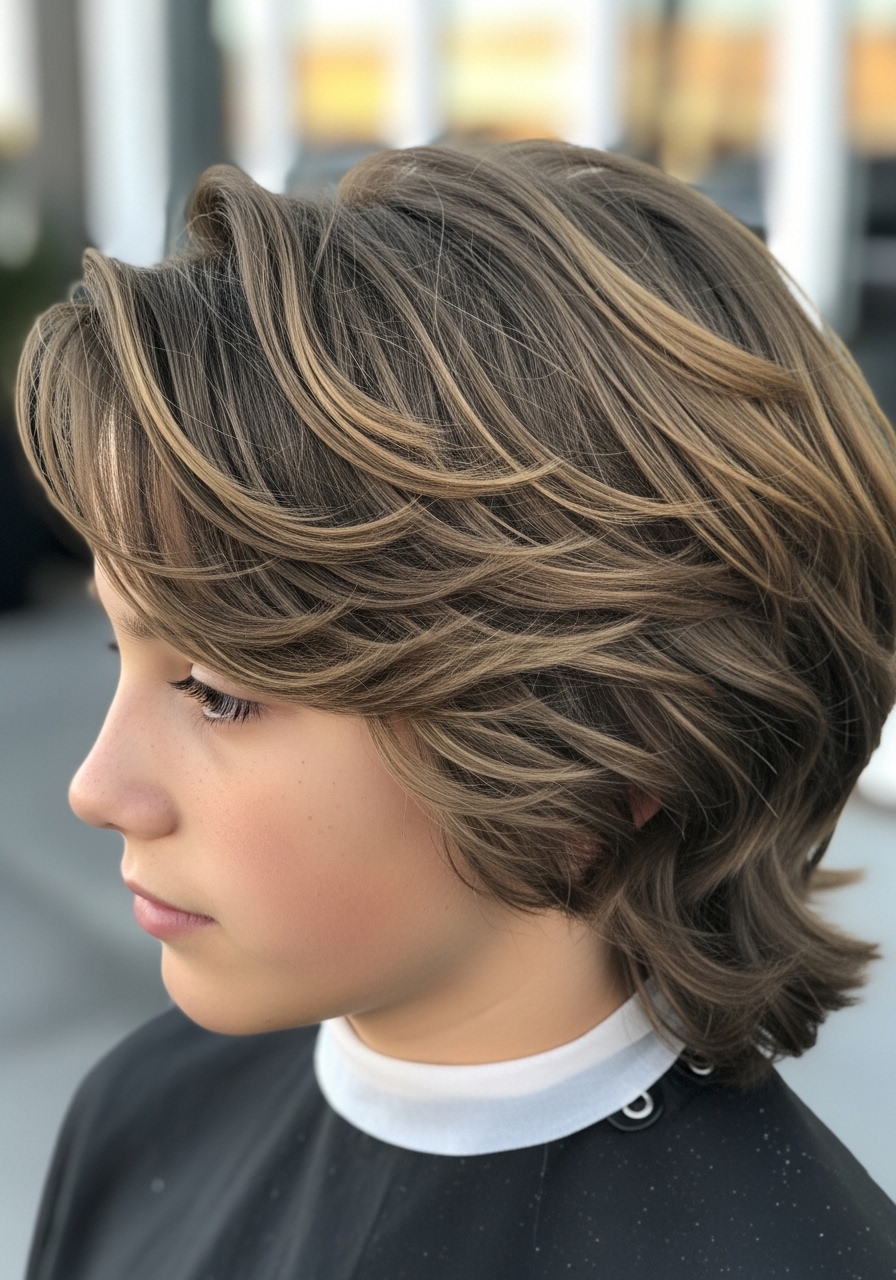
I cut my layers to encourage surfer waves because I was done fighting my natural pattern.
Online photos had beachy chaos; in real life it’s softer and fuller at the crown, with uneven lengths that look intentional once you let it sit.
It loves humidity, which is a blessing and a curse. My mistake was using heavy gel at first — my hair froze and lost bounce. Now I scrunch with sea salt spray and a touch of cream.
This cut works on medium thickness; very fine hair might need a texturizing cut. I sleep with a loose top knot and wake with better separation. Styling takes seconds. I towel-dry, apply product, and let it air. On bad days I give it a 10-second blast with a diffuser.
6. Long Bob with Subtle Face-Framing Pieces
I chopped to a long bob with subtle face-framing pieces when mornings felt like a production.
The reference had a soft bounce; in reality it sits close to my jaw and shows movement when I turn my head.
It flatters straight and fine hair because the pieces frame the face and add weight. My hair grows fast so the bob stays fresh with trims every 7–8 weeks.
I learned to tell my stylist I wanted the face pieces long enough to tuck behind ears — shorter bits looked childlike on me. A cream and quick brush keep it smooth. On rough days I flip hair to the opposite side and it instantly looks fuller. It's low-fuss and I like that I can still tie it back if needed.
7. Braided Half-Up for Active Days
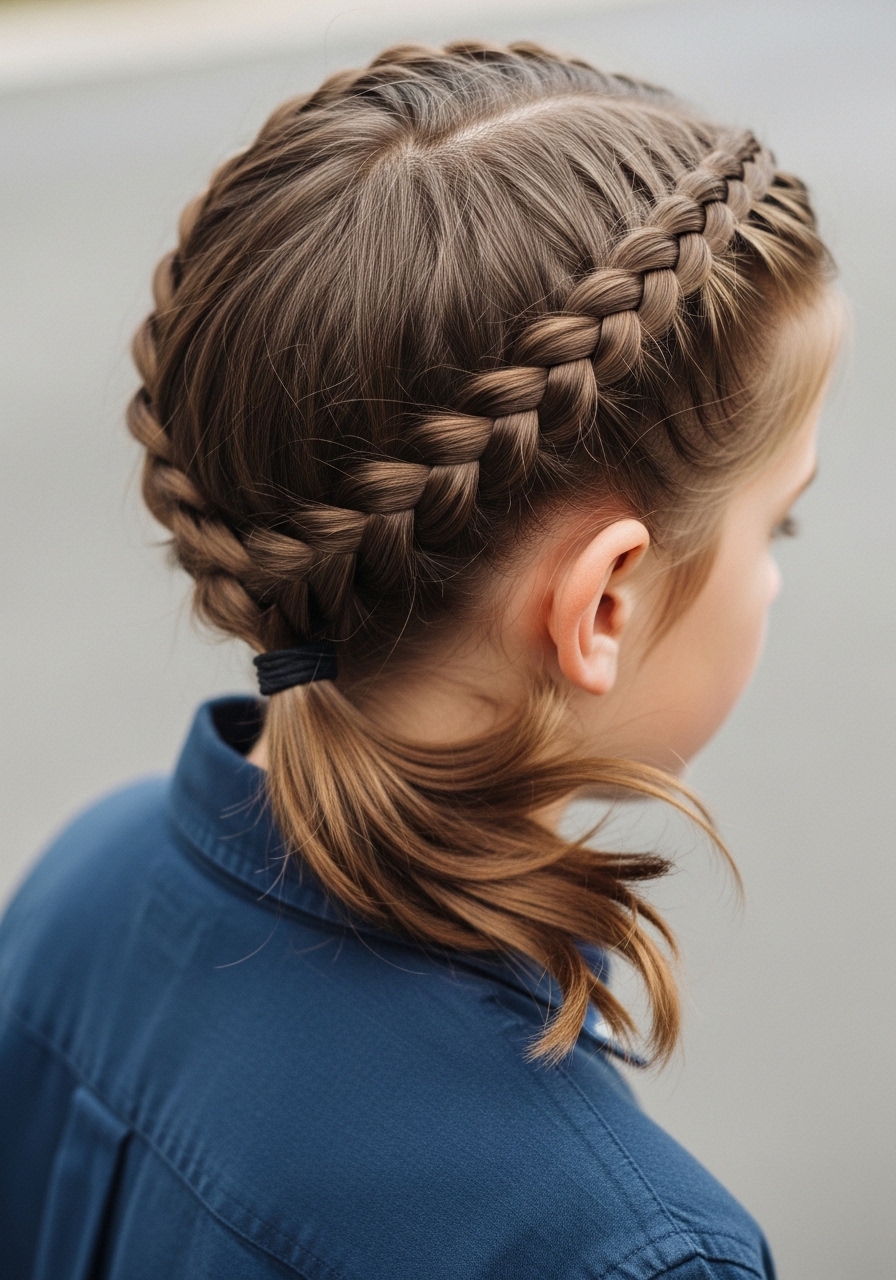
I started doing a braided half-up because I needed hair out of my face during practice without a full ponytail.
It looked clean in photos; in life the braid loosens after rough play and the tail gets a bit frizzy if I don't prep it.
My mistake was tight braiding — it left dents and a sore scalp. Now I braid looser and start with damp hair so it settles better.
This style works on medium and thick textures; fine hair can slip out unless I use a small elastic at the crown. I twist the top section and pin it before braiding for control. It lasts through drills and a whole day at school with a quick fluff at lunch. I like that it looks intentional but doesn't feel tight.
8. Long Caesar Cut with Shorter Back
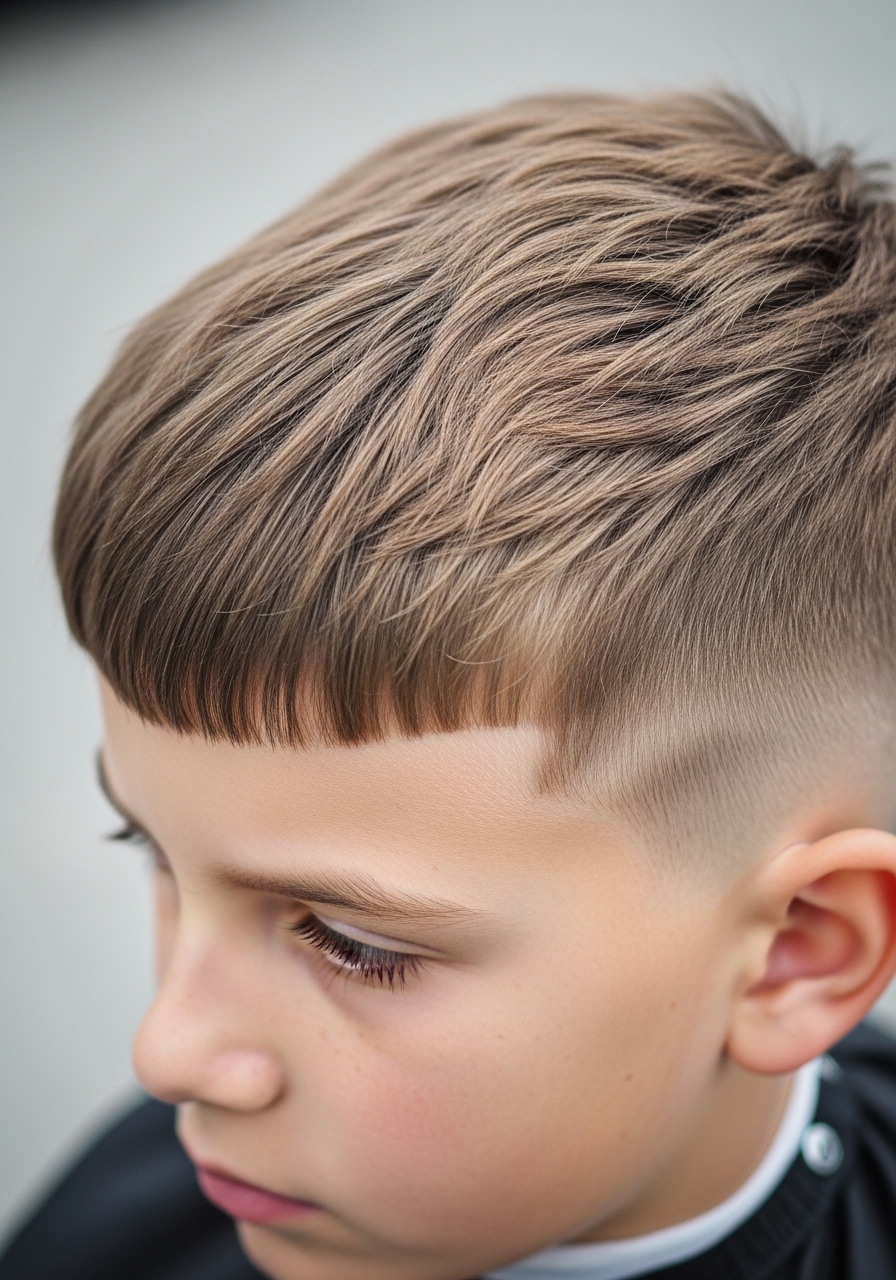
I tried a long Caesar because I wanted short sides but didn't want to lose the fringe.
In gallery shots the line is crisp; on me the top lays forward and the back stays tidy without feeling bowl-shaped.
It suits straight and slightly wavy hair. My thick hair holds the fringe; when mine was fine I asked for added density at the hairline so it didn't disappear.
I like that it's low-maintenance. A quick comb and a dab of light paste and I'm out the door. The shorter back makes neck sweat less in summer. When I wanted a softer look, I had my stylist round the edges instead of a hard line. I've kept mine blunt but asked for a slight taper at the nape.
9. Greaser-Style Slick Back but With Length
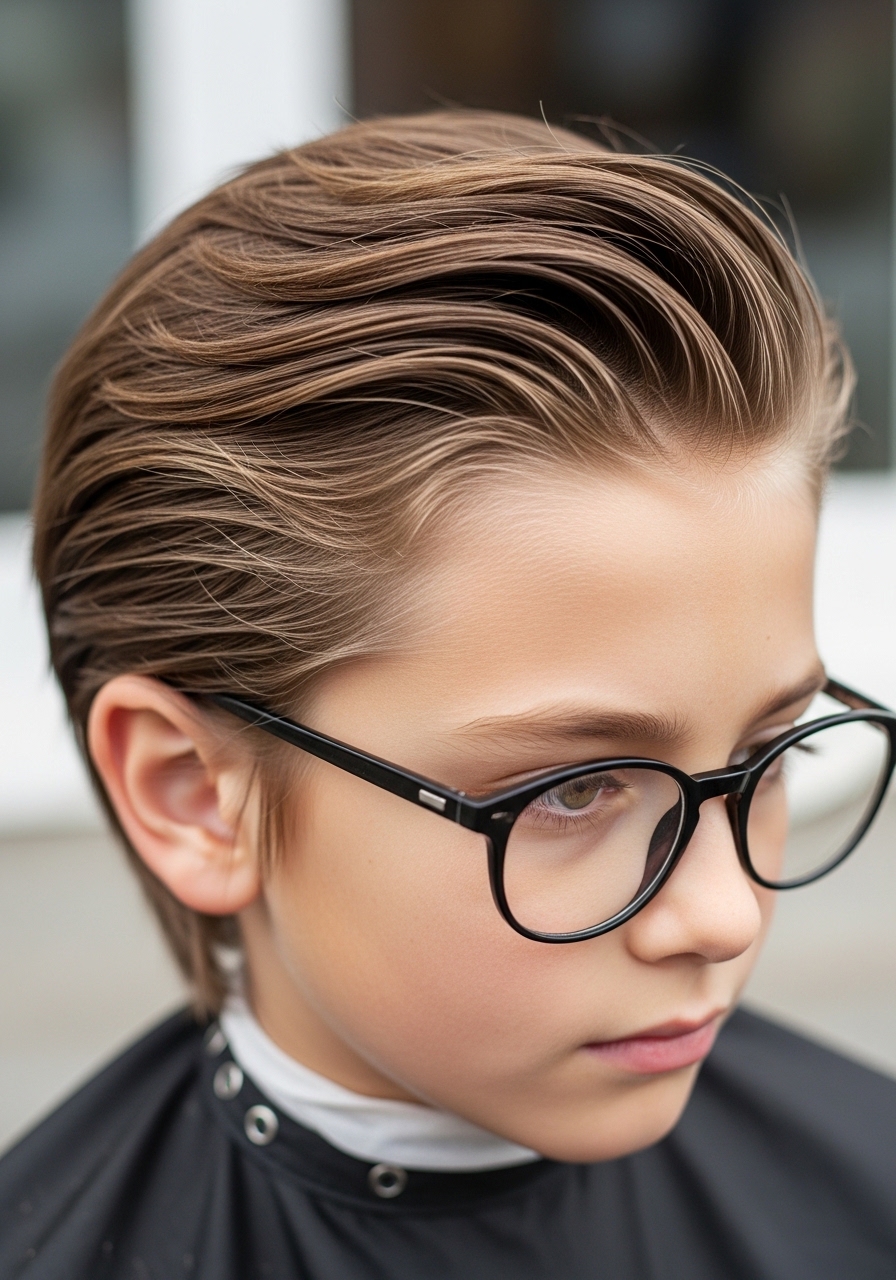
I tried a greaser slick back while keeping length because I liked the neat look without cutting off my mane.
Photos show glossy control; in daily life humidity tests it. Mine loosens into a controlled wave by midday, which I actually prefer.
It works on straight and slightly wavy hair. My mistake was using too much oil — it looked flat and weighed down. Now I start with a matte clay and finish with a tiny oil on ends.
Styling takes a few minutes with a comb and a blow-dryer. The length gives it motion, so it doesn't feel like a helmet. When I wanted it through the ears, I told the barber to leave the sides long enough. It holds if I touch it up midday with the comb.
10. Grown-Out Mullet with Clean Neckline

I committed to a grown-out mullet so I could keep the volume on top while cleaning up the back.
It looks edgy in photos; reality is softer — the length at the back balances out when it's trimmed into a neat neckline.
My mistake was letting the nape grow wild for months — it read unkempt. I now ask for a clean neckline and a little point-cutting on the sides so it blends.
This suits wavy and thick hair best; fine hair can look sparse in the back. I tie mine low when I work out and it stays put. Styling is low: a quick trim at the neckline and a light cream for separation. I like that it reads modern and I still get to toss my hair over my shoulder.