I used to think a low bun was just a lazy day fix. Then I kept messing up cuts and products until one actually worked with my hair, not against it.
Now I can tell you which sleek low bun survives humidity, sleep, and a long commute. These are honest takes from my own chair-side experiments.
25 Real Sleek Low Bun Hairstyle Tutorial
I tested 25 sleek low bun hairstyle tutorial ideas until I found the ones that actually hold and look like the picture. Each idea is from something I’ve worn, fixed, or told my stylist to do. Expect real-life notes on texture, wear, and what to ask for at the salon.
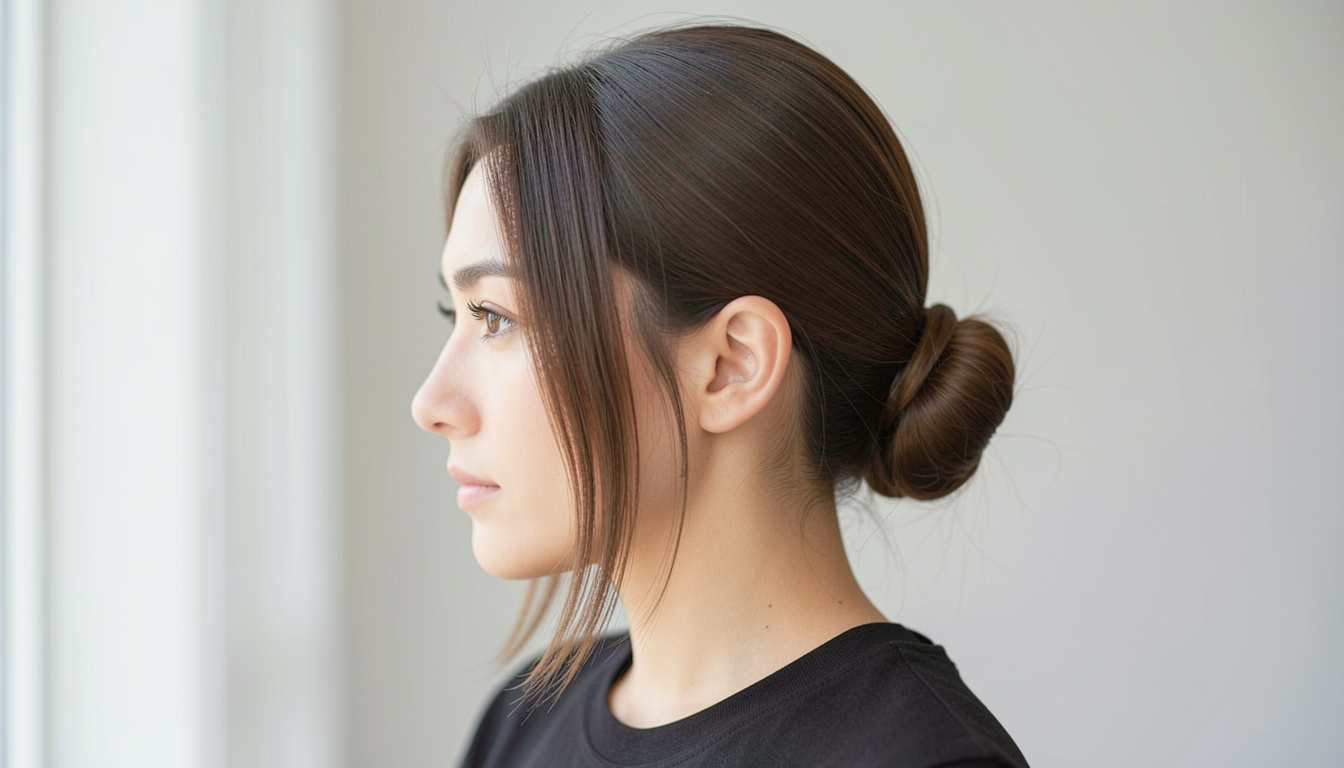
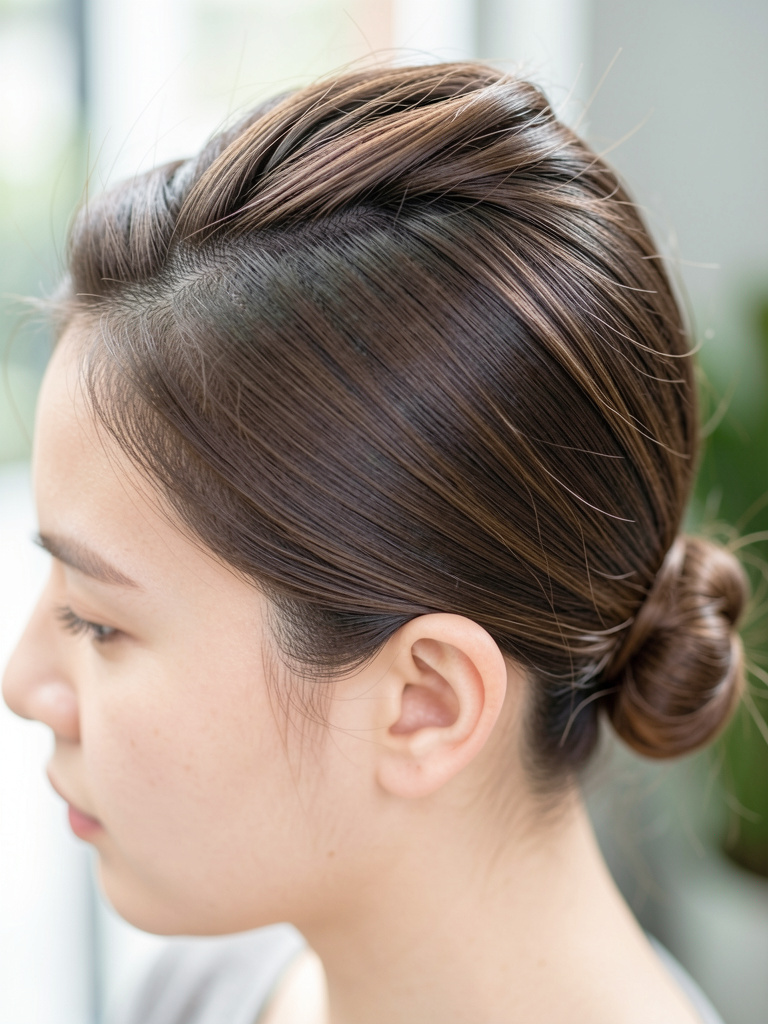
- Deep Side Part Sleek Low Bun
I asked my stylist for a deep side part to soften my square jaw. It made the whole bun look intentional instead of shoved back. The first time I tried it I parted too far back and the bun slouched, so placement matters.
On my medium-thick hair the side part creates a flattering diagonal that hides widening at the temples. It lasts through a humid commute if I lock the sides with a light gel and two pins.
If your hair is finer, ask for a slightly offset part rather than dramatic. It looks fuller and is easier to keep tidy all day.
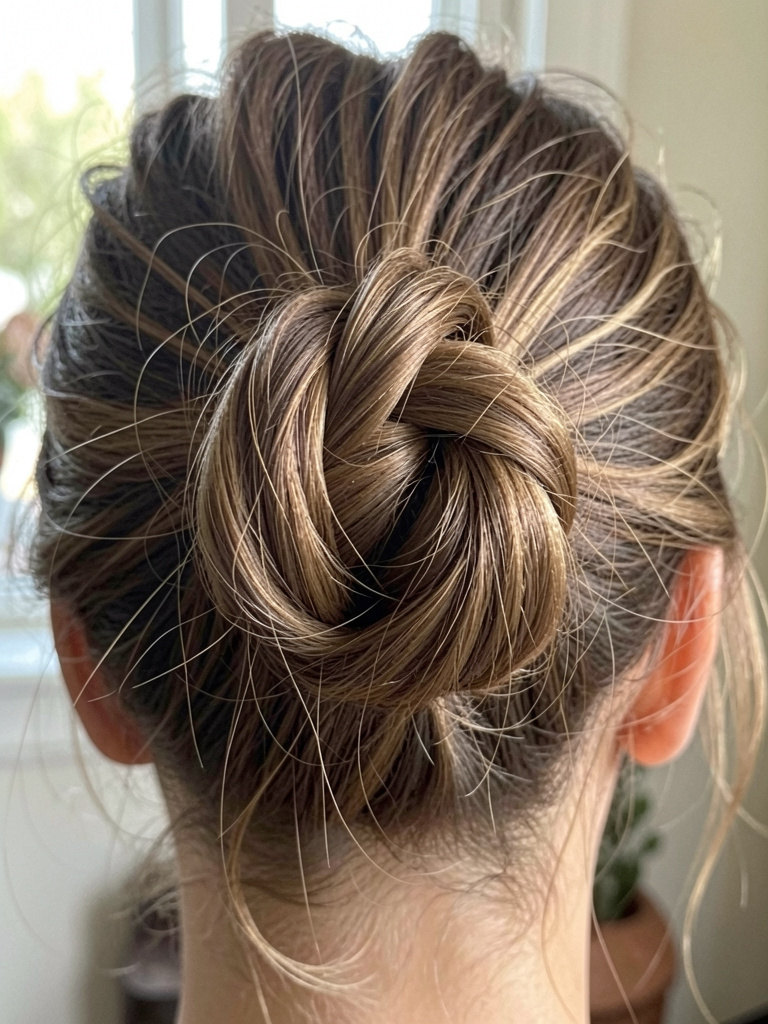
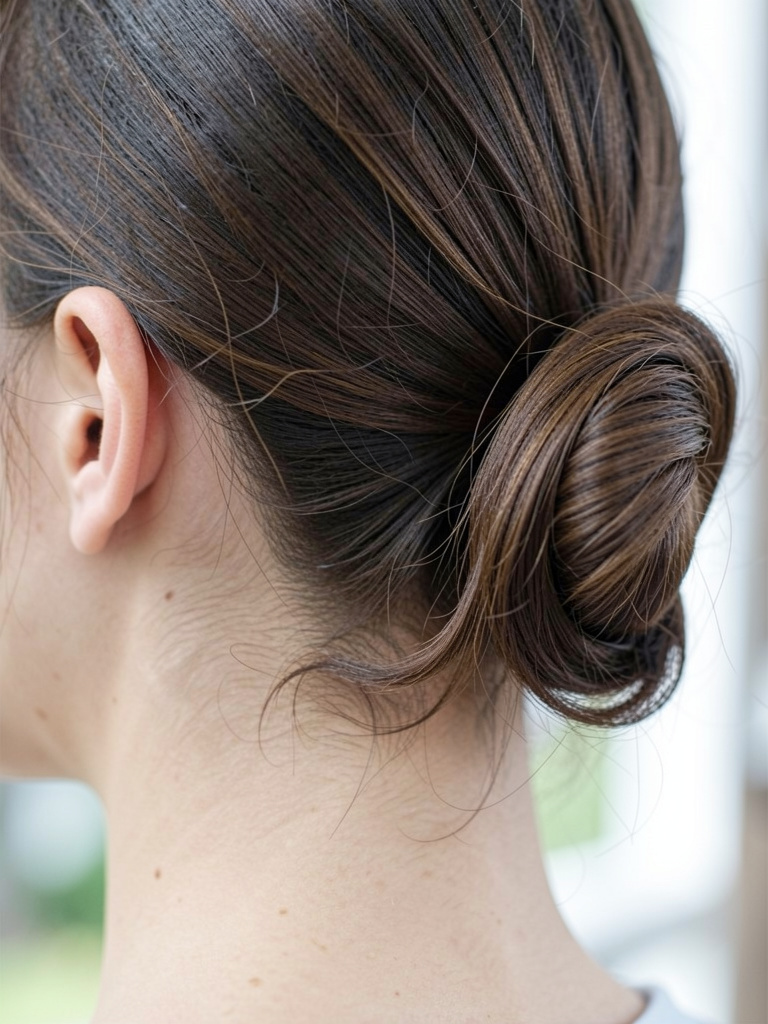
- Center Part Sleek Low Bun with Wrapped Base
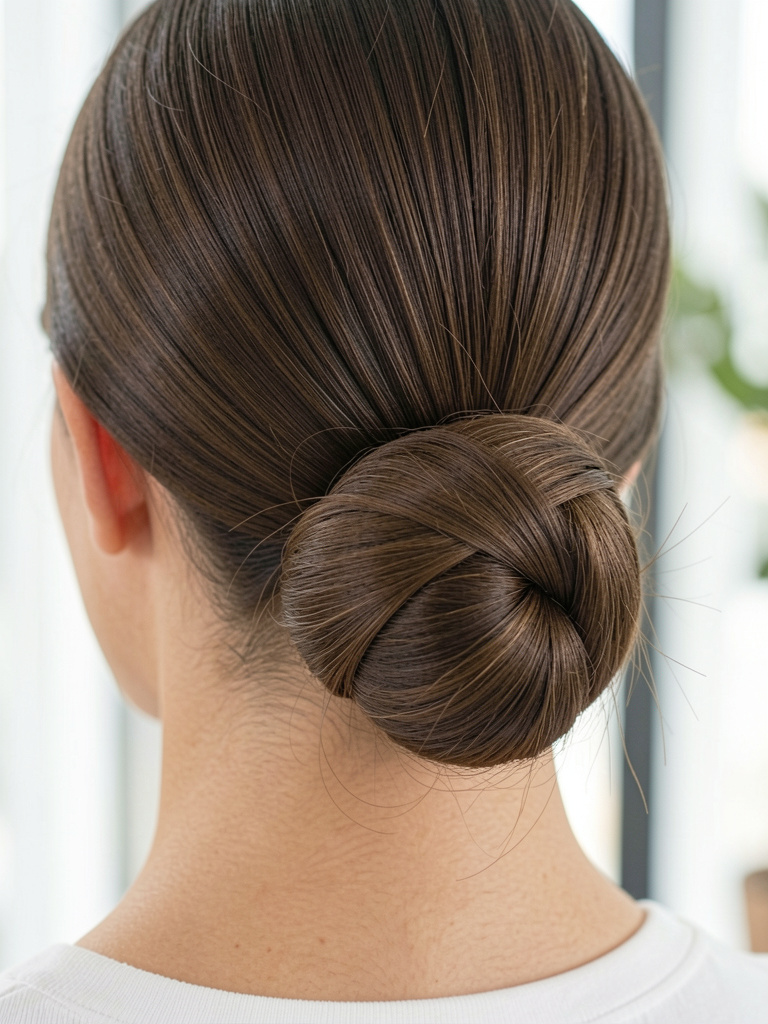
I wore a center part and wrapped the base with a small section of hair. It felt tidy and soft at the same time. My first attempt had a loose wrap that fell out by lunchtime, so I started tucking and pinning under the bun.
This style is lovely on long, straight hair. The center part gives symmetry. It holds better if my hair is a touch dirty — fresh hair slips. I pin the wrap with a bobby pin tucked under for a clean look.
Tell your stylist to trim any uneven layers that peek out of the wrap. That small ask keeps the bun looking intentional for longer.
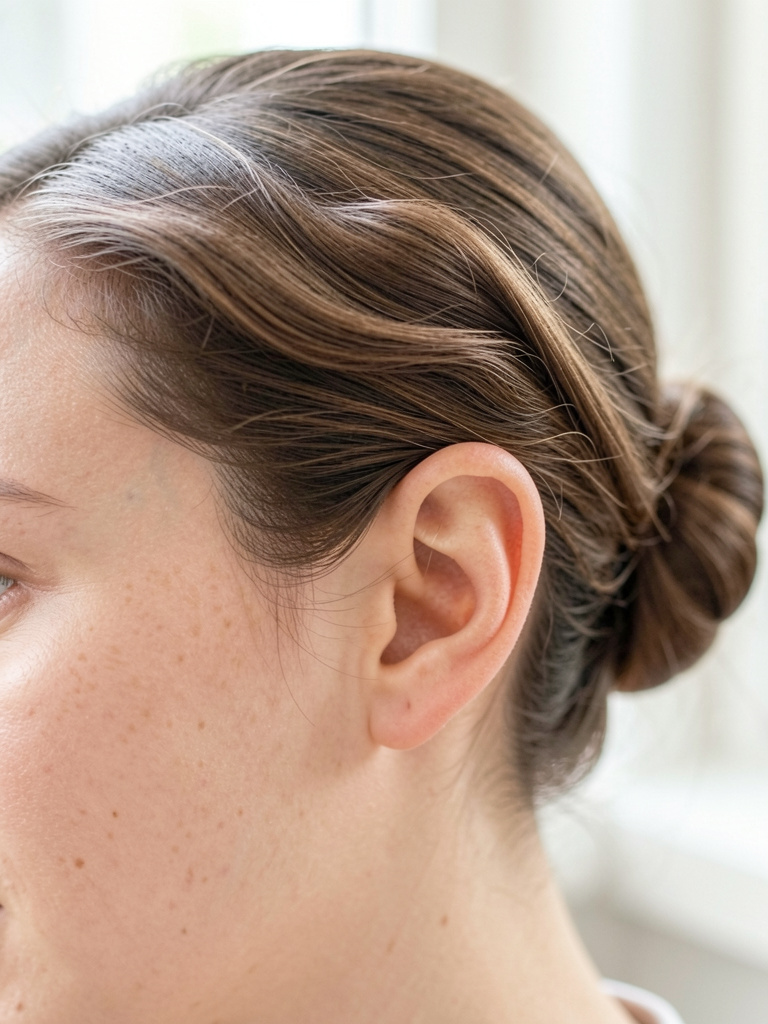
- Sleek Low Bun with Face-Framing Tendrils
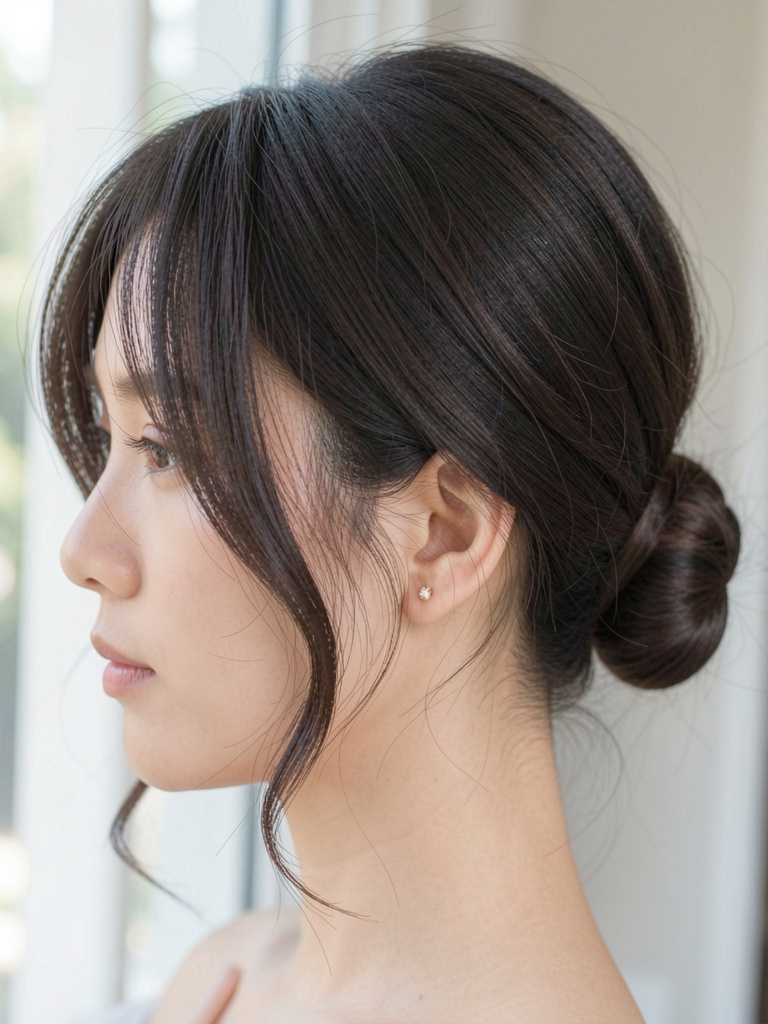
I started leaving small tendrils because my hair felt too severe when fully slicked. The first day I left them too long and they looked unstyled. I trimmed them down to chin-length and the look settled.
In real life those tendrils soften a formal bun. On wavy hair they add texture. In humidity they curl up more than expected, so I smooth them with a light serum in the morning.
This is a good cheat if I want a sleek vibe but don’t want to look boxed in. Ask for short, soft face-framing layers that won't stick to your forehead.
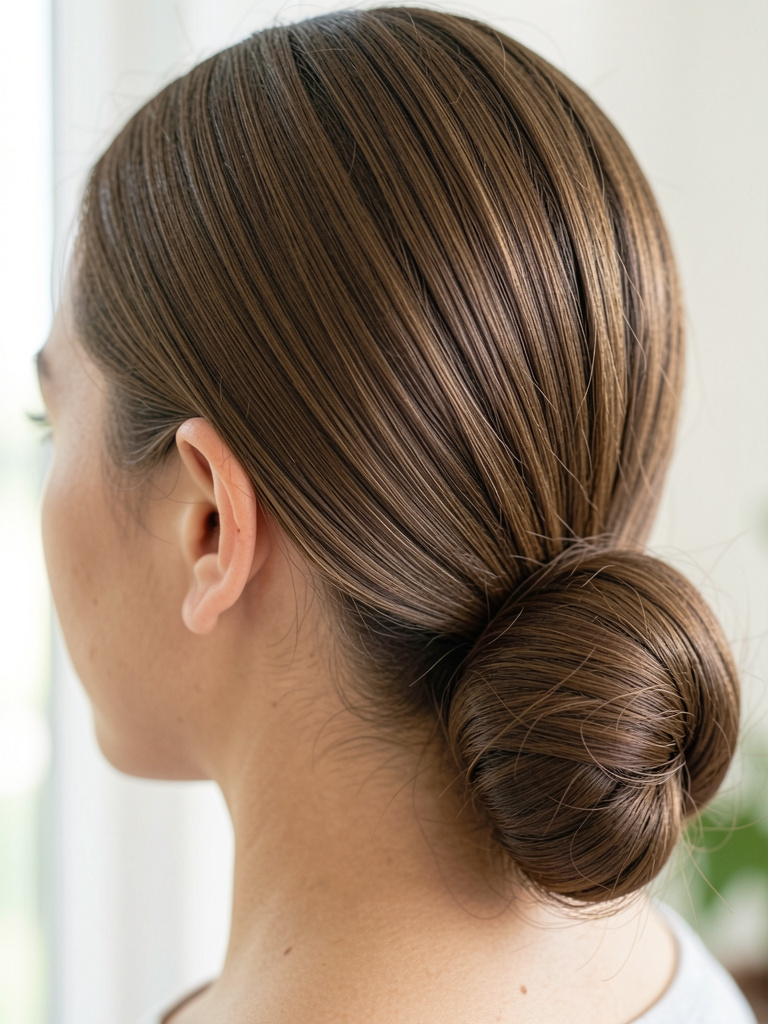
- Low Chignon with Twisted Sides
I learned to twist the sides toward the nape when my bun looked flat. The first time I did it I pulled the twists too tight and created dents. Now I keep the twists slightly relaxed for movement.
This holds well on shoulder-length and longer hair. The twists hide the seam of the bun and make my head shape look balanced. On humid days the twists can loosen, so I add a tiny bit of spray.
If your hair has layers, tell your stylist to leave enough length in the crown so the twists sit smooth. That tiny request stopped flyaways for me.
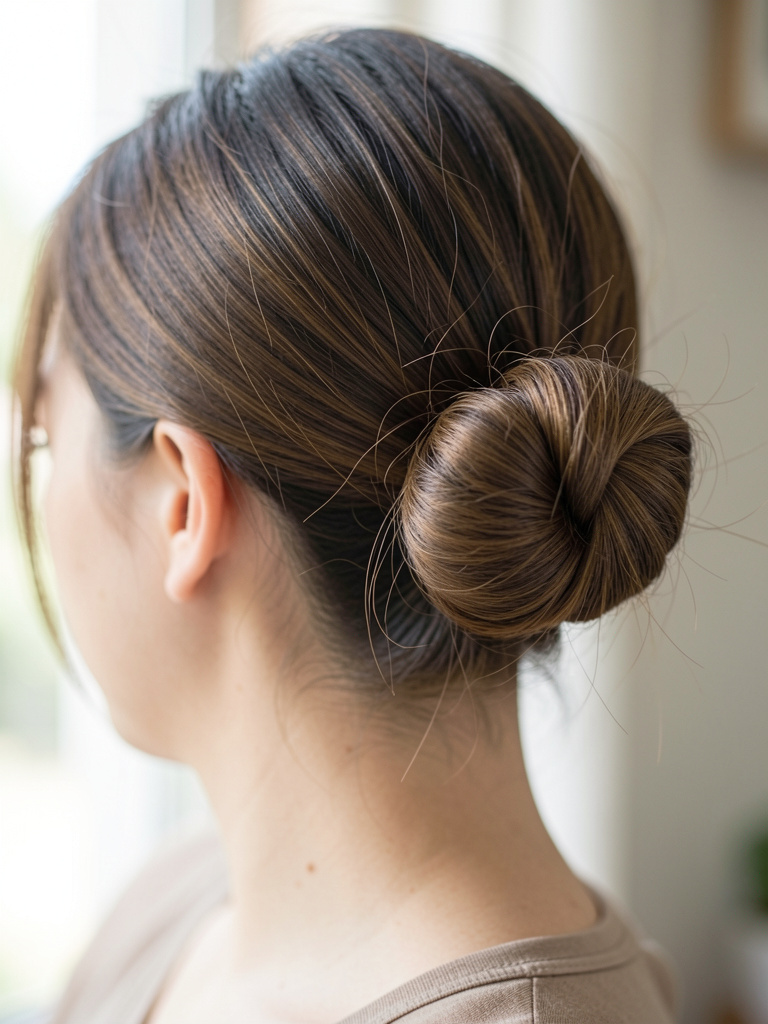
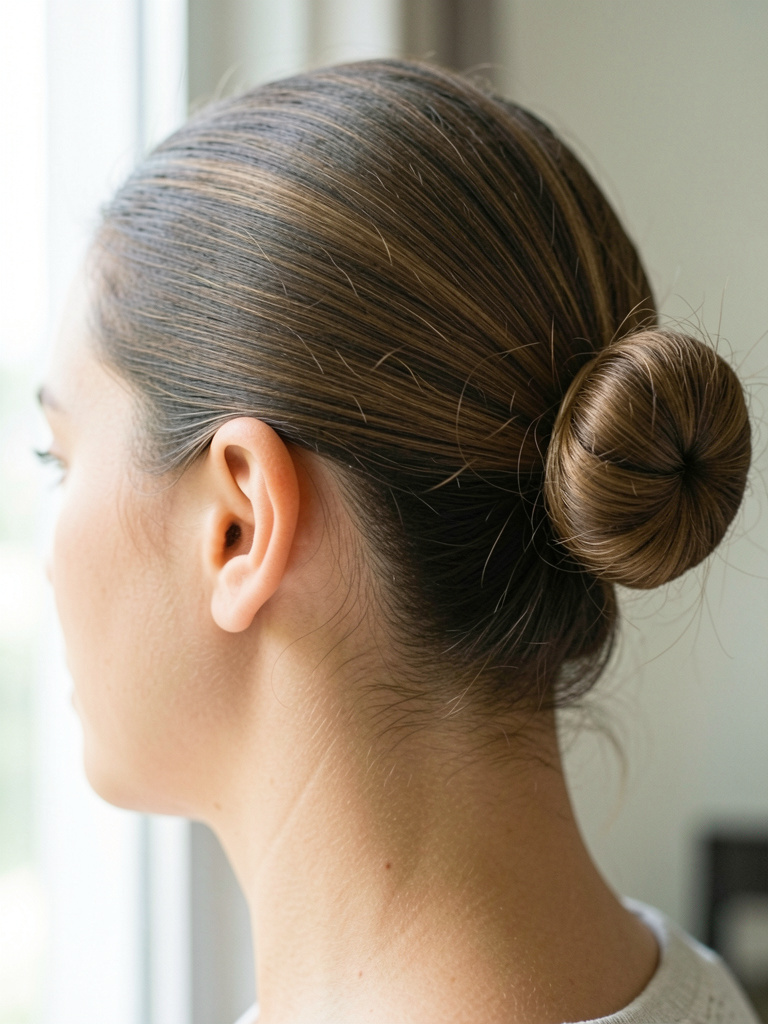
- Sleek Low Bun with Hidden Elastic

I started hiding the elastic because visible elastics looked messy on my coat collars. The trick felt fussy at first. I bunched and wrapped poorly once and had to redo it on the subway.
This looks polished on any hair with enough length to loop. It’s surprisingly comfy for long days. If your hair is slippery, a textured tie or hair donut under the bun helps it stay put.
Tell your stylist you want length just past shoulders so there’s enough hair to conceal the elastic without pulling too much at the roots.
- Sleek Low Bun with Braided Wrap
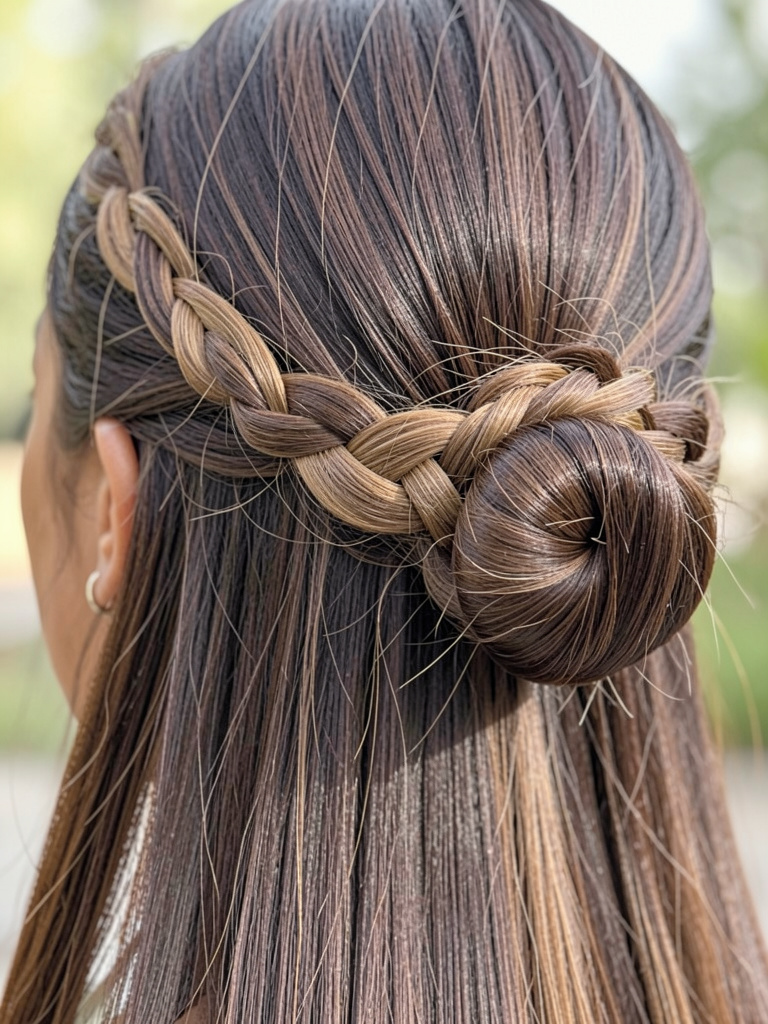
I braided a small section and wrapped it around the bun once, and it finally felt like a tuxedo hair moment. My first braid was too tight and looked stiff. Loosening it gave a softer result.
On my fine hair the braid adds visual weight. On thicker hair it reads like detail rather than volume. It survives a windy walk if I pin it well and add a dab of spray.
Ask your stylist for a small graduated braid at the nape when you get a cut. It’s an easy add that makes a simple bun look more deliberate.
- Low Sleek Bun for Curly Hair with Smooth Sides
I was nervous about smoothing my curls. My first attempt used too much product and flakes showed up. I learned to use a cream that keeps shine without stiffness.
In practice the sides stay sleek if I finger-comb and smooth with a wide-tooth brush. The bun itself keeps curl texture and doesn’t try to be poker-straight. It looks cleaner than a full loose style for work.
If your curls are tight, put the bun slightly higher so it doesn’t tug at the roots. My stylist suggested a low-but-not-bottom placement and that really helped comfort.
- Sleek Low Bun with Bobby Pin Grid
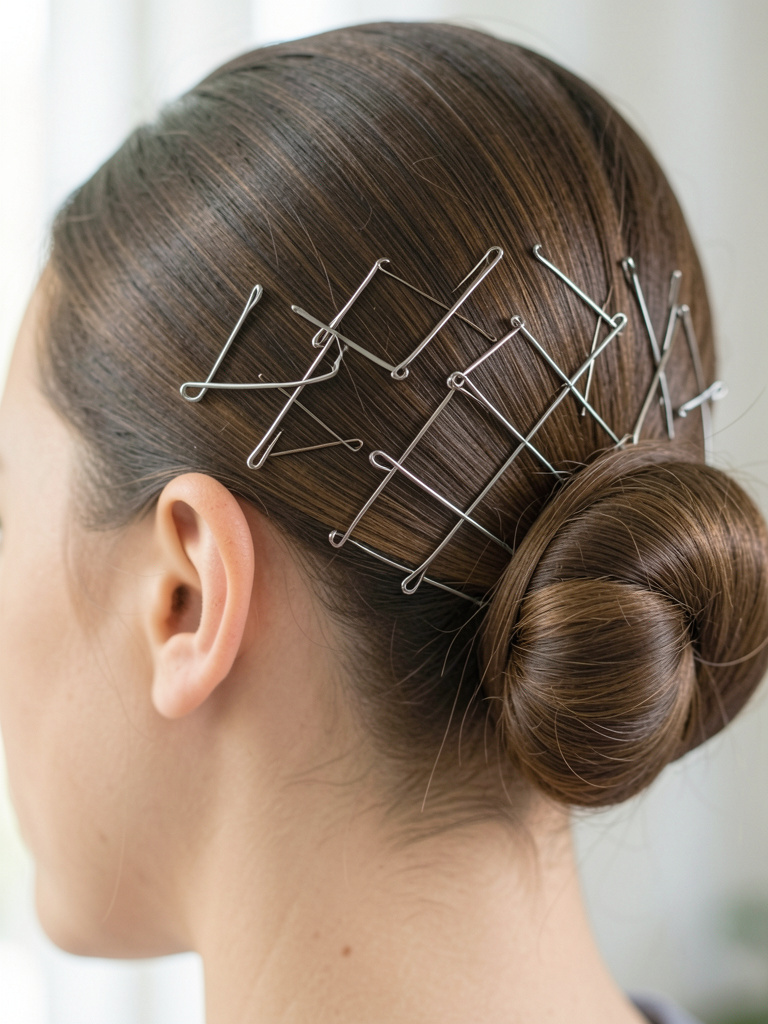
I started using a little grid of pins above the bun when regular pins failed. The first time I did the grid it looked overworked. I pulled back and kept the pattern subtle.
This method stabilizes the bun on slippery hair. It’s practical for long days or for night when I expect a lot of moving. On second-day hair it’s magic; fresh hair needs stronger product.
Tell your stylist you want pins hidden but effective. I ask for pins to sit on the underside of the bun so it looks clean from the front.
- Low Sleek Bun for Fine Hair with Crown Volume
I used to skip buns because my fine hair looked flat. Teasing a tiny bit at the crown changed everything. I over-teased once and it became a helmet, so moderation matters.
In real life that small lift makes the bun read fuller. It holds through meetings and brief commutes if I set the teased area lightly. If my hair is very fine I use a texturizing powder at the roots.
Ask your stylist for subtle long layers at the top that let you build volume without obvious chopping. That saved me from heavy clip-ins.
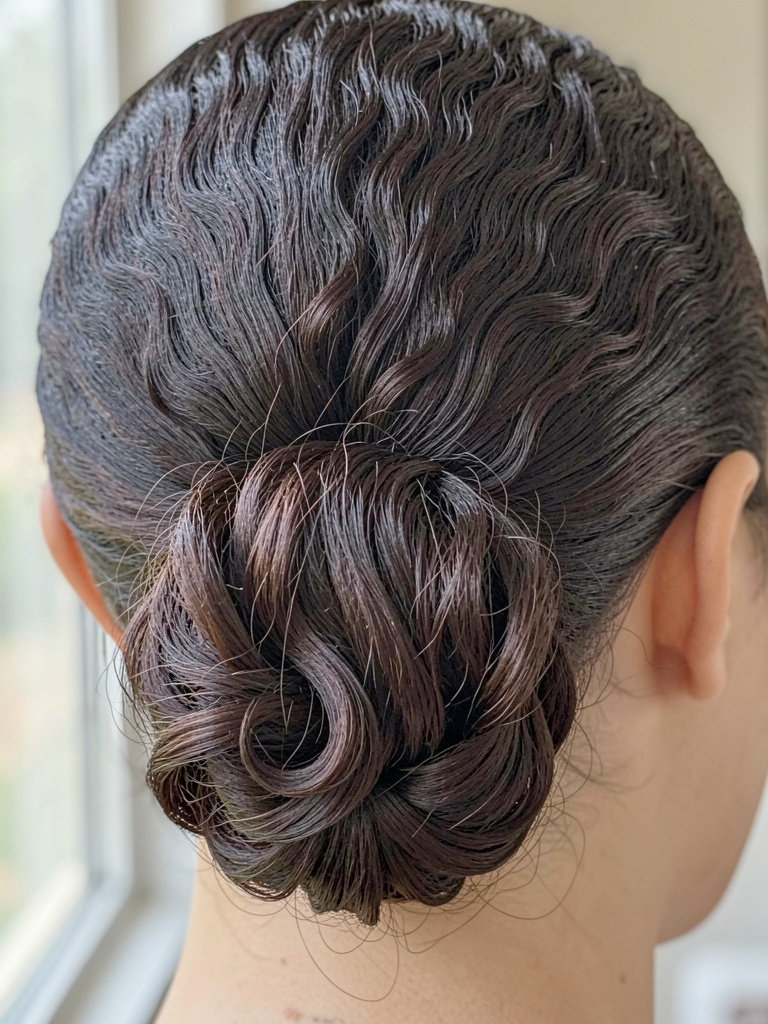
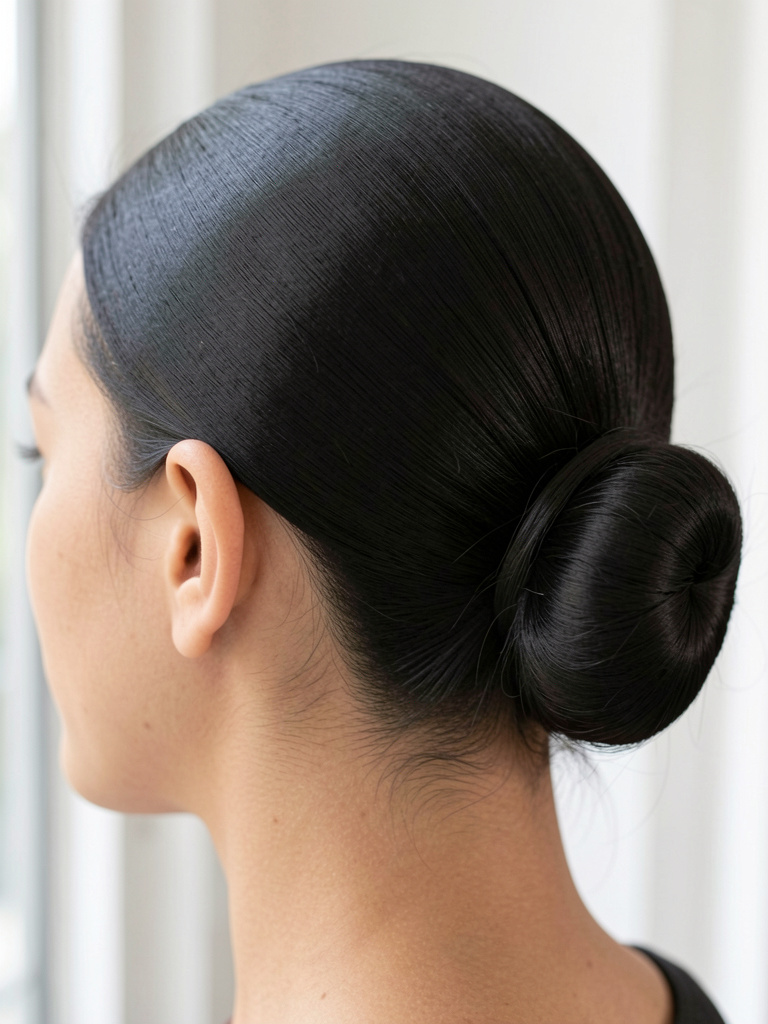
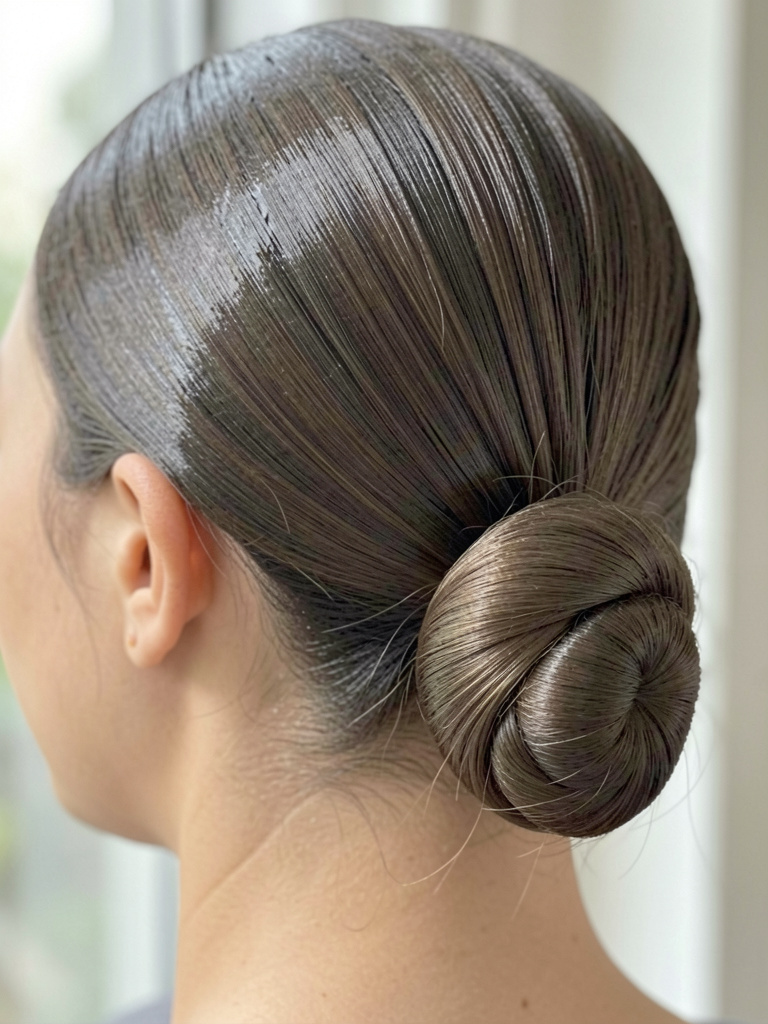
- Sleek Low Bun with Slicked-Back Wet Look
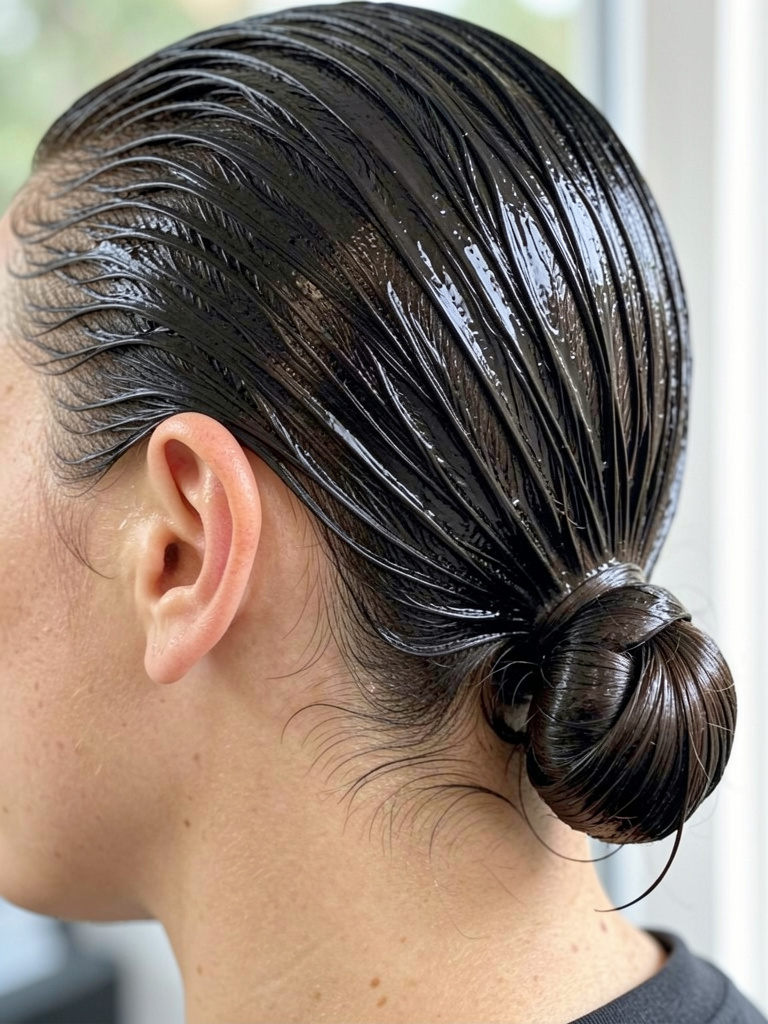
I tried the wet look for a night out and it felt bold. My first go used too much gel and my hair looked greasy. I switched to a light glossing cream and it read polished, not sticky.
This stays put and resists frizz on damp nights. My waves compress into a smooth silhouette. It’s less forgiving in humidity; too much mist makes it lose the sculpted look.
Ask for a product recommendation from your stylist. I now carry a small tube of cream and refresh only the sides if needed.
- Low Bun with Subtle Side Sweep
I favor a side sweep when my face feels tired. I sweep hair slightly off-center and pin it into the low knot. My first tries were uneven and the sweep flipped back, so I learned to anchor it with an inner pin.
On days I want a soft profile this is perfect. It hides puffiness and looks intentional even if I only spent five minutes. If my hair is layered, I leave a small piece loose by the ear.
Tell the stylist the sweep should sit naturally. I say “soft and anchored” and that avoids a limp, floppy look.
- Sleek Low Bun with Satin Scarf Wrap
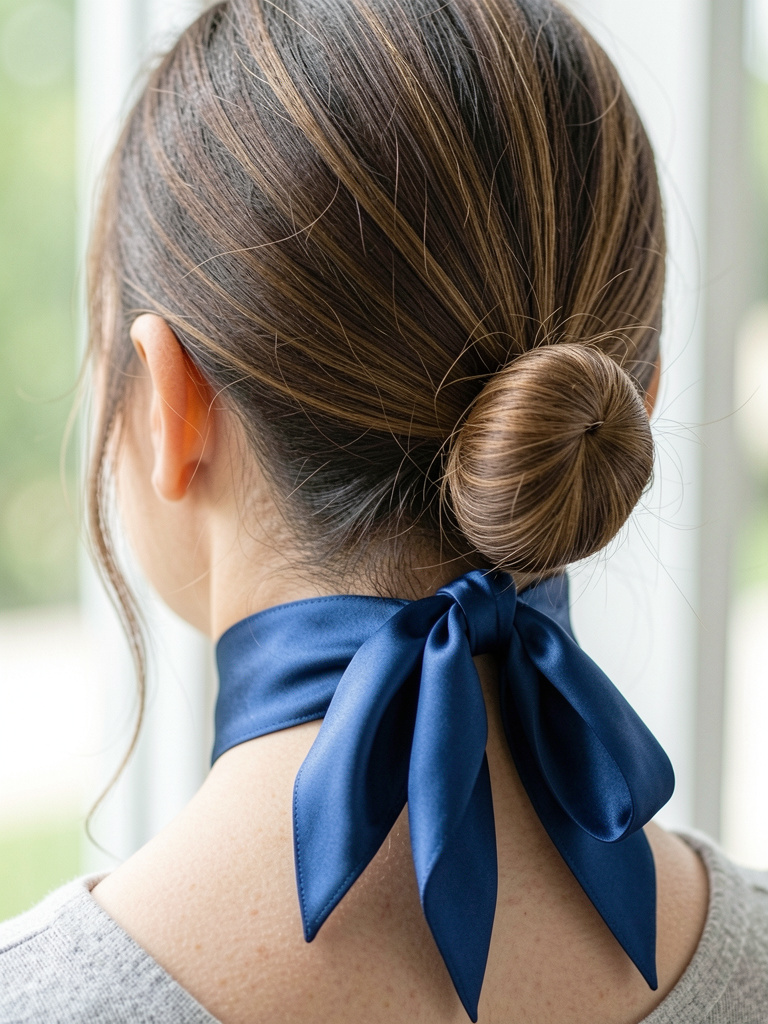
I started using a narrow satin scarf after my bun got frayed from sweaters. The first scarf I chose was too loud and stole the look. I now pick thin, matte scarves that blend.
It protects the bun and gives a subtle accent. My hair survives shoulder straps and rough collars better. If I tie it too tight the bun flattens, so I keep it snug but soft.
If you want the same, bring a scarf to your stylist and test how it sits. Mine taught me to tuck the ends under for a cleaner finish.
- Low Sleek Bun with Hidden Volume Pad
I used a small pad under the bun during a wedding and it stayed comfortable all evening. My first try used a too-large pad that looked fake. The right size makes the bun look full without shouting.
On thick hair I barely need it. On thin hair it gives shape that lasts through dancing and hugs. The pad stays invisible if I wrap hair tightly enough and pin carefully.
Ask your stylist to show you the right size in the chair. That saved me from returning a large, awkward pad after one test.
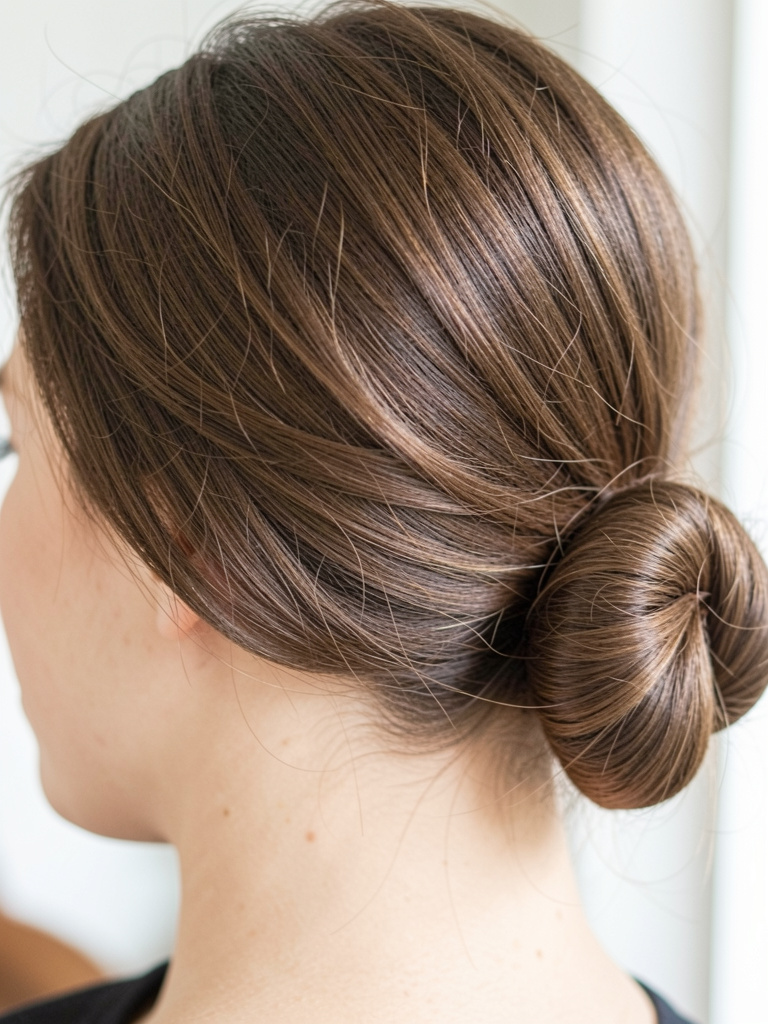
- Low Sleek Bun with Subtle Highlights on Top
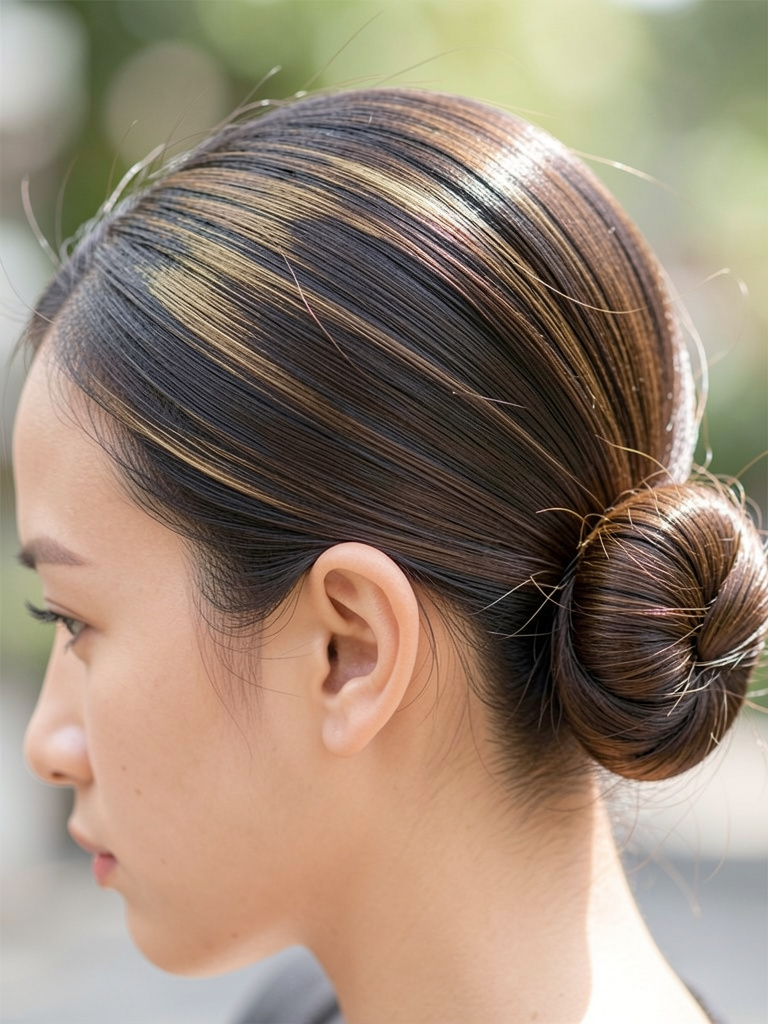
I added soft highlights across the crown and they made the bun read dimensional. My first highlight placement was too streaky. The stylist corrected it with finer, softer pieces.
In practice the highlights catch light and make the bun look textured even when everything’s smooth. On second-day hair the color pops without needing extra product.
If your hair is naturally dark, ask for thin slices rather than bold panels. That keeps the look modern and avoids harsh lines around the bun.
- Low Bun with Sleek Bangs
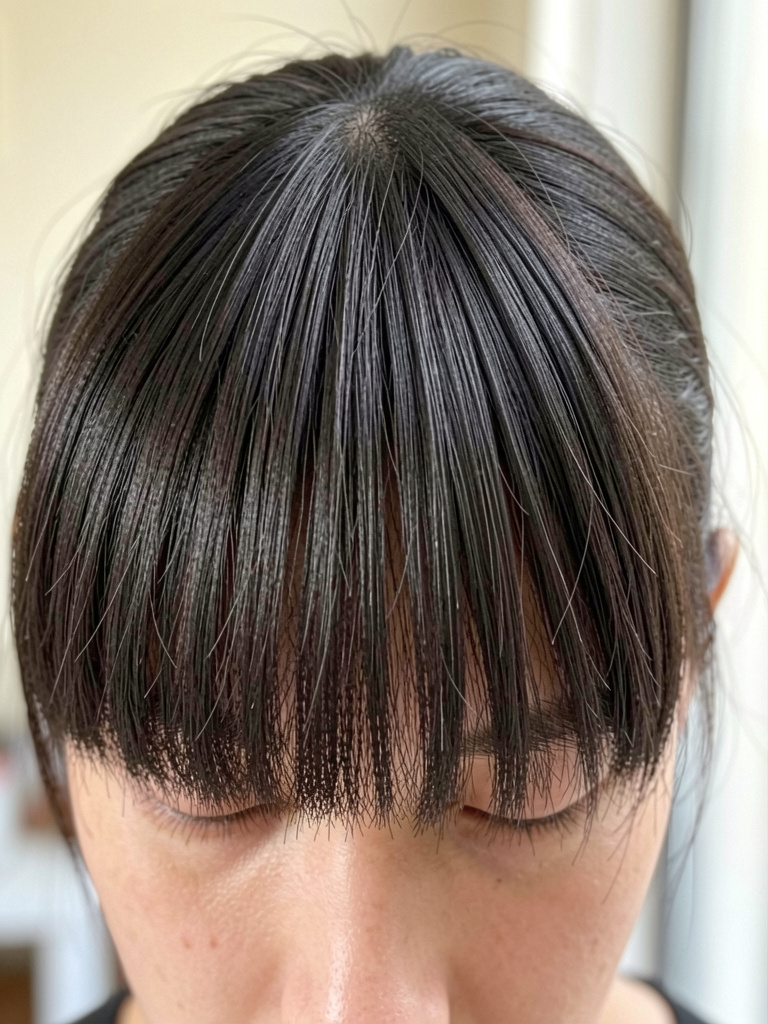
I kept my bangs blunt for months before pairing them with a low bun. At first they grew uneven and flopped into my eyes. I learned to trim them shorter and keep a smoothing cream at hand.
The bangs frame my face while the bun keeps the rest tidy. On rainy days the bangs need a quick touch-up, but the bun stays neat. If my bangs are long, they dilute the sleek look.
Tell your stylist you want bangs that sit above the brow for a sleeker finish. That instruction stopped daily battling with a rounder fringe.
- Low Sleek Bun for Shorter Long Hair
I tried a low bun when my hair was just long enough and it almost fell apart. The secret was tighter twisting and smaller pins. My first attempts used big sections and the ends escaped.
On shorter long hair the bun is smaller but still chic. It holds for meetings and gym pickup runs if I secure each section. Second-day texture helps more than fresh clean hair.
Ask for length that reaches the collarbone at minimum. That gave me enough to loop without feeling like I’m papering over short ends.
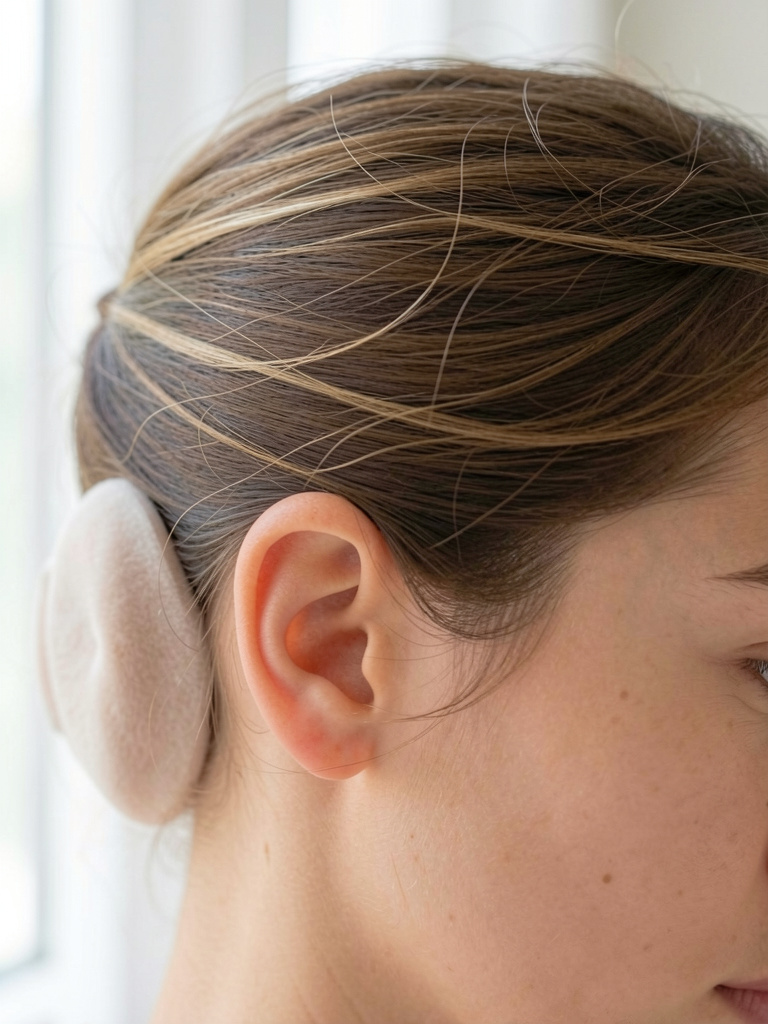
- Sleek Low Bun with Nape Drop Strands
I left tiny strands at the nape after my stylist suggested it to break the line. At first I thought it looked unfinished. Then I realized it made the bun look softer and less severe.
Those little drops are forgiving. They hide collar marks and add movement when I turn. On humid days they can puff slightly, so I smooth them with a tiny touch of serum.
If you like this, ask for soft nape-length layers. It’s a small cut choice that changes how formal the bun reads.
- Sleek Low Bun with Minimal Tease and Smooth Finish
I stopped over-teasing and learned small, controlled tease is enough. My first habit was to overdo the root lift and then have crunchy texture. Scaling back made the bun look cleaner.
In day-to-day life this controlled approach survives hats and scarves better. It gives shape without bulk. For fine hair it creates the illusion of density. For thick hair it avoids heaviness at the crown.
Tell your stylist you want subtle lift only. That phrasing prevented the “big hair” cut I didn’t want.
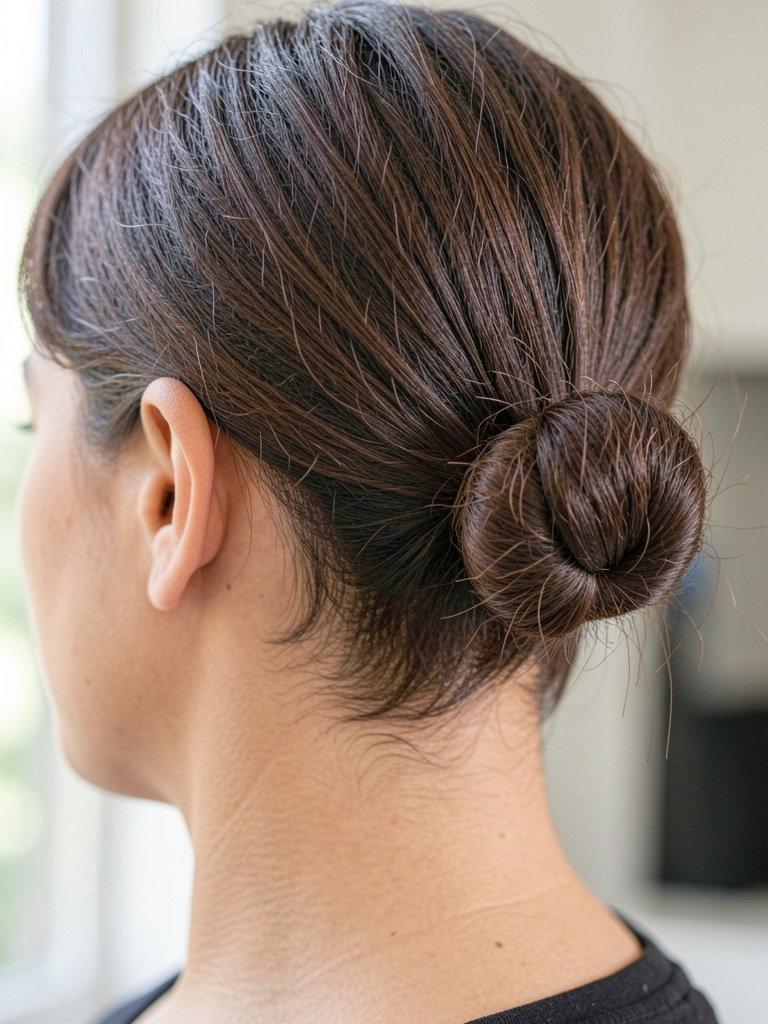
- Sleek Low Bun with Two-Strand Twist Wrap

I picked up a two-strand twist after fumbling with braids. It’s easier and still looks polished. My first twist was uneven. Now I keep even tension and the result is neat.
It’s gentle on my hair and hides pins well. The twist gives a subtle design cue that reads intentional. It handles long days better than a loose braid for me.
Ask your stylist to show how much hair to leave for the twist. That quick demo stopped me from cutting it too short after a bad DIY attempt.
- Low Sleek Bun for Busy Mornings (5-Minute Version)
I taught myself a quick 5-minute bun when mornings became chaos. The trick was a small elastic and three pins. My first attempts were messy and required redoing, but practice fixed that.
Practically, this style survives coffee spills and last-minute runs. It’s less polished than a salon version, but it looks intentional if my hair has a bit of texture. Fresh shampoo makes it harder to hold.
I keep a mini comb and two pins in my bag now. That tiny habit means I can clean it up in the office restroom if needed.
- Sleek Low Bun with Accessory Barrette

I added a simple barrette above my bun and it felt like an outfit upgrade. My first barrette was too big and made the bun look top-heavy. I switched to a slim metal piece.
The barrette hides a lot of pinwork and gives a composed look. It’s a quick way to dress up the same bun I wear to work. On windy days it helps keep stray hairs down.
Ask for a recommendation on barrette size. My stylist suggested a thin one that complements my face shape and it works every time.
- Sleek Low Bun for Textured Bob Grow-Out
I was growing out a textured bob and worried buns were impossible. My stylist taught me to pin small sections at the nape. My first try had pieces sticking out everywhere.
It’s a patient solution. The bun looks intentional even if a few layers peek. On humid days those pieces can spring out, so I carry a small pot of pomade for touch-ups.
Ask for long nape pieces to be kept so they can tuck into a small knot. That alteration kept my grow-out phase wearable without daily panic.
- Low Sleek Bun with Subtle Volume at Temples
I lifted my temple area slightly after noticing my face looked narrow with a flat bun. The first lift was too high and looked unnatural. I lowered it and it felt balanced.
This small volume softens the profile and helps the bun sit without dragging the face down. It’s especially flattering on longer faces. It lasts best with a light spray rather than heavy powder.
Ask your stylist for soft, low lift around the temples. I say “very gentle” and that keeps it wearable.
- Slick Low Bun with Minimal Shine
I wanted a sleek look but not glossy. My first product made my hair glisten like plastic. I switched to a cream that smooths without obvious shine.
In daily wear this reads modern and clean. It hides grease better than a high-shine product. It also tolerates humidity well and doesn’t attract lint on my jacket collars.
When I ask my stylist for product, I say “matte control” now. That small language change avoids glossy mistakes I made early on.
- Low Sleek Bun with Quick Refresh Trick (Travel)
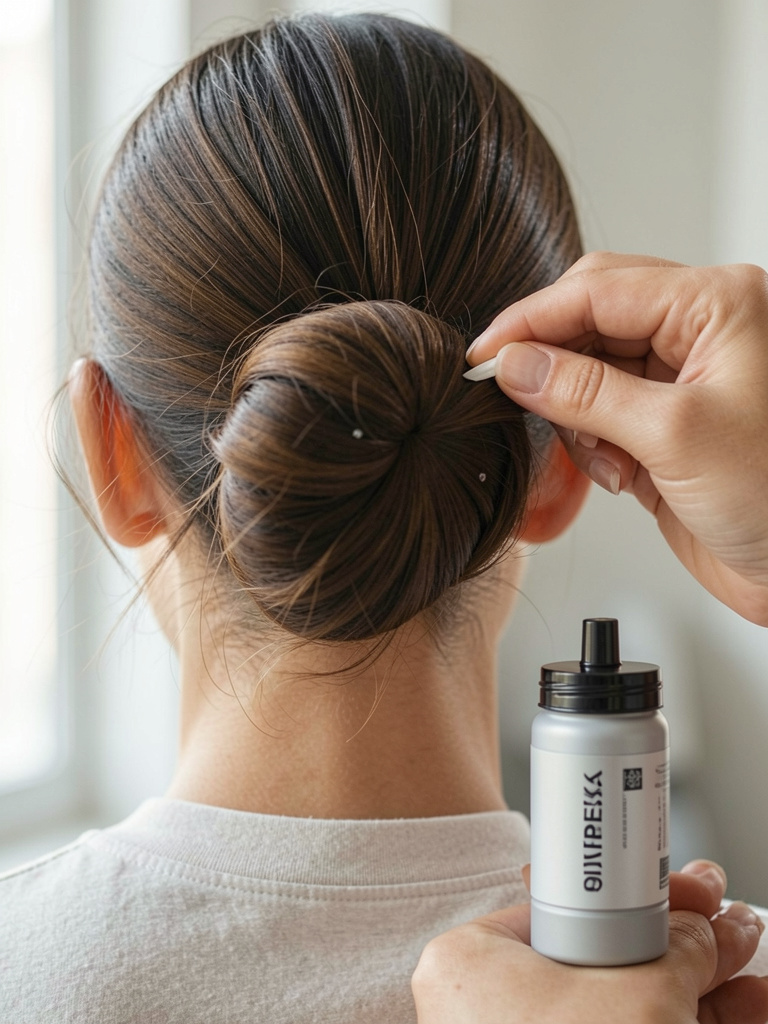
I perfected a five-minute refresh for travel days. I spritz a little dry shampoo at the roots, smooth the sides with a cream, and tighten one pin. My first attempts used too much product and the bun looked heavy.
This routine revives a worn bun and survives airplane cabins and long waits. It’s not salon-fresh, but it stops limpness and frizz. I pack a tiny kit now and it saves me from redoing the whole style.
If you travel often, ask your stylist what small products work with your hair. That recommendation cut down trial and error for me.