I had one too many flat, lifeless cuts before I learned to ask for layers that actually help fine hair breathe.
It took a few mistakes and a lot of trial and error. Now I know what works on my thin strands and what just makes them look stringy.
15 Good Layered Lob For Fine Hair
These 15 layered lob for fine hair ideas are ones I’ve worn, tested, and fixed. They’re realistic and easy to describe at the salon. Expect 15 different takes — from face-framing layers to textured ends — with tips on what to ask for and what to avoid.
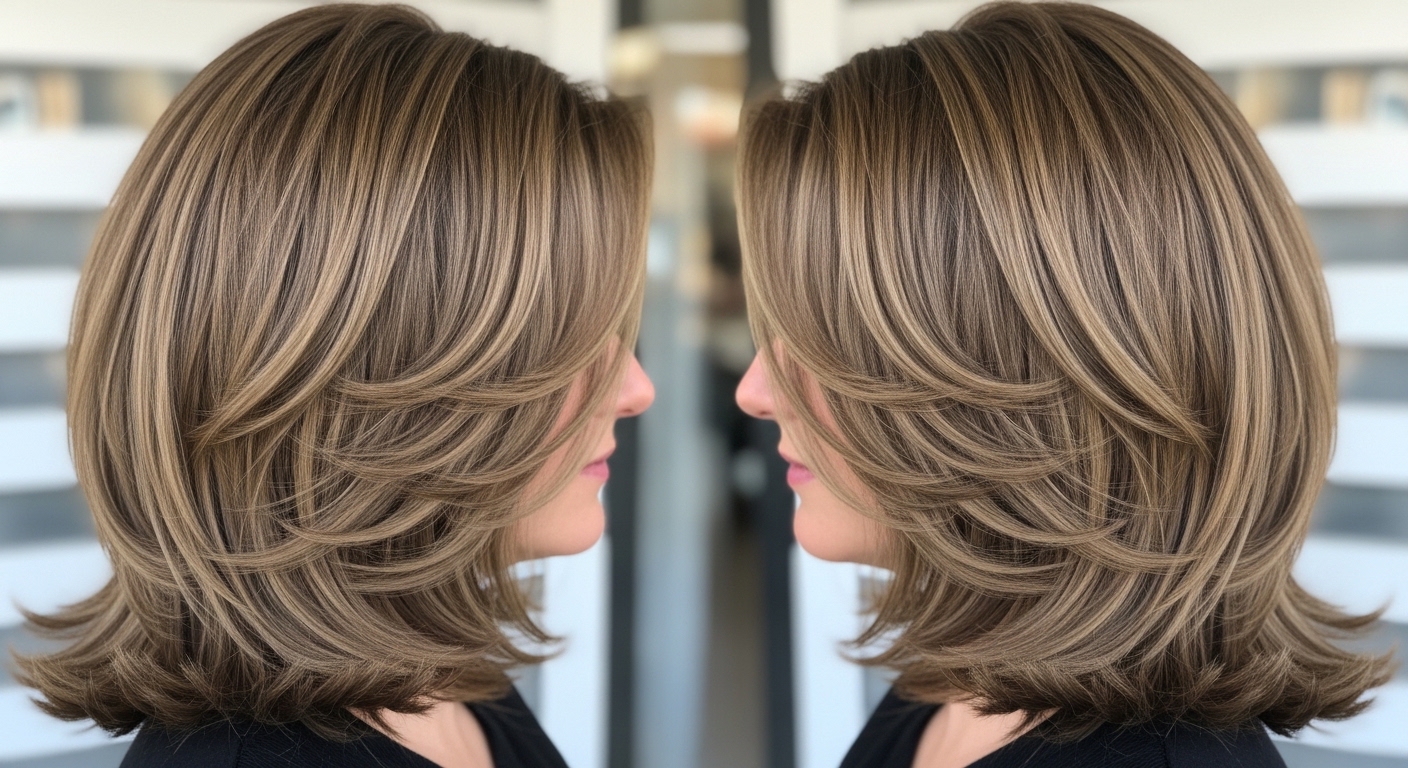
- Soft Layers Around the Face That Make Fine Hair Look Fuller

I asked my stylist for soft, graduated layers around my face. It opened my hair right where it needed volume. Photos made it look effortless. Real life was a bit flatter at the crown until I learned to dry the roots with a round brush. This suits fine, straight hair best. Curly fine hair gets a different effect — more bounce but less defined shape. Tip: ask for long, subtle layers that stop around the cheekbone, not choppy slices. If you over-layer close to the ends, I learned the hard way, it reads thin. Tell your stylist you want lift at the face, not a lot of movement through the mid-lengths.
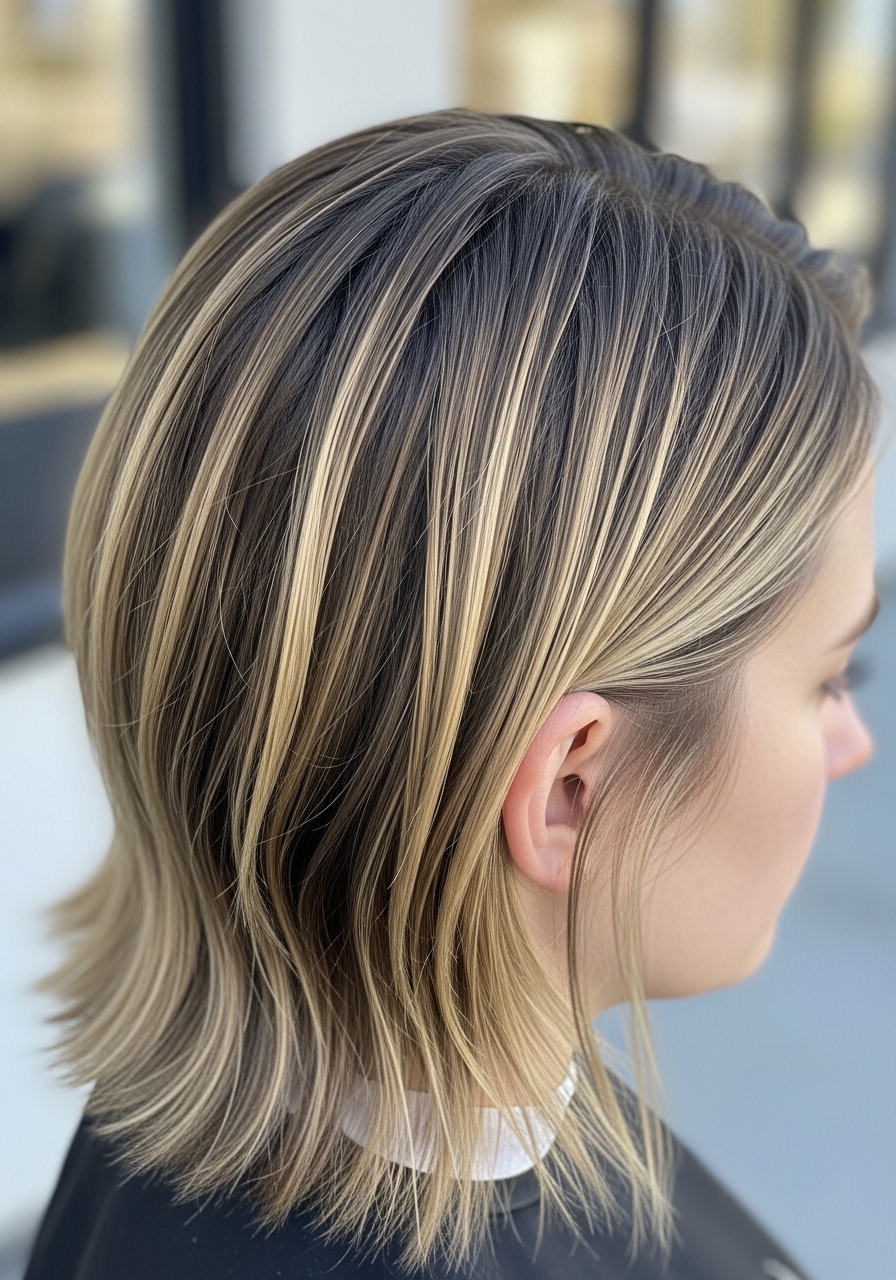
- Blunt Lob with Subtle Internal Layers for Movement
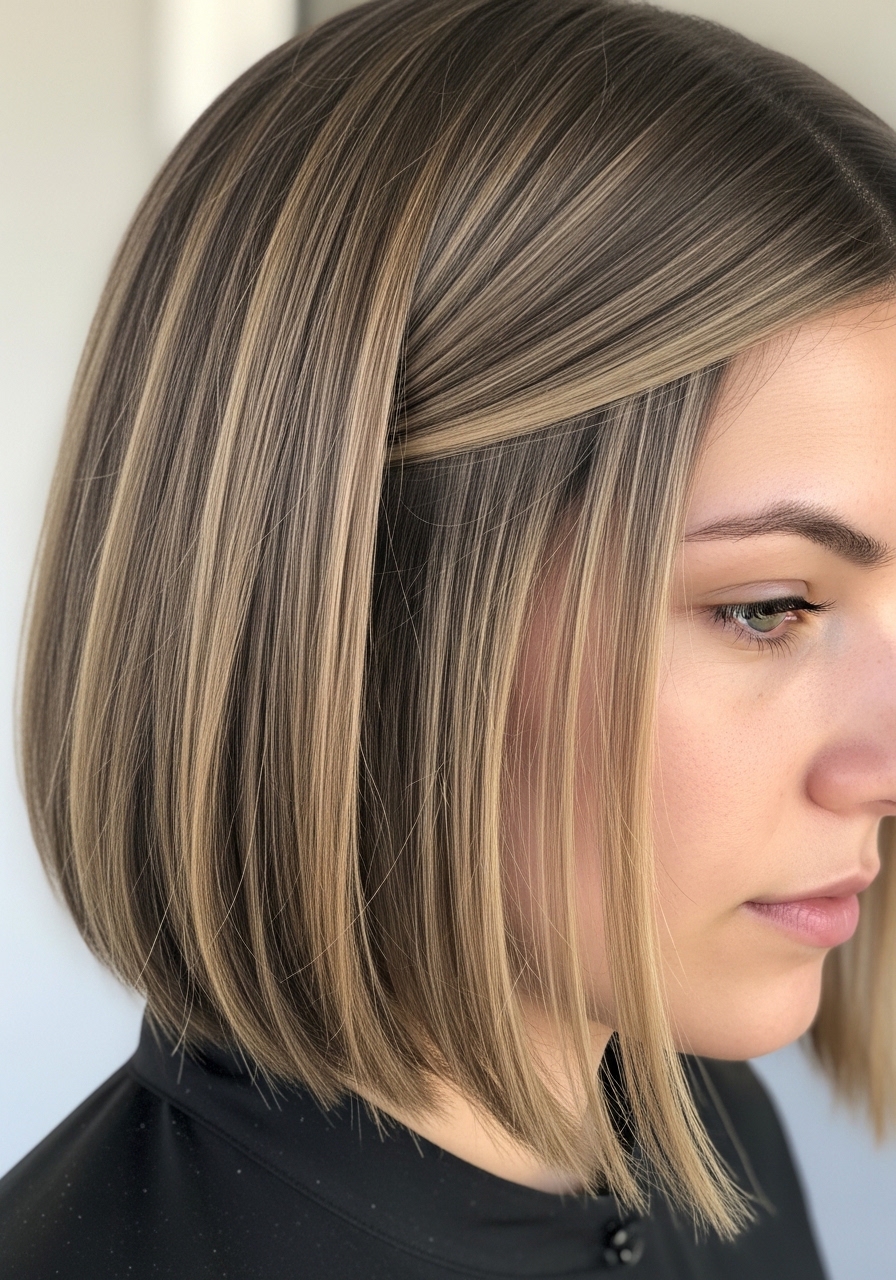
I wanted a blunt edge but feared the flat look. My stylist added internal layers so the ends stayed strong but the hair moved. At first it looked like a rigid line in photos. After a few days, the internal layers softened everything and it felt lighter. Best for fine hair that wants weight but not heaviness. I sometimes straightened it too much and lost body. Now I let it air-dry a bit and finish with a quick blast at the roots. Tip: ask for "internal texturizing" not visible layers. It keeps the blunt shape while giving motion.
- Choppy, Face-Length Pieces for a Casual, Airy Finish
I loved the messy look, so I asked for choppy pieces around the face. It gave instant lift and a lived-in texture that hides thinness. On day two it looked even better. My mistake was using too much paste at first. It weighed the pieces down and they clumped. This cut works on fine hair that tolerates a little styling product. If your hair is ultra-fine, use a light sea-salt spray instead. Tip: ask for short, disconnected pieces around the face but tell your stylist you want them soft, not razor-cut into spiky shards.
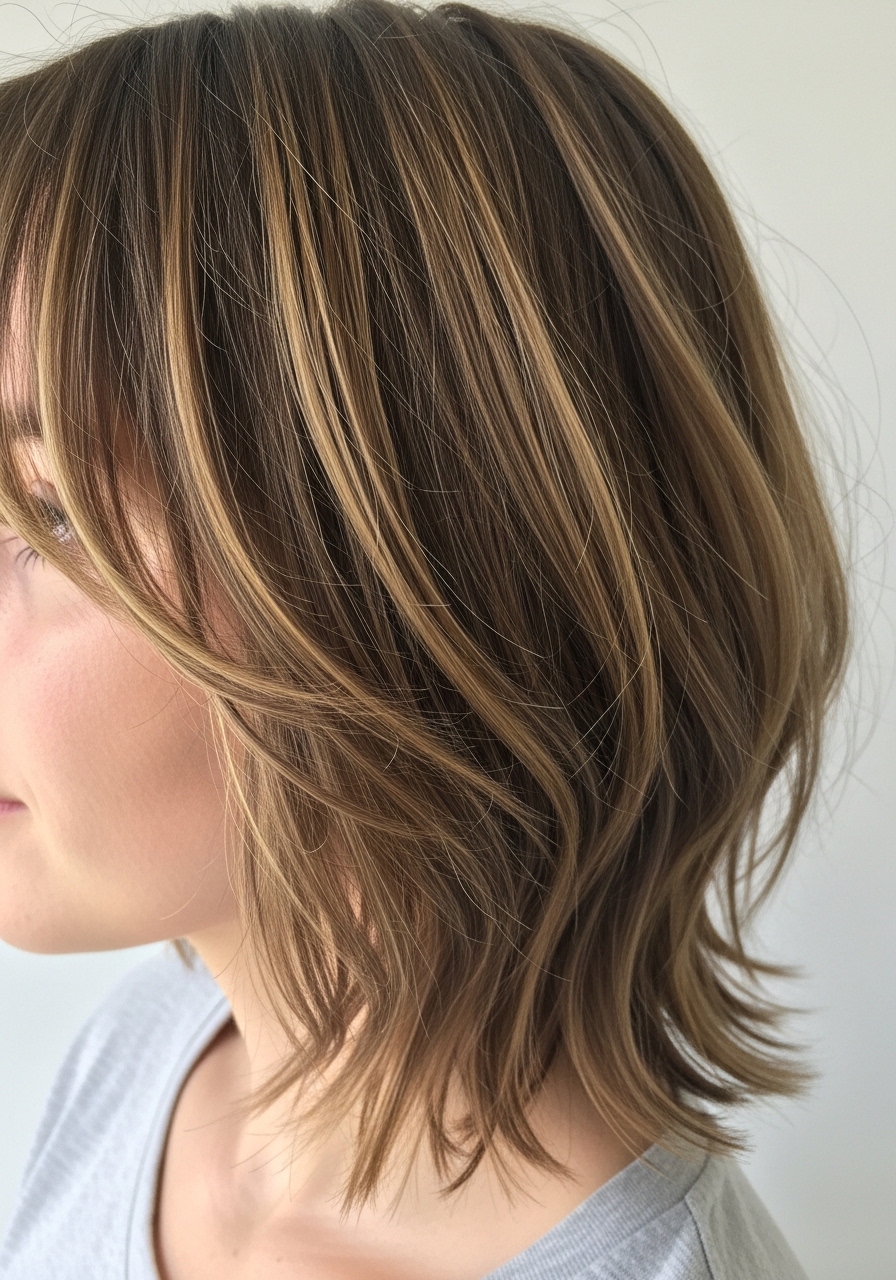
- Long-Layered Lob with Soft Ends for Subtle Volume
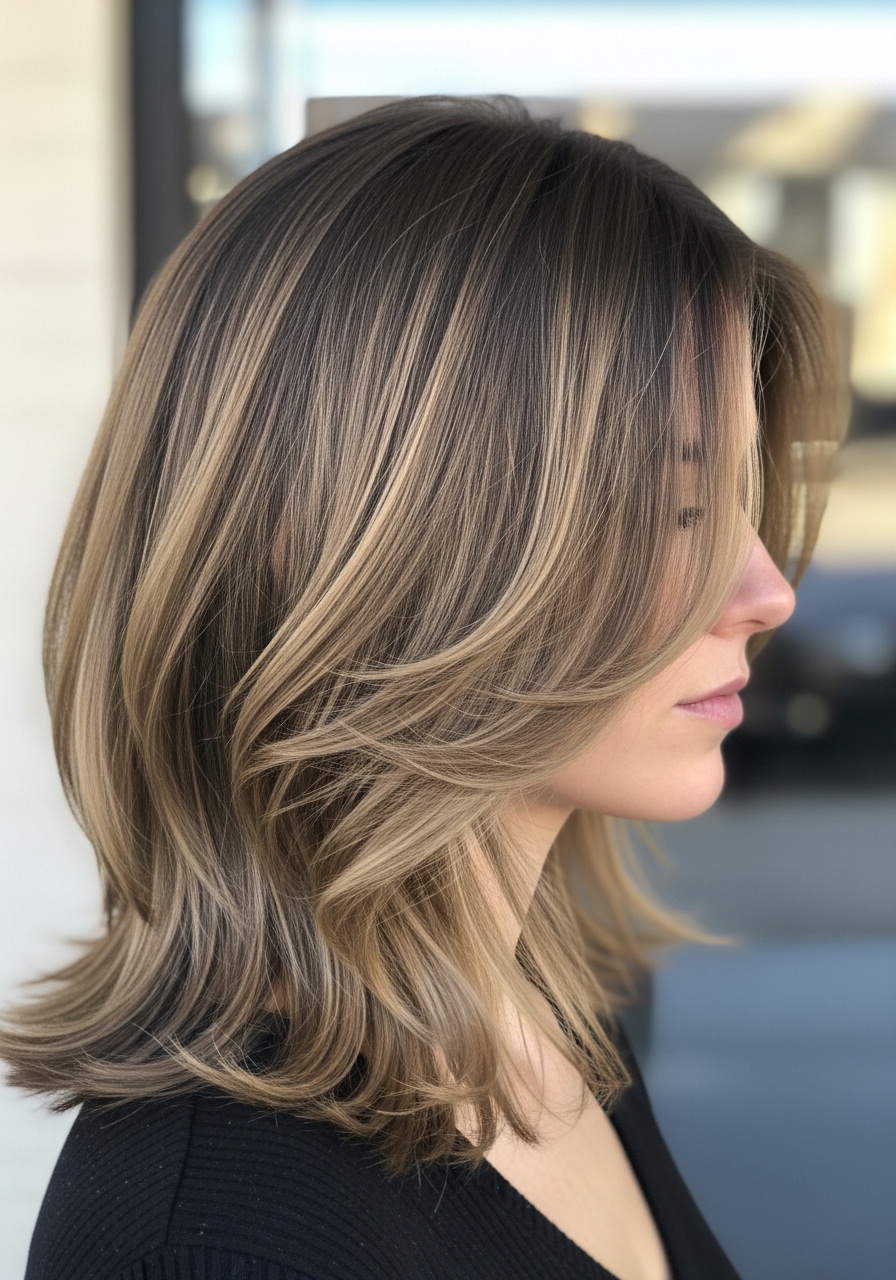
I kept my length and asked for very soft layers through the ends. It kept the weight I liked, but added enough bounce to stop limpness. In photos the shape looks polished. In humidity the layers separate pleasantly instead of going flat. I learned not to ask for heavy graduation at the crown — it can create weird poof on fine hair. This suits someone who wants movement without losing length. Tip: ask for long, blended layers and a soft point-cut at the ends for a lived-in finish.
- Angled Lob with Wispy Layers for a Lifted Profile
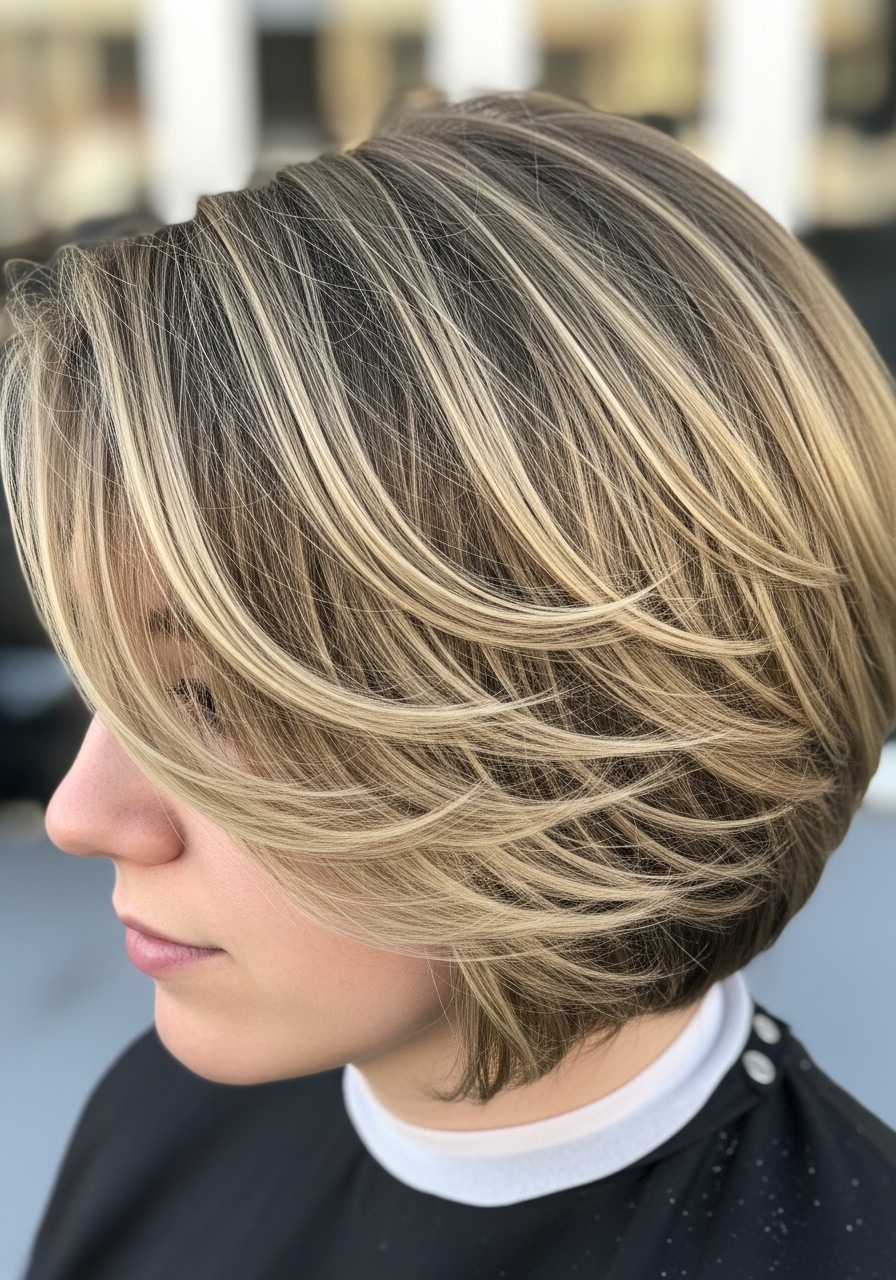
I went for an angled lob to fake fullness at the front. The short back gives shape and the wispy layers around the face keep it light. It photographs with a flattering angle. In real life the back can feel sparse if you go too short. I once let my stylist take off too much at the nape and it needed styling every morning. This look is great for fine hair that wants structure. Tip: ask for a gentle angle and ask them to keep the nape slightly longer if you want less daily styling.
- Curtain-Fringe Lob with Layers for Soft Framing
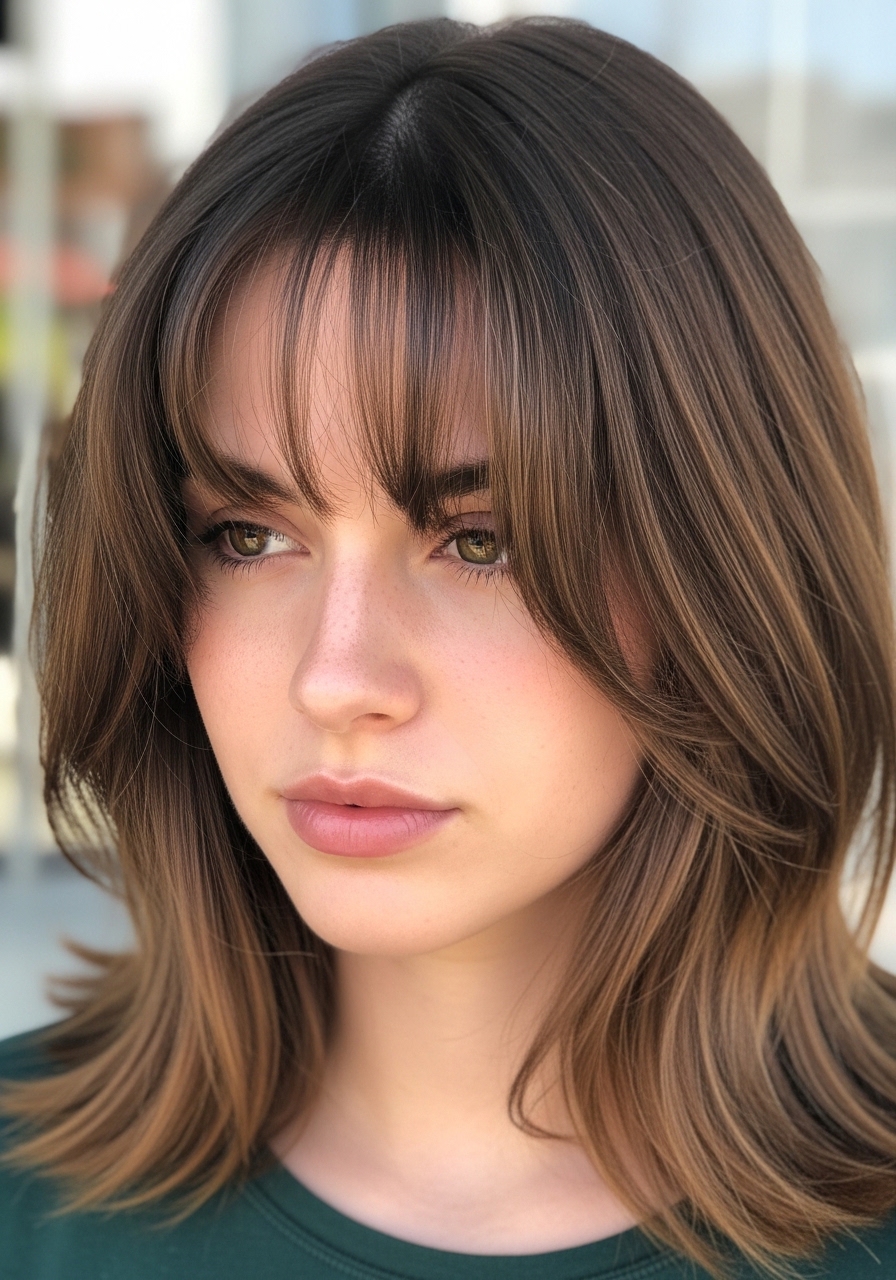
I added a curtain fringe to soften my forehead and the layers around it made the whole cut look fuller. It hides a flat top by creating movement forward. The fringe needs trimming every 4–6 weeks. My early mistake was asking for too heavy a fringe; it became floppy on my fine hair. Now I get a thinner, longer curtain bang that grows out well. This suits fine hair that wants face framing without weight. Tip: tell your stylist you want a wispy curtain bang that blends into the layers, not blunt bangs.
- Blended Low Layers for an Undone, Natural Look

I asked for low, blended layers to keep my lob easy to live with. It gave subtle lift and kept styling minimal. In photos it reads as relaxed and natural. In reality, the layers help when I sleep on it; it rarely looks flat the next day. I once told my stylist "more layers" and ended up with choppiness. Lesson learned: ask for blended layering, not dramatic razoring. Tip: request long, internal layering that starts low to keep the top looking full and the ends airy.
- Razor-Textured Lob for Airy, Feathered Ends
I wanted that wispy magazine look, so I let my stylist razor the ends. It made the ends feather and feel lighter. Photos showed soft motion. In a humid day it can separate too much and look uneven. My mistake was letting them go too thin at the tips; those thin tips show every frizz. This style works if you handle a tiny bit of daily styling. Tip: ask for razor texturing but request a bit of weight left at the ends to avoid over-thinning.
- Subtle Layered Lob with Soft Waves for Texture
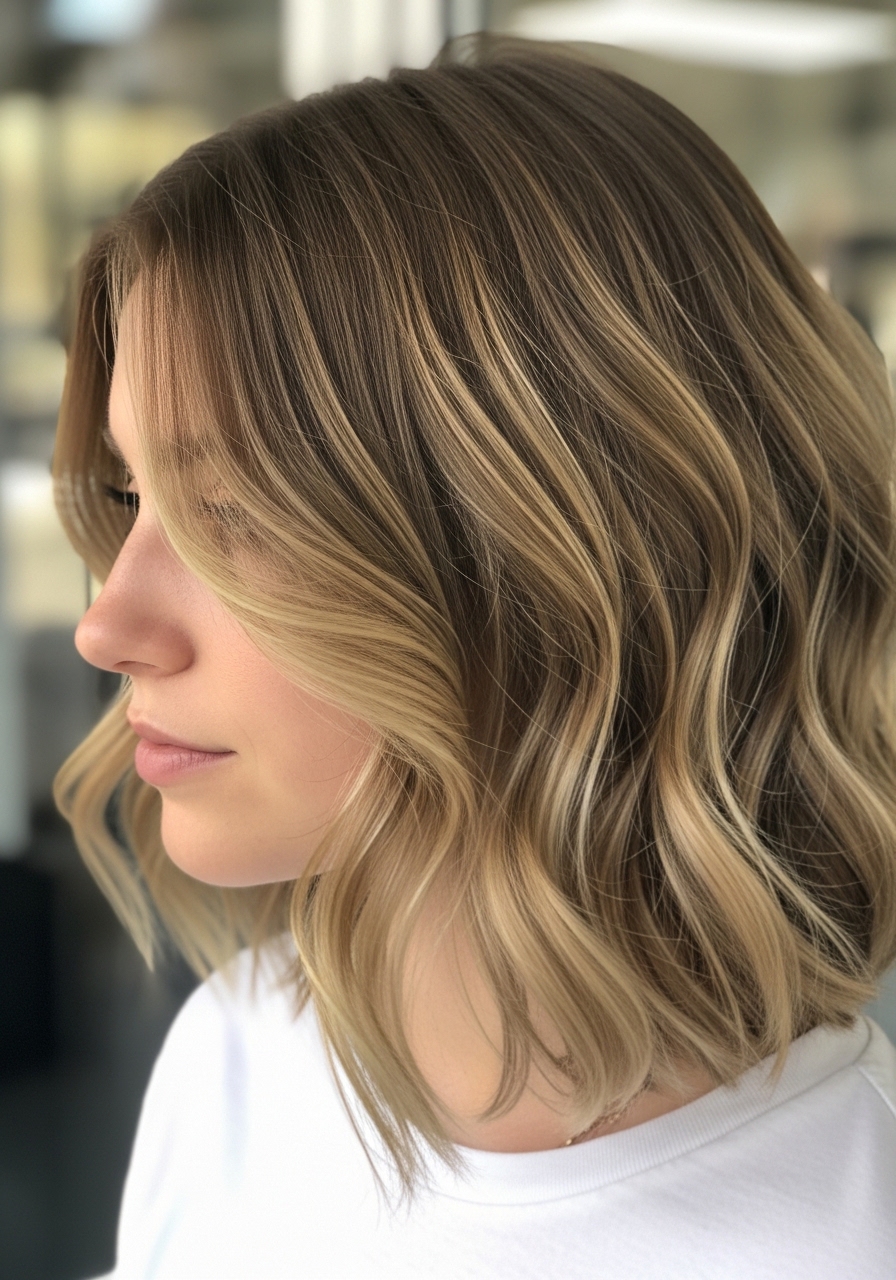
I added soft layers so my loose waves would have dimension. The waves bounce without collapsing. Photos capture the movement. In real life, if I sleep on it without dry shampoo, the waves flatten. I learned to rough-dry the roots and scrunch in a tiny amount of mousse. This suits fine hair that can take a light product. Tip: tell your stylist you want layers that enhance a wave, not chop it into separate curls. It keeps the look cohesive.
- Short-Back, Long-Front Lob with Textured Layers
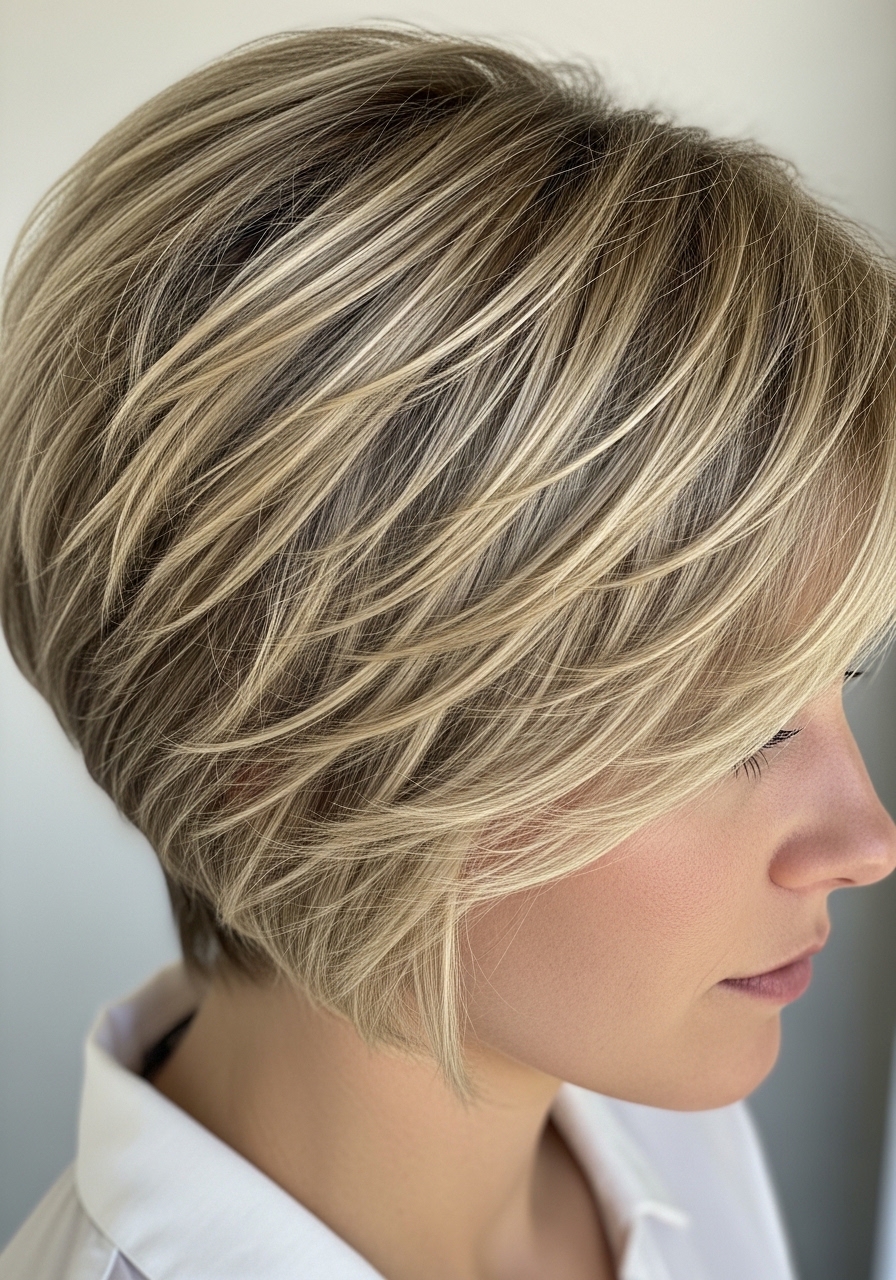
I tried a stacked back once to give my crown height. The textured layers in the back helped create a fuller silhouette. From the front, the longer pieces felt flattering. My early error was letting the stack be too precise — it needed softening to avoid a helmet shape. This is best for fine hair that wants structure and volume. Tip: ask for a subtle stack and have the stylist texturize lightly to avoid a severe line.
- Slicked-Under Lob with Internal Layers for Shape
I liked the polished, tucked-under look, so I kept internal layers and a clean edge. It creates a neat silhouette without looking heavy. Real life needs a quick brush and a touch of cream to keep flyaways down. I once used too heavy a serum and it collapsed the lift. This cut works well if you prefer a tidy style with minimum fuss. Tip: ask for internal layering plus a clean blunt edge, and use a light cream to tame frizz without weighing the hair.
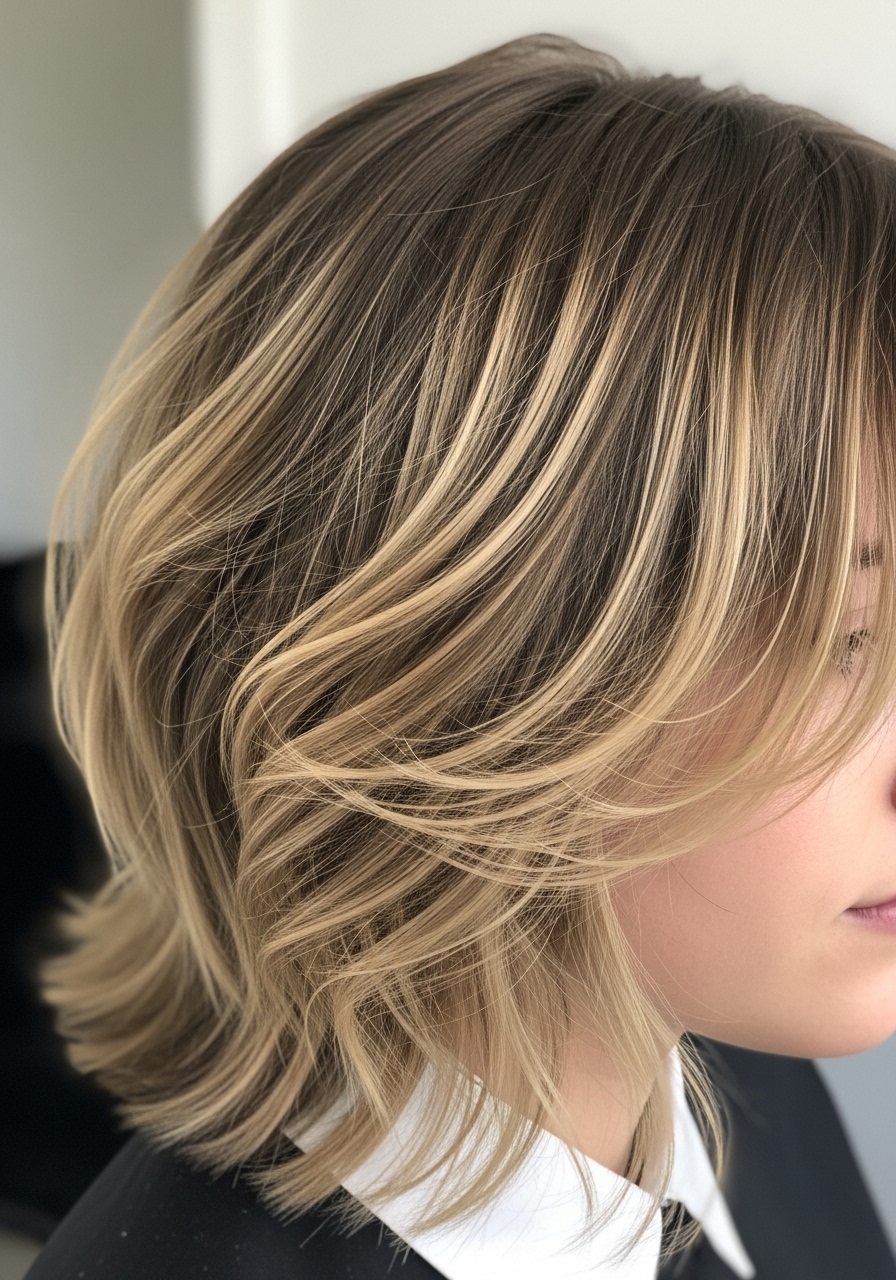
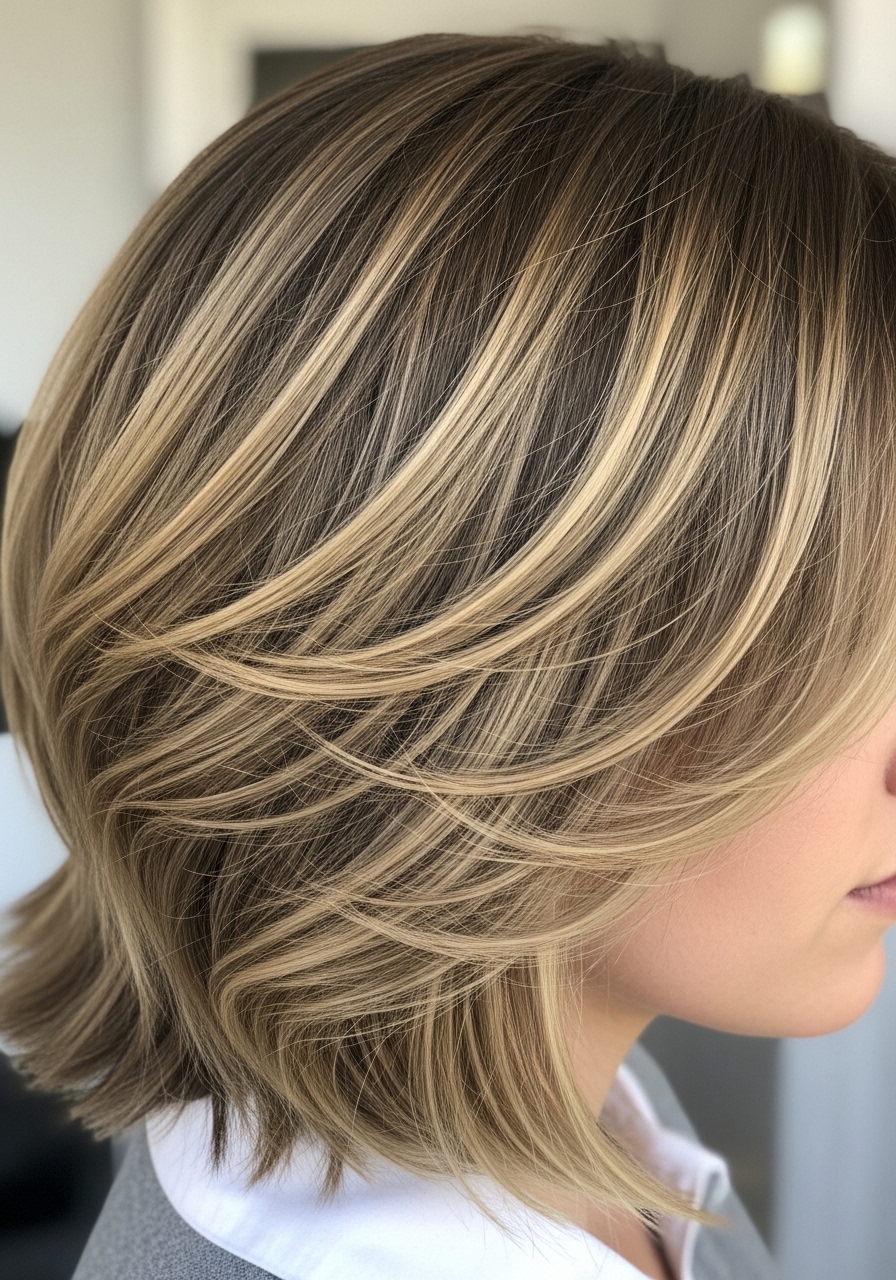
- Rounded Lob with Feathered Layers for Soft Volume
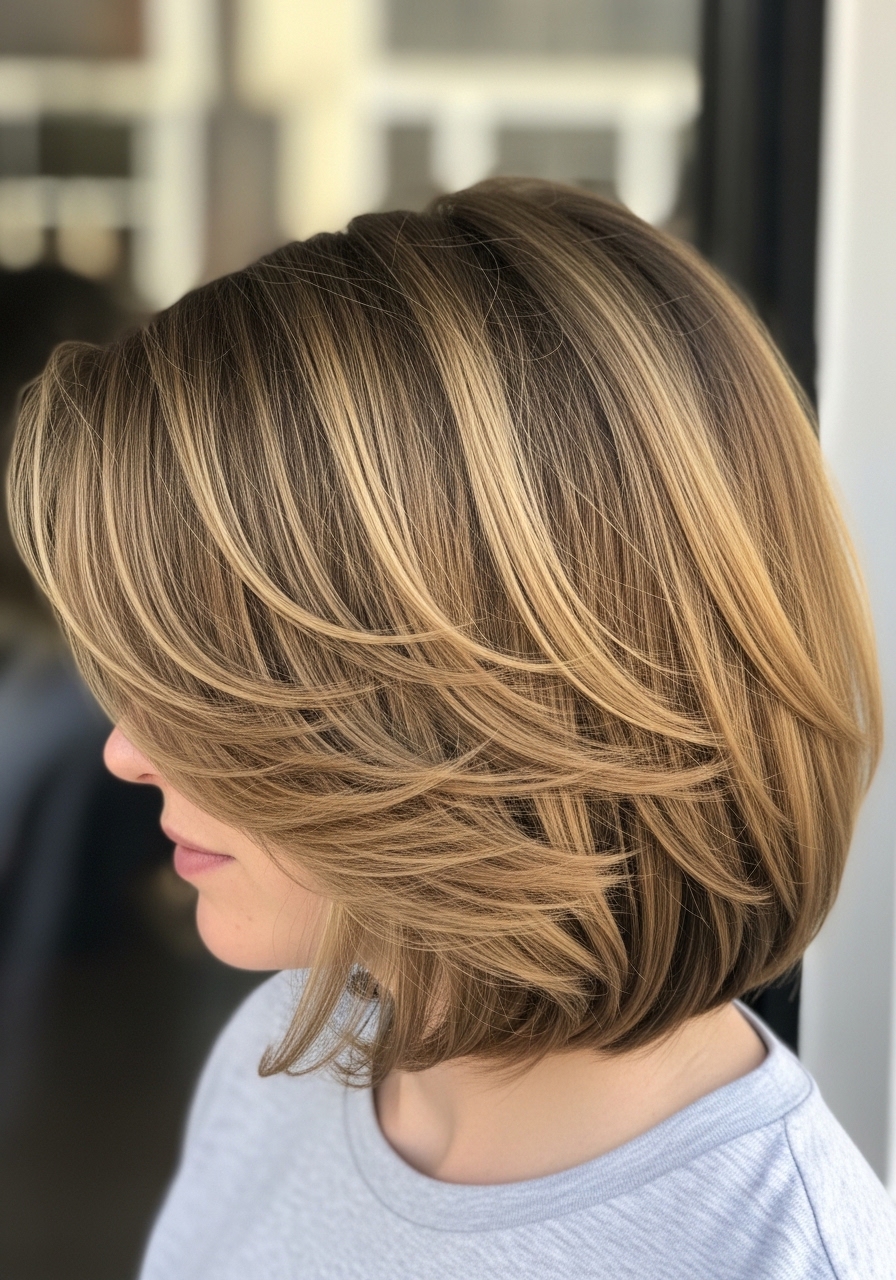
I chose a rounded shape to give my fine hair a soft outline. Feathered layers at the ends stopped it from looking blocky. In photos it has a gentle halo. In a windy commute it separates into soft pieces that still read as shape. My slip-up was letting the feathering go too far and losing the roundness. Now I say "soft feathering" and keep a defined perimeter. Tip: ask for feathered ends with a preserved rounded line to maintain a full-looking silhouette.
- Asymmetrical Lob with Light Layers for Edge

I wanted a bit of edge, so I tried an asymmetrical lob with light layers. It reads modern without shouting. In real life it’s flattering but requires small styling attention to keep the longer side from looking limp. I once ignored the longer side and it flattened. Now I give it a quick root lift and a spritz. This works for fine hair that can handle a little styling. Tip: tell your stylist you want subtle asymmetry and ask them to keep the layers soft so the shape reads balanced.
- Textured Lob with Short Layers at the Crown for Height
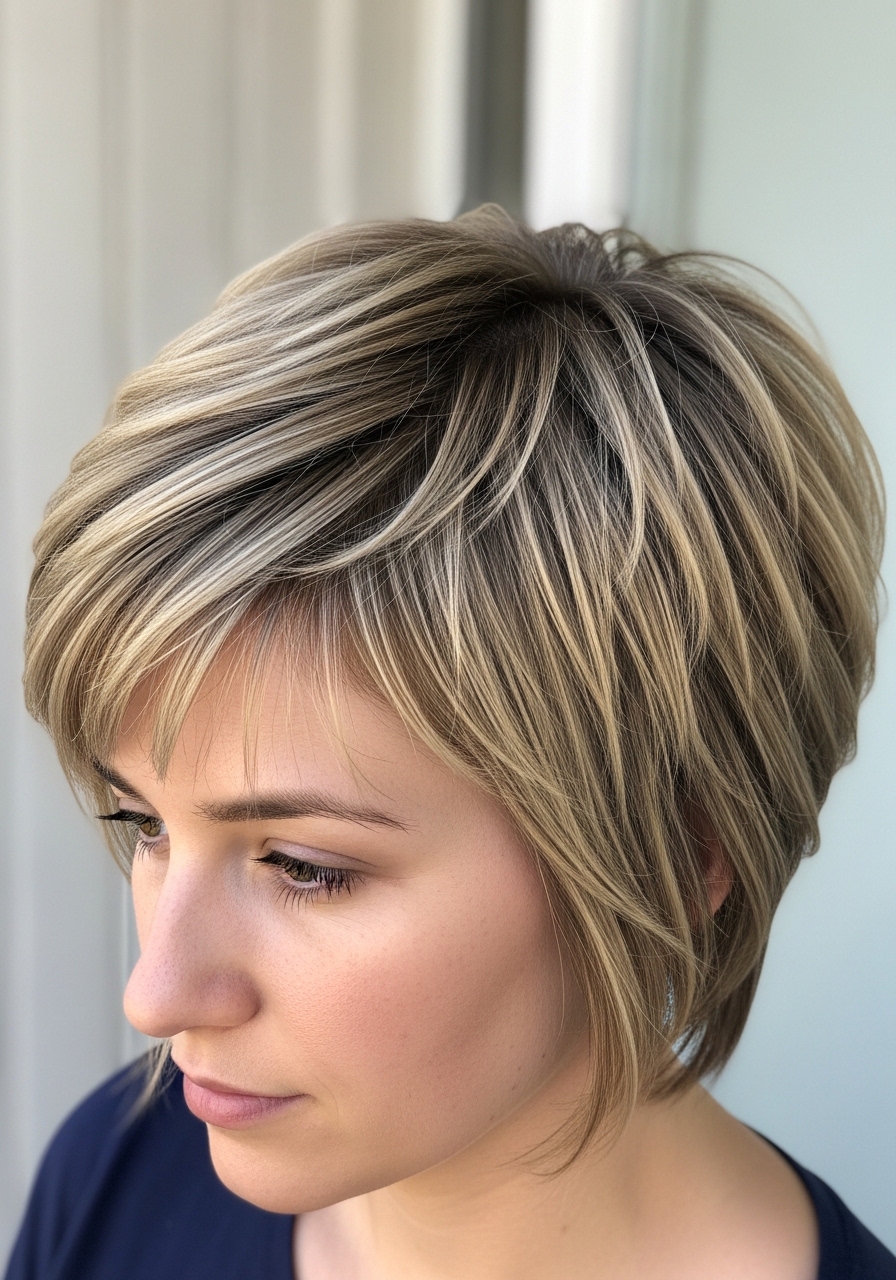
I asked for short layers at the crown to actually get height. It made a real difference in my profile. Photos showed more shape. In practice, if I sleep on it wrong, the crown flattens, but a quick blow-dry revives it. I learned not to go too short at the crown or it can look choppy. This is great for fine hair needing lift. Tip: request gentle short layers at the crown and practice a 30-second root-dry to keep the lift.
- Piecey Layered Lob with Tousled Texture for Everyday Wear
I settled on a piecey layered lob for low-effort style. The layers separate into small pieces that give shape on lazy days. Real life is forgiving — second-day hair looks intentional. My mistake was using a heavy wax at first and the pieces glued together. Now I use a light paste and scrunch. This suits fine hair that likes a lived-in finish. Tip: ask for short, staggered layers and use a pea-sized amount of lightweight product to maintain separation without weight.