I chopped off a year’s worth of trimming mistakes before I learned to do buns that actually last through a school day.
I fought frizz and sticky pins, then I found a handful of quick shapes that look tidy without feeling stiff. These are the ones I still use on rushed mornings.
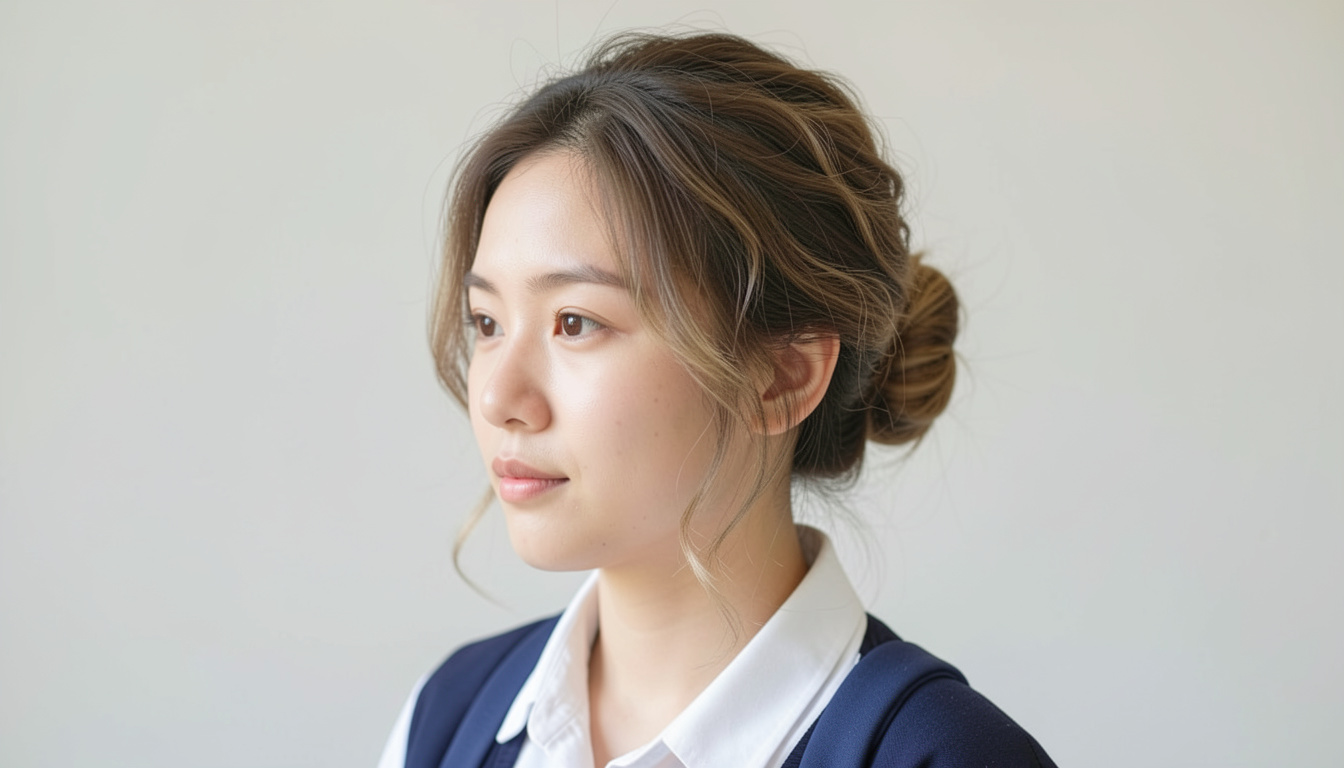
12 True Quick Bun Hairstyles For School
These 12 quick bun ideas are the exact styles I reach for when I have five minutes before class. They’re realistic, messy or neat as needed, and suited to different textures and lengths—so you can pick one that actually works for your hair and schedule.
1. Low Lazy Bun with Face-Framing Pieces
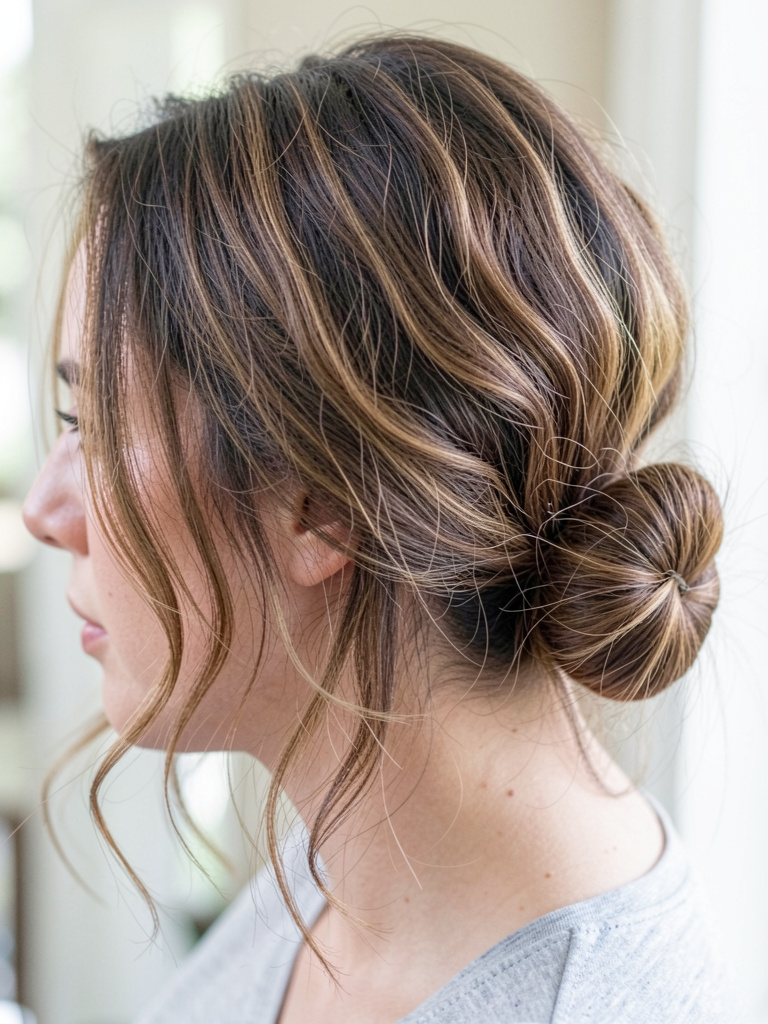
I started doing this when my ponytail looked too school-photo perfect. I pull my hair into a low bun and tug a couple of pieces loose around my face. It softens my square jaw and hides a messy hairline.
In the back it sits a little lopsided by lunchtime, which I now expect. My hair is thick, so I wrap the elastic twice and use one bobby pin to anchor the bulk. On smooth hair the pieces tend to fall flat; a tiny texturizing mist helps.
Tip: Ask your stylist for long face-framing layers and tell them you want pieces that fall easily. It makes morning shaping nearly automatic.
2. High Sock Bun for Fast Volume
I tried this when my hair was shoulder-length and it instantly made me look more put together. I loop my hair through a sock donut, spread it evenly, then tuck ends under. It looks fuller than my natural pony.
The first time I used a donut that was too big and my bun looked like a mushroom. I learned to size the donut to my ponytail thickness. On humid days, a couple of pins stop small loops from popping out.
Tip: Use a donut one size smaller if you want a sleeker finished shape. It’s faster than teasing and holds for class pictures.
3. Twisted Mini Bun for Thin Hair
When my hair thinned a bit, I started pinning small twisted buns instead of one big one. I divide my hair into two twists, coil them and pin at the crown. It gives the illusion of density without padding.
It doesn’t hide greasy roots, though. Once I tried it on day-three hair and it slipped. I now refresh my part with dry shampoo first. Fine hair tends to creep loose, so I use lots of pins and a light-hold spray.
Tip: Tell your stylist you want layers that can be twisted into small buns—shorter pieces will tuck in instead of sticking out.
4. Sleek Low Pony-to-Bun for Straight Hair
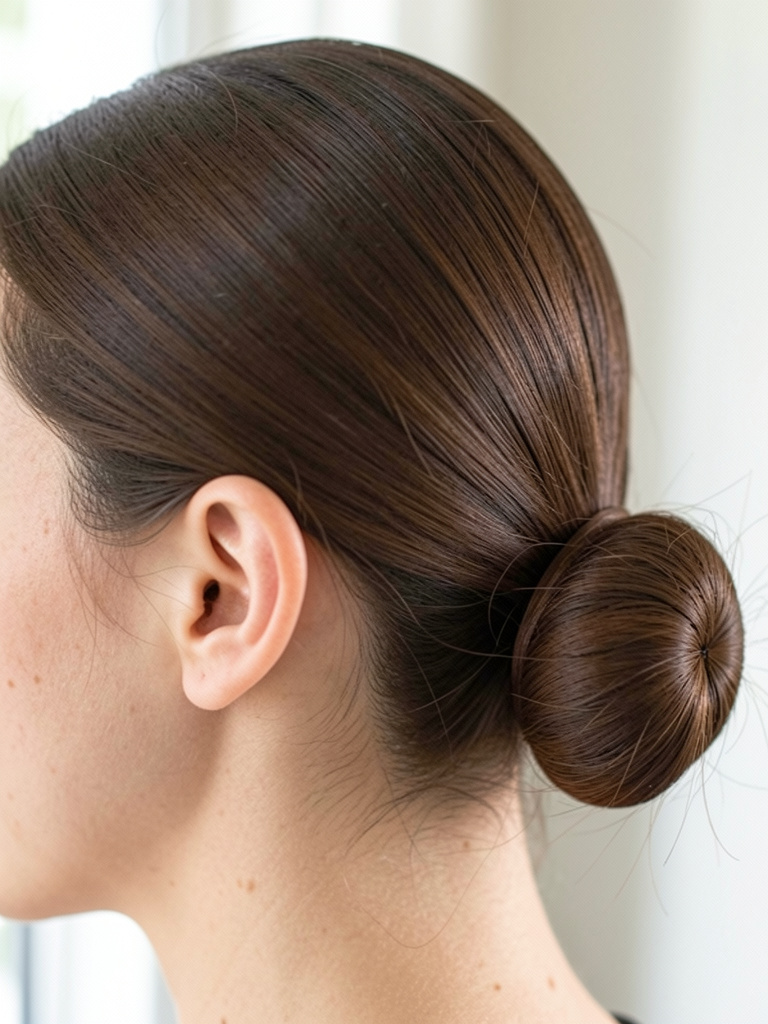
I learned this after ruining too many half-up tries. I smooth my hair into a low pony, twist it once, then wrap and pin into a flat, sleek bun. It stays neat for hours in a classroom with AC.
My flat iron and serum are my allies here. If I skip the smoothing step it frizzes and looks like a messy knot by second period. It’s best on straight hair; on waves the bun puffs unless I flatten first.
Tip: Ask for a long, even cut with no layers at the very ends so the wrap sits clean and doesn’t have bits poking out.
5. Messy Top Knot with Headband
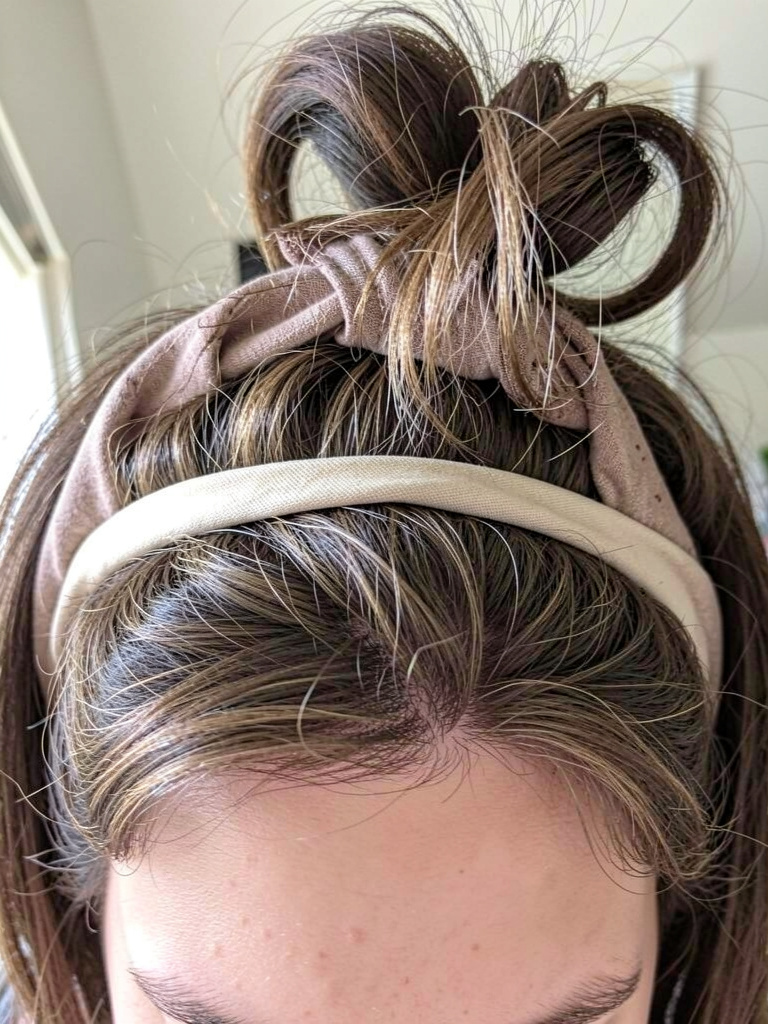
My go-to when I oversleep. I throw my hair into a top knot, pull it loose until it looks undone, and add a soft headband. It hides roots and looks intentionally casual.
I used to yank the hair too tight, which gave me a sore scalp. Now I leave the elastic loose and let the knot breathe. On very thick hair it can droop; I use two pins to secure the base.
Tip: Pick a medium-width headband that won’t slide—satin-backed ones grip better if your hair is silky.
6. Low Braided Wrap Bun for Textured Hair
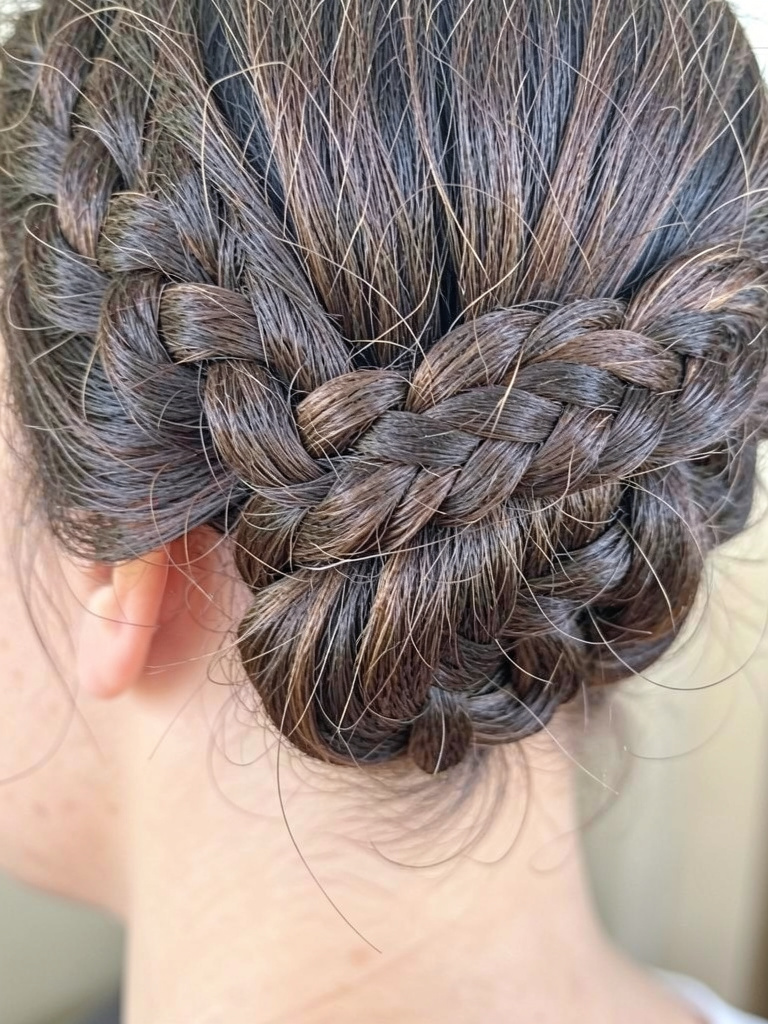
I braided a small section along my part and wrapped it into a low bun the day I wanted something extra but still school-appropriate. The braid hides the elastic and makes the bun read cleaner.
My natural texture keeps the braid from looking flat, which I love. However, if I over-moisturize it can frizz and the braid loses definition. I use a dry oil sparingly and two pins to lock the wrap.
Tip: Ask for medium-long layers so the braid has length to tuck without short hairs escaping mid-day.
7. Half-Up Bun with Loose Waves
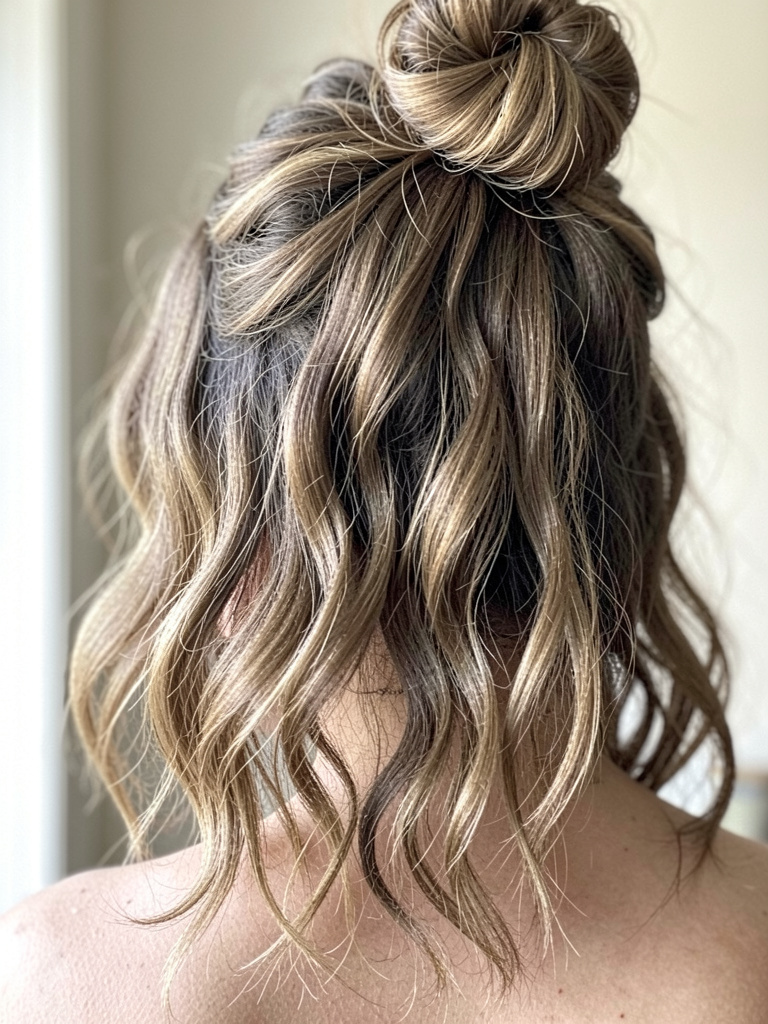
I do this when I want hair out of my face but not fully up. I curl the lower half loosely the night before, pull the top into a small bun, and leave the rest down. It feels polished but relaxed.
The mistake I made early on was curling everything the same size. It looked too perfect. Now I vary my curling iron and finger-comb the waves for a lived-in finish. It’s great on medium thickness.
Tip: Tell your stylist to keep long face layers that sit on top of the bun so the shape reads balanced from the front.
8. Slick Side Bun for Shorter Lengths

This was the style I used during my awkward chin-length phase. I sweep hair to the side and pin it at the nape into a small bun. It makes short-ish hair look intentional rather than just “growing out.”
It will slip if your hair is super layered. I learned to pin through the center of the coil and add a small elastic at the base to hold it. A dab of cream smooths baby hairs.
Tip: Ask your stylist for side-swept length and longer front pieces so they can be tucked into a neat side bun with minimal pins.
9. Double Tiny Buns for Playful Low-Maintenance Days
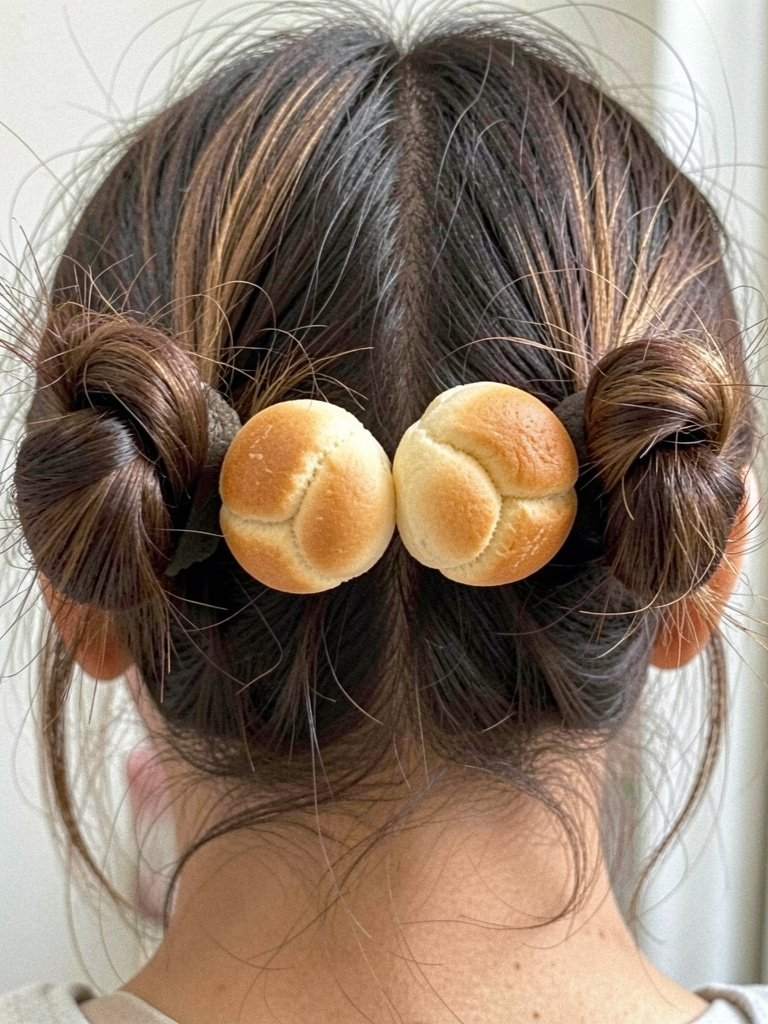
I tried twin buns as a throwback experiment and kept them for quick days. I split my hair into two low sections, twist each into a small bun, and pin. It’s comfy and stays even on bouncy days.
My early attempts were uneven—one bun always escaped. I now start with a center part and secure the first bun tight, then match the second. Works best on medium-thick hair; very fine hair needs a little texturizer.
Tip: If you want symmetry, mirror the amount of hair you pull into each side and use the same number of pins.
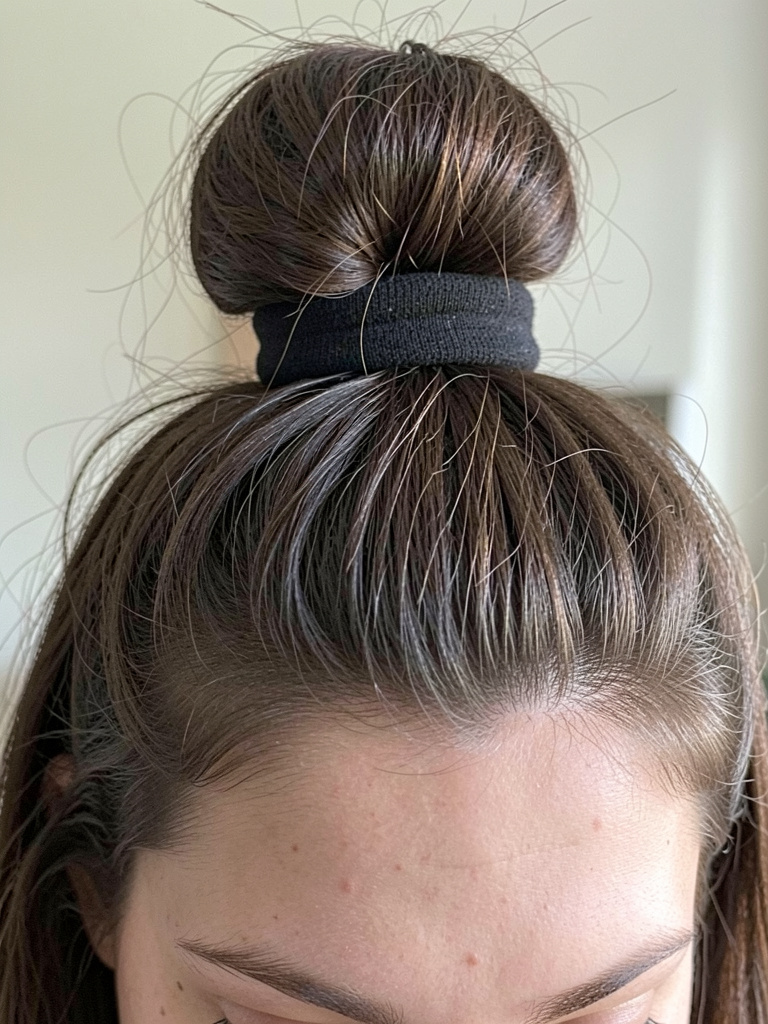
10. Wrapped Elastic Bun That Hides the Band
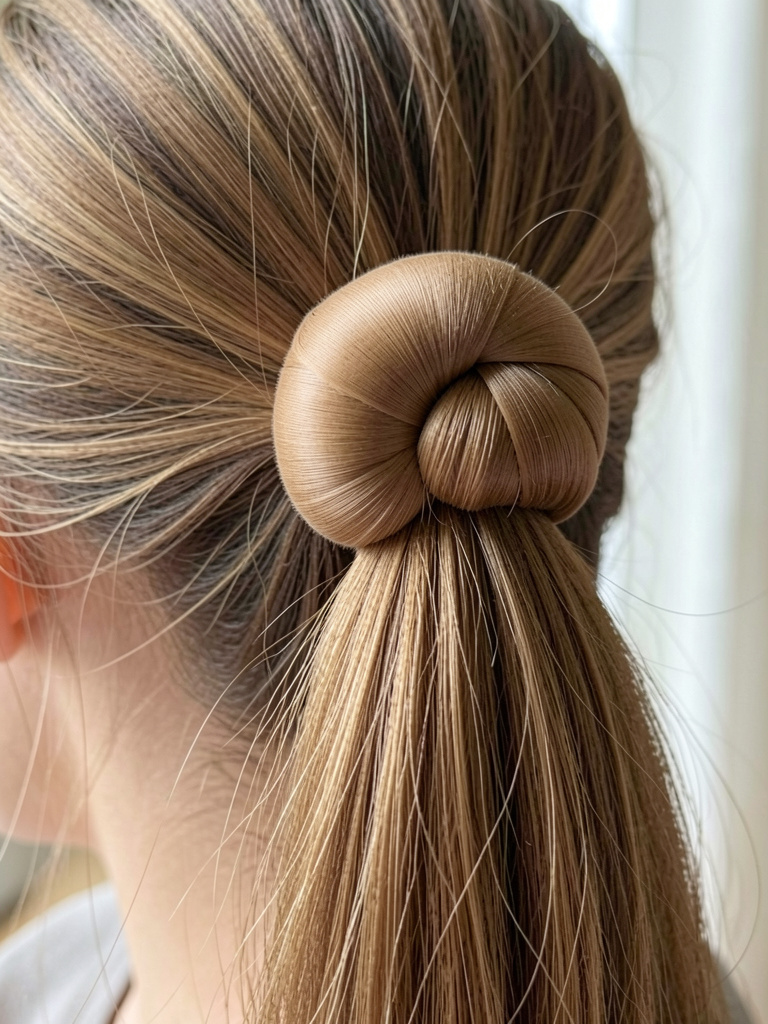
This is my invisible trick for school photos. I start with a small pony, coil the hair around the elastic, and tuck the ends under. It looks like a neat bun without bulky pins.
I used to over-twist and create a donut effect that looked unnatural. I now leave a little tail to tuck in so the shape reads intentional. Holds well through PE if pinned with two U-pins.
Tip: Ask your stylist for uniform ends so they tuck cleanly around the elastic and don’t stick out mid-day.
11. Low Bun with Scarf Tie for Quick Polish
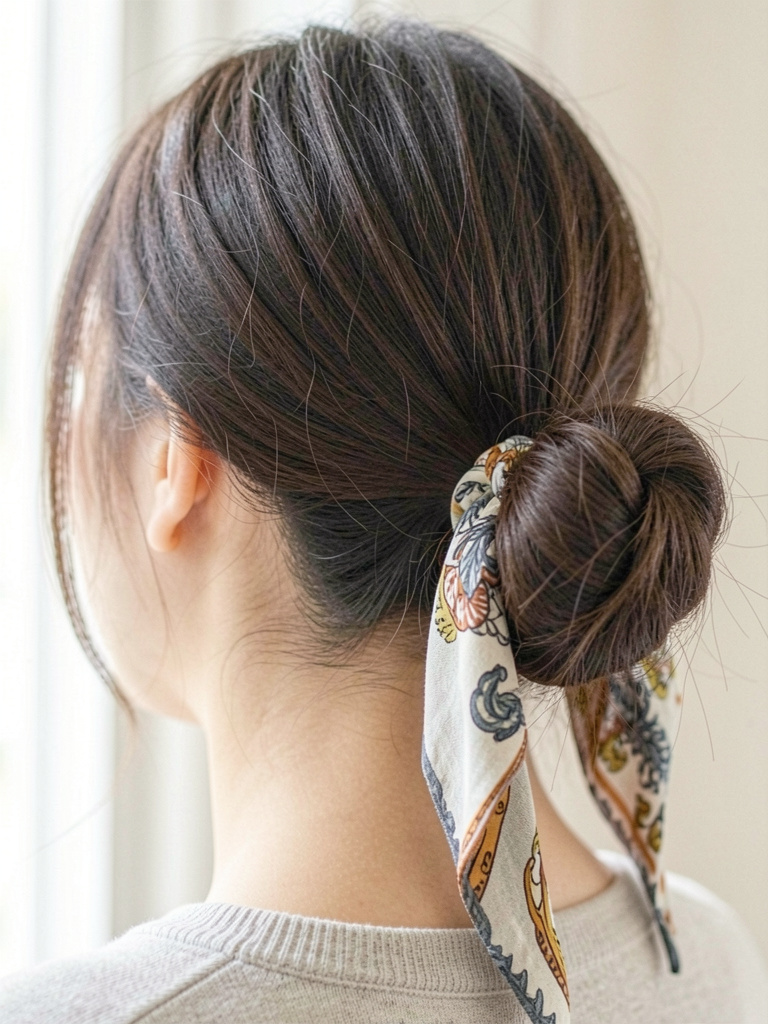
I added a narrow scarf when I wanted my bun to feel put together without extra time. I tie the scarf under the bun and knot it loosely at the side. It hides messy ends and brightens my look.
Once I used a slippery scarf and it unknotted halfway through the day. Now I choose cotton or thin wool and knot twice. Works well on slightly grown-out bobs too. It’s an easy fix for bad roots.
Tip: Bring a spare scarf in your bag—if you tuck the knot under the bun, it stays put during school.
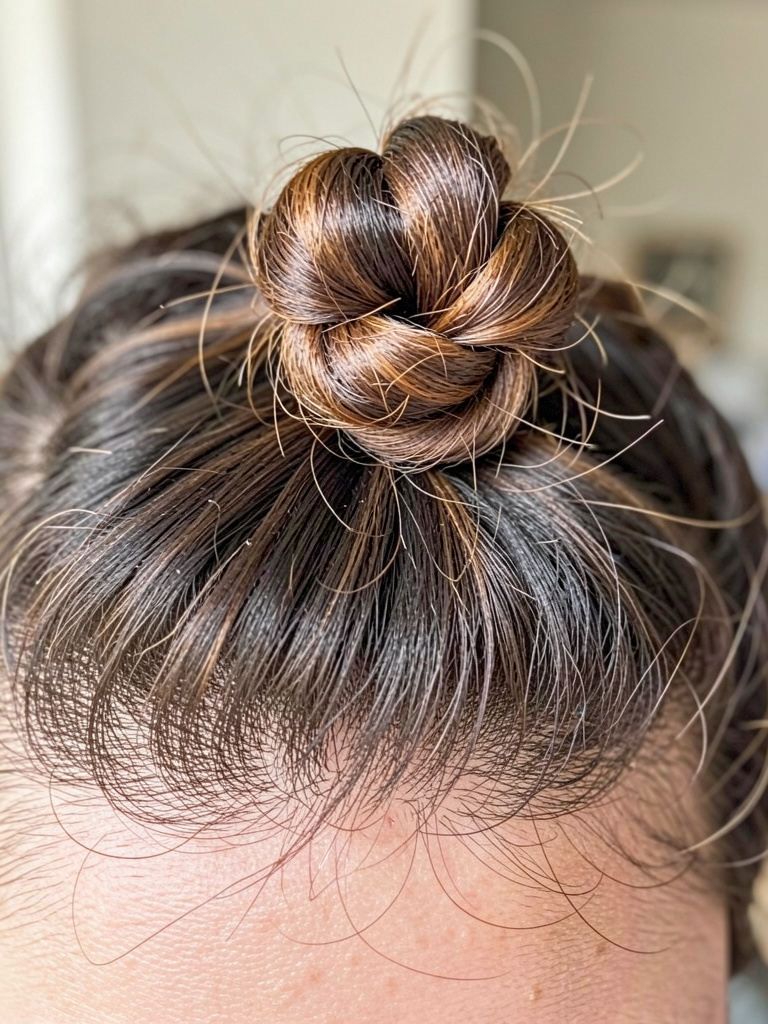
12. Quick Knotted Bun for Curly Hair
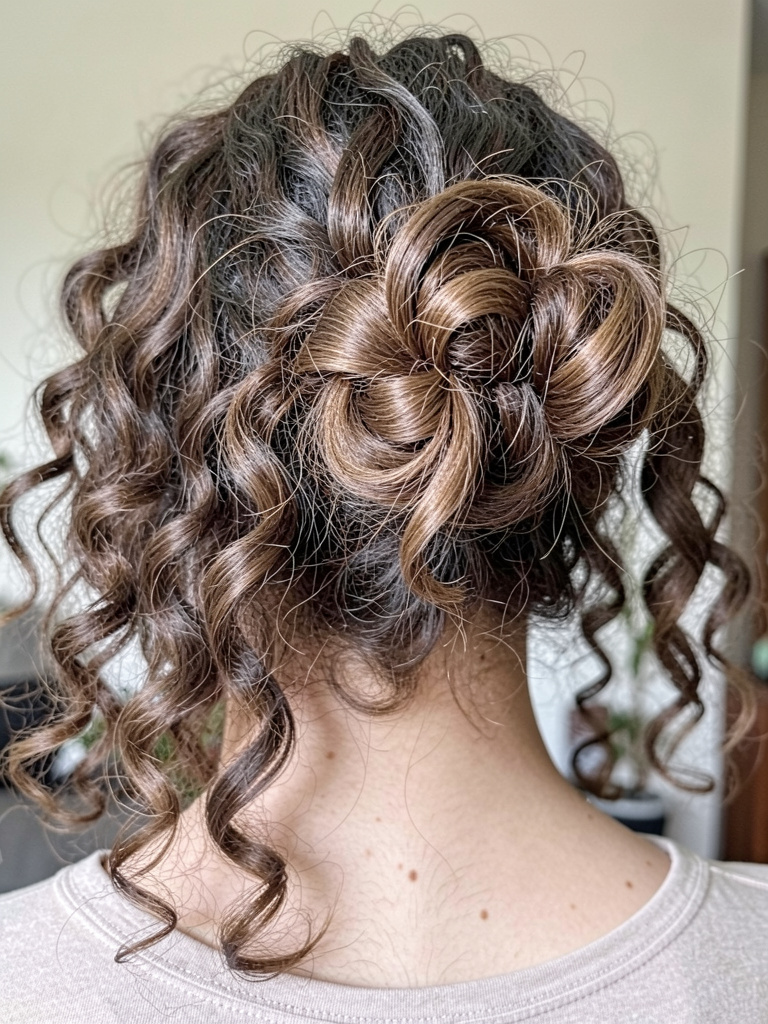
I learned this after battling frizz in humid halls. I loosely gather my curls, twist briefly, and tie a small knot with the ponytail before tucking the ends under. It keeps curl shape without mashing pattern.
My early knots were too tight and flattened my coils. Now I leave length in the knot so volume remains. If it loosens after gym, I redo the knot in one minute. Curls love this because it avoids heavy products.
Tip: Ask for long layers that retain curl length so the knot looks balanced and you don’t lose your natural shape.