I once chopped my hair on a whim and hated every mirror for a week. Then I learned small shape tweaks matter more than length.
This list is what I wish I'd had in that salon chair. Honest, wearable pixie ideas for round faces — 25 of them — and how they actually behave.
25 Cool Pixie Cut For Round Face
These 25 pixie cut for round face ideas are the exact options I tested on my own hair and friends'. I explain how each one wears day-to-day, who it suits, and what to ask your stylist. Expect clear, usable notes for every look.
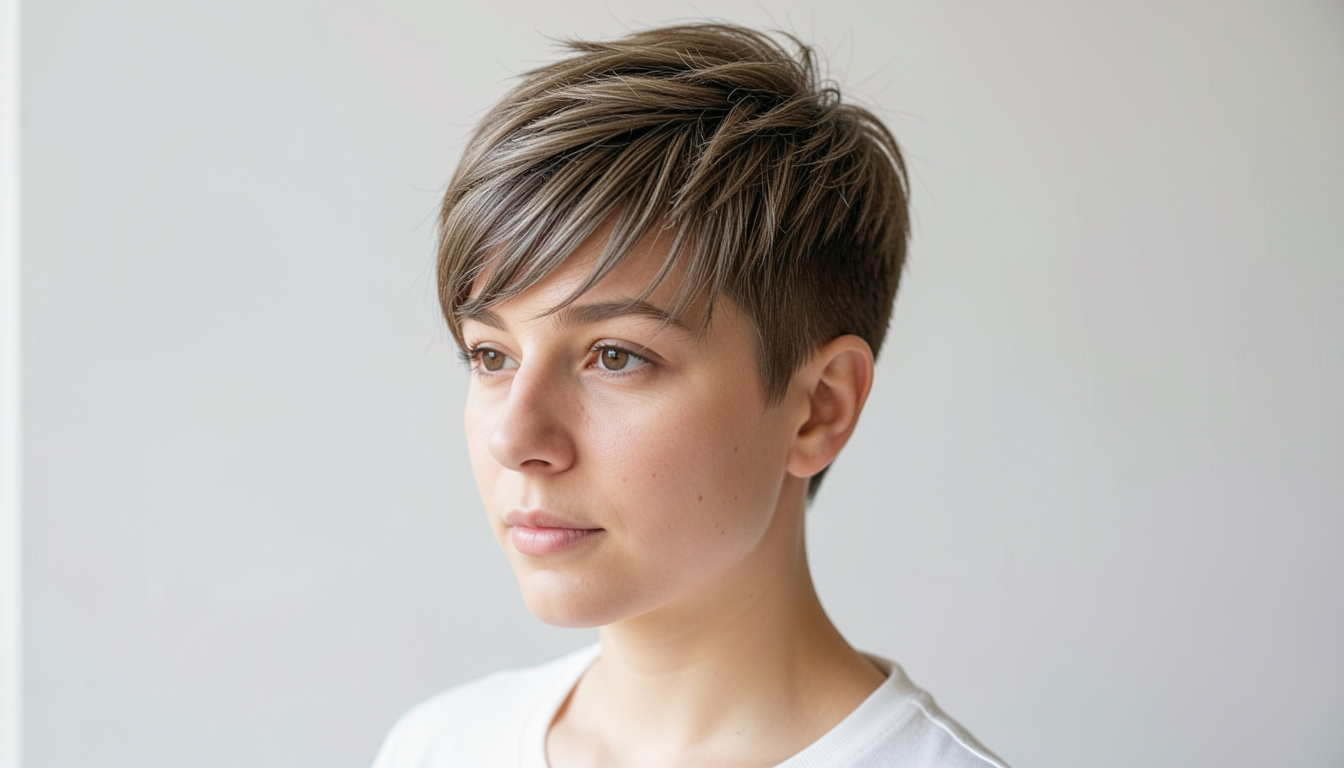
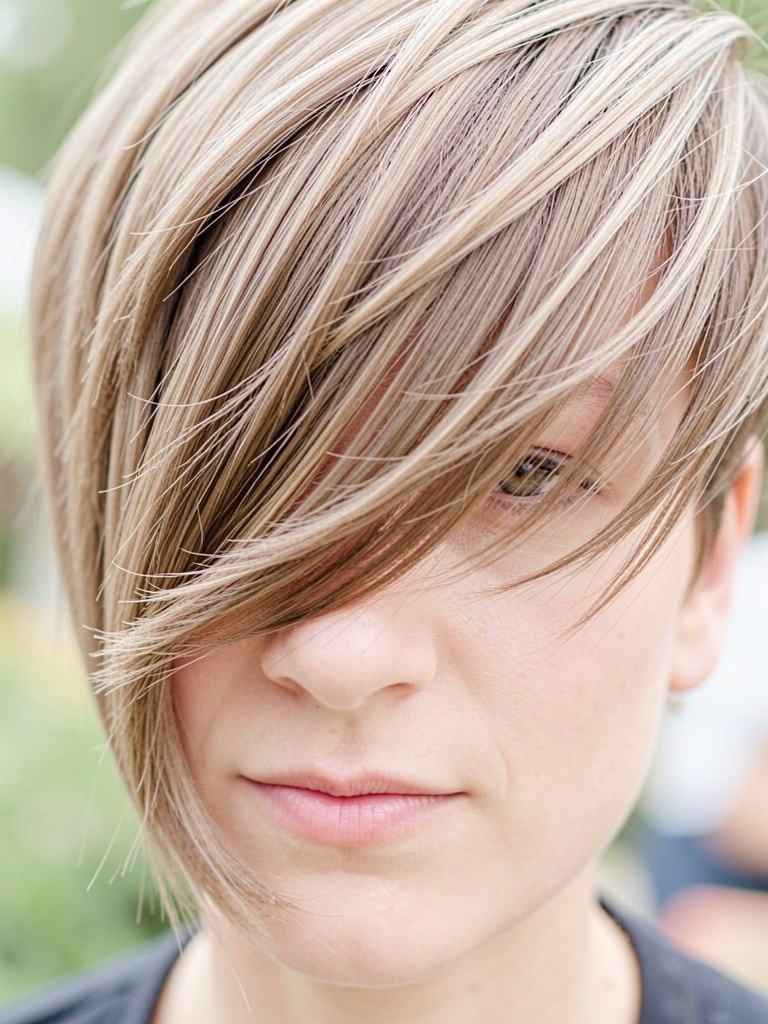
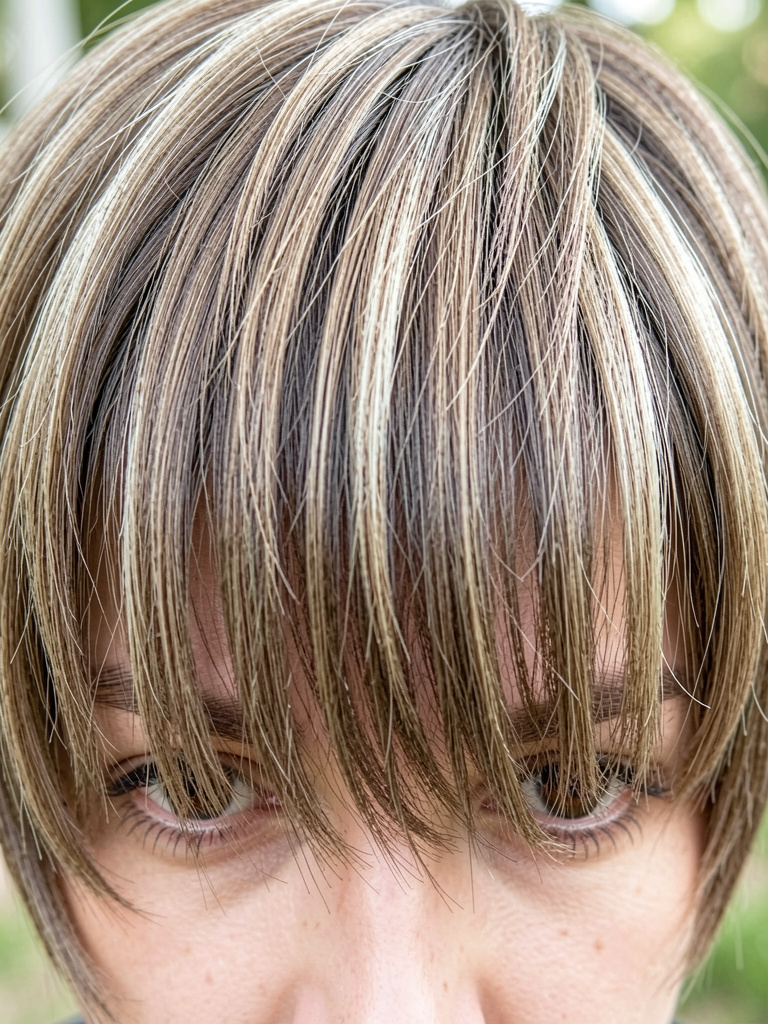
- Short Pixie with Long Side-Swept Fringe
I asked for a short crop but kept a long side fringe. It softened my roundness instantly. The fringe creates a diagonal line that lengthens the face without needing extra length overall.
In real life the fringe needs a quick finger-sweep mid-afternoon. On fine hair it falls flatter; on thick hair it holds shape but can feel heavy. I found a light wax keeps separation without stiffness.
Tell your stylist you want volume at the crown and a long side bang that grazes the cheekbone. Ask them to point-cut the fringe so it moves.
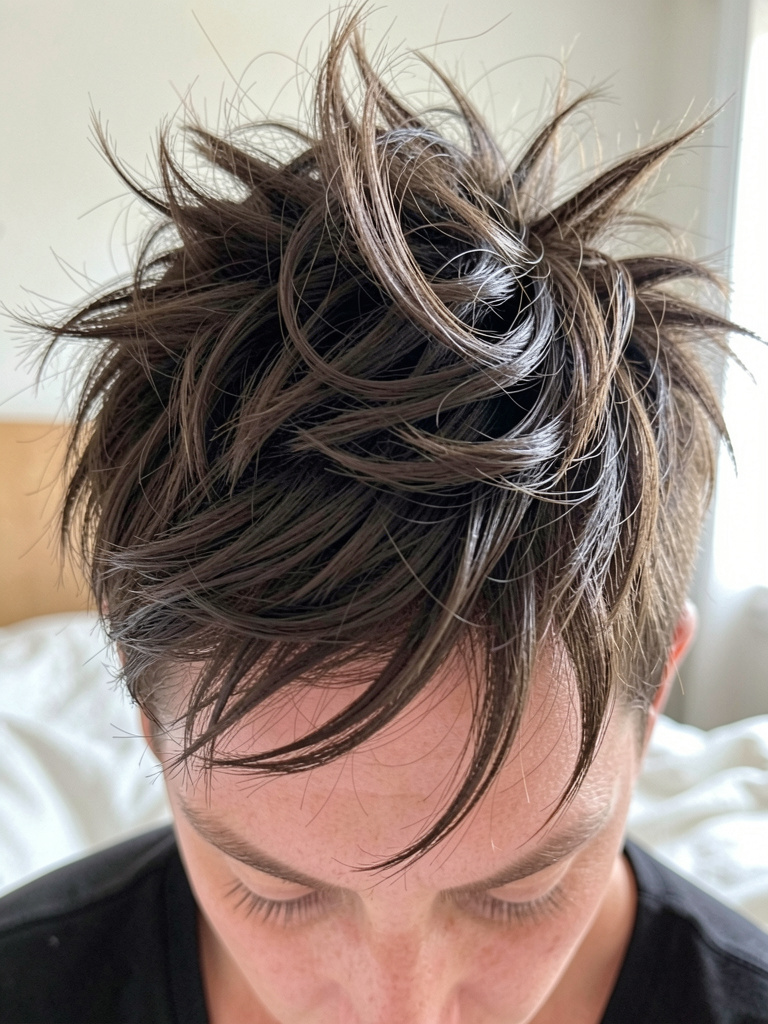
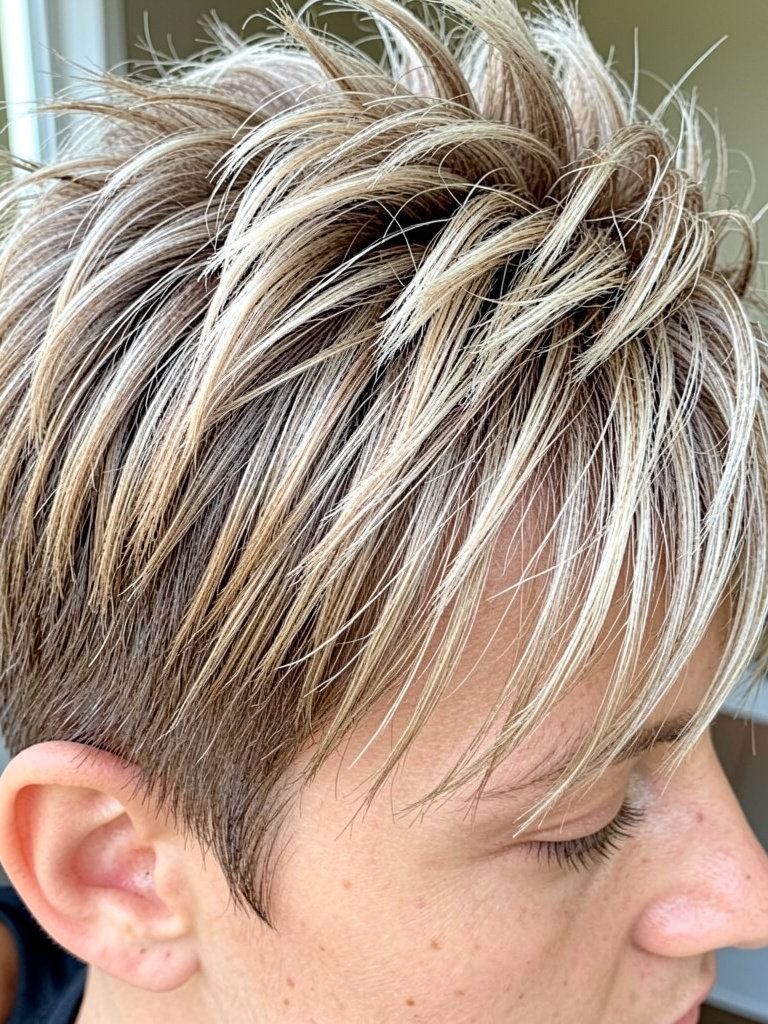
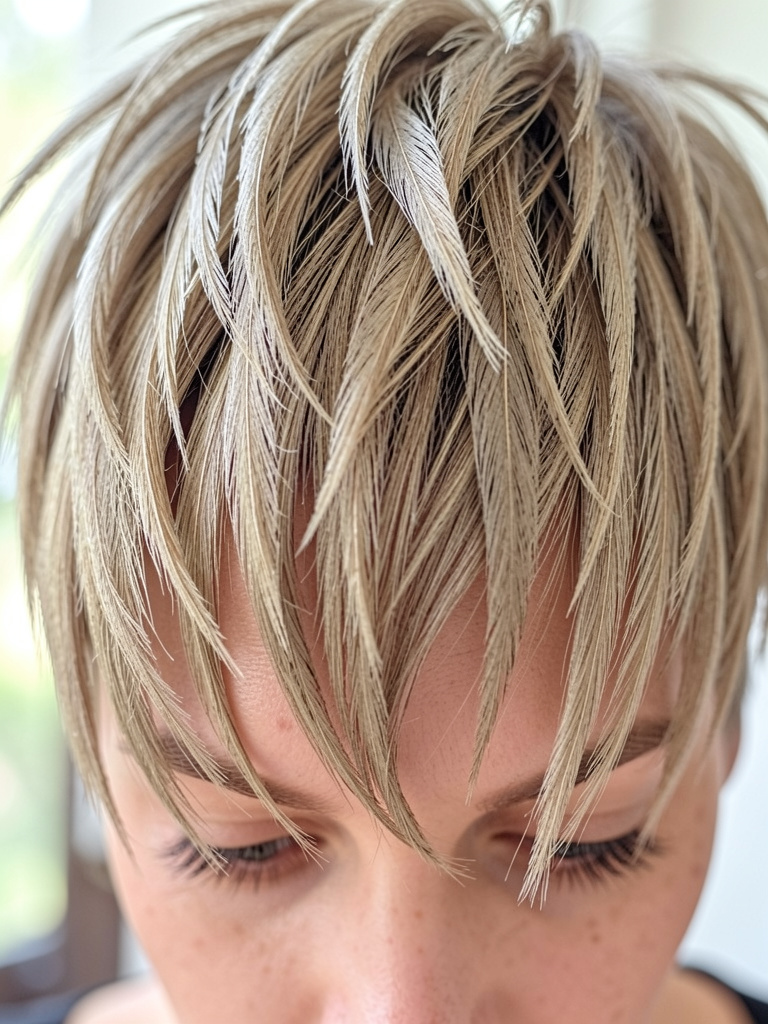
- Textured Crop with Choppy Top
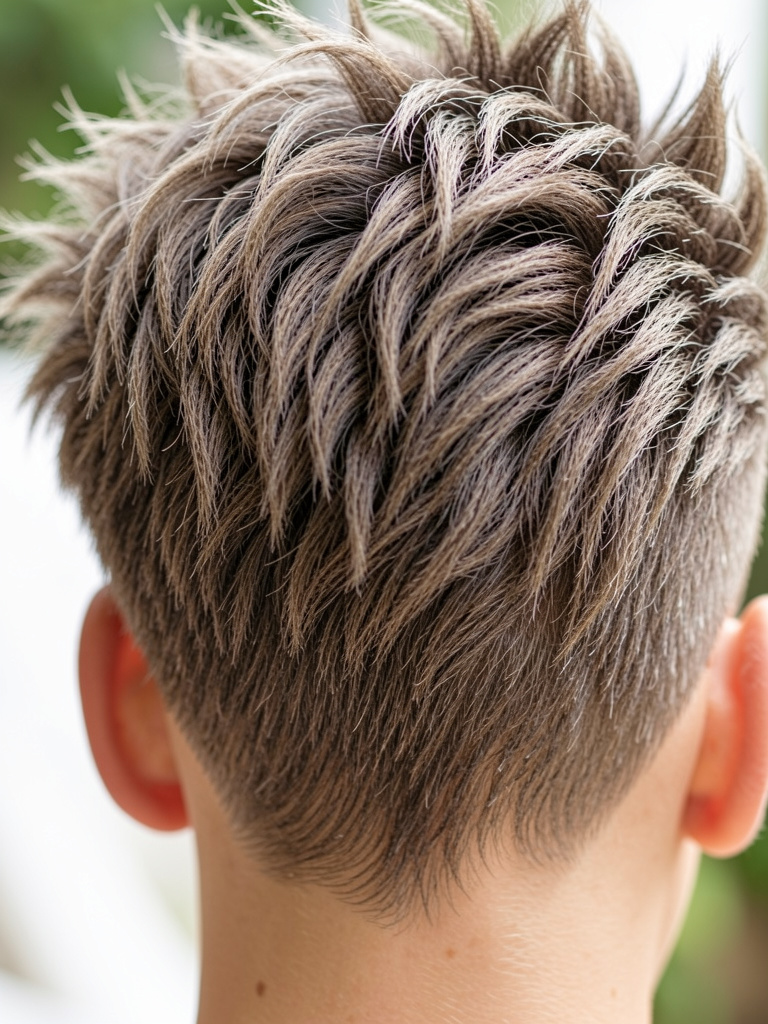
I lived in this choppy crop during a humid summer. The top is heavily texturized, which breaks up roundness and creates height. It feels playful but manageable.
It doesn’t sit flat on me unless I rough-dry against the direction of growth. On second-day hair it looks even better. My mistake the first time was over-smoothing it with serum — it lost all texture.
I tell my stylist to use thinning scissors and point cutting all over the top. I use a matte paste, working it in at the roots and tousling with my fingers.
- Asymmetrical Pixie with Deep Side Part
I requested an obvious deep part to add structure. One side cropped, the other left longer, and suddenly my face looked longer. The asymmetry gives a slimming diagonal line.
In practice, the longer side needs a quick tuck behind the ear on busy days. On curly hair the longer side springy-loops can add width, so diffusing helps. I learned that pushing the part slightly off-center changes the whole profile.
Say: “Deep side part, one side cropped, keep the top long enough to sweep across the brow.” Blow-dry across the part for clean shape.
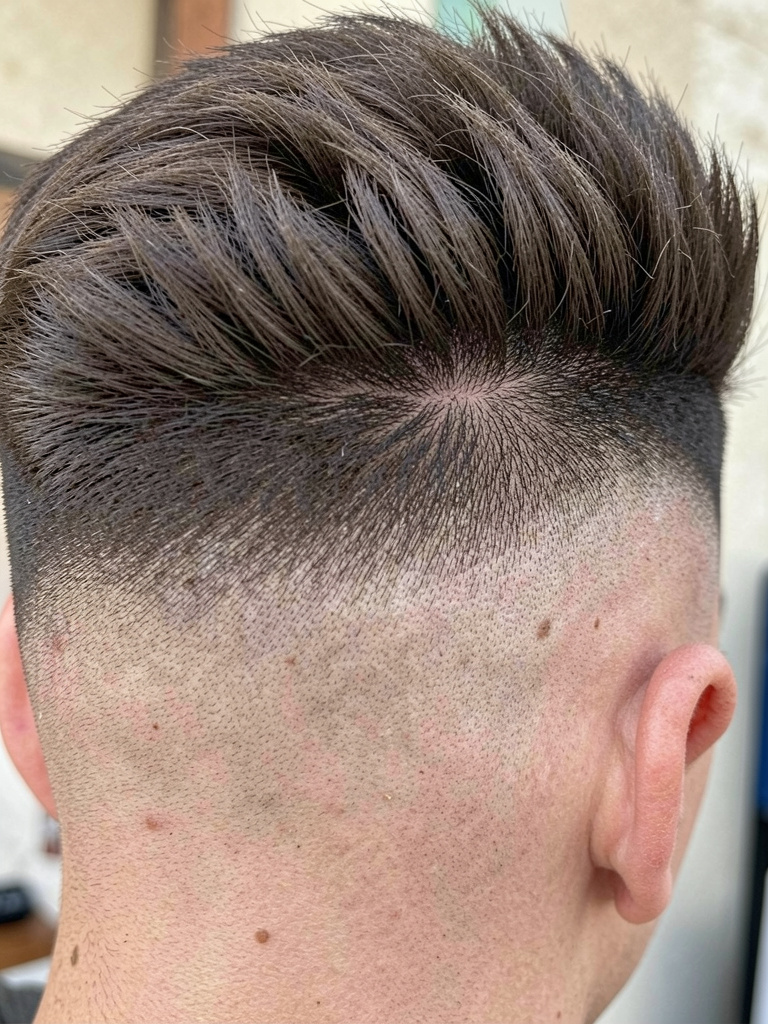
- Pixie with Long Textured Top and Tapered Nape
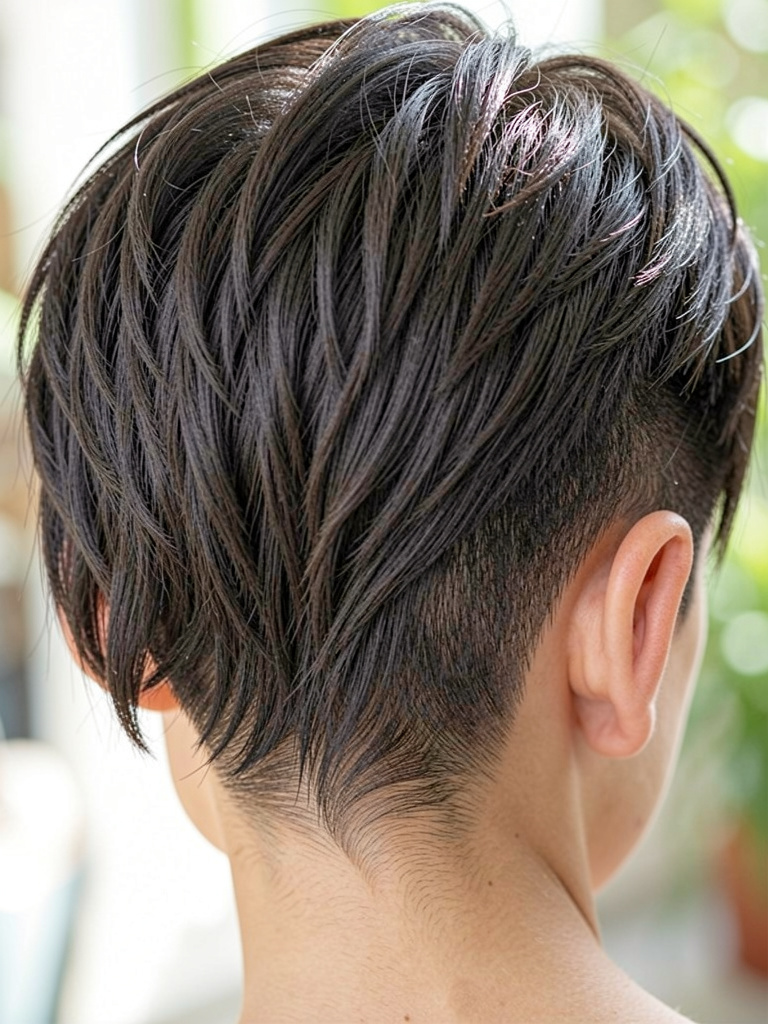
I kept length up top and asked for a strong taper at the nape. That contrast lifts the face visually. The length on top gives me styling options without adding roundness.
It sits best with a quick root lift when damp. After sleeping on it the tapers can go flat, but a 10-second blast from a dryer fixes it. My insight: don’t overlayer the top — it needs weight to fall into shape.
Tell your stylist: “Longer on top, tight tapered nape. Keep top heavy enough to style with fingers.” Use a lightweight cream to smooth without weighing down.
- Pixie with Soft Side-Framing Layers
I asked for soft layers that hug the cheekbones. Those layers create vertical lines that counter a round face. It reads gentle and feminine without losing edge.
In real life the layers can puff in humidity, so I keep a small dab of smoothing balm handy. I also made the mistake once of cutting layers too short; they bounced out and widened my face. Keep them grazing the cheek.
Tell your stylist: “Soft face-framing layers that sit at cheekbone level.” Style with fingers and a light serum on the ends.
- Pixie with Micro Bangs (Baby Fringe)
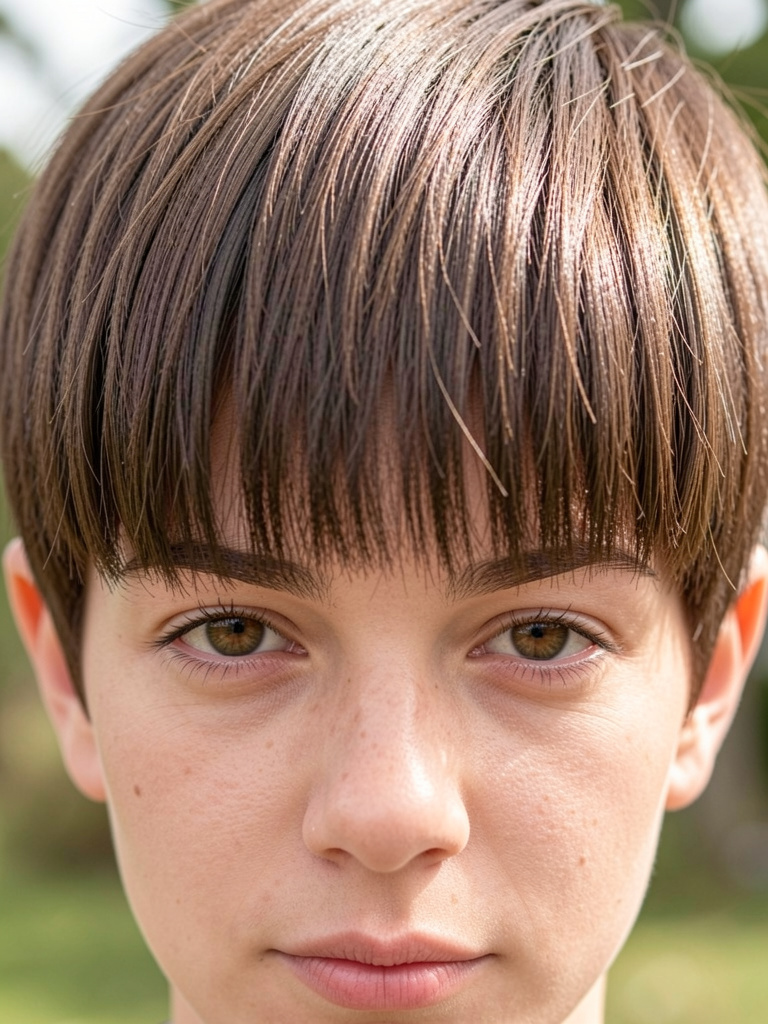
I cut micro bangs to shorten my forehead and add angles. They give an edge that distracts from roundness by creating a horizontal emphasis up high.
They behave oddly on humid days — they can puff or separate. I once trimmed them too bluntly and they looked severe. My tip: keep them slightly feathered and ask for soft point cutting.
Tell your stylist: “Micro bangs, soft edges, not blunt.” Use a tiny amount of matte paste to shape them and keep them from sticking to the forehead.
- Sleek Pixie with Long Side Tuck
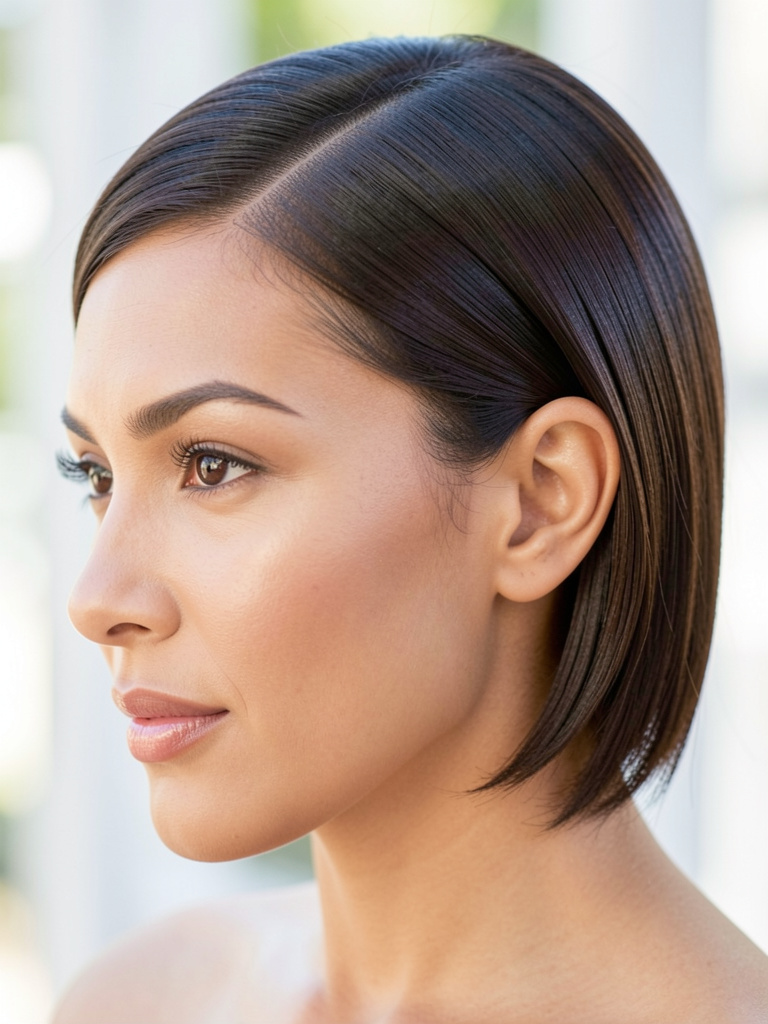
I wore this when I needed a neat look for interviews. The longer side tuck elongates my face and shows cheekbones. It reads polished without being overdone.
It needs a little flyaway control after a windy commute. Overdoing serum makes it look greasy, which was my first mistake. A light cream and a quick blow-dry keep it sleek but natural.
Ask for length that tucks just behind the ear and a slightly longer top to comb over. A round brush and low heat do the trick.
- Messy Bedhead Pixie with Height
I lived in this messy pixie when I wanted effortless volume. The height at the crown adds length to a round face and distracts from the cheeks.
It gets better the second day. Freshly washed it can look flat if I don’t scrunch while drying. I learned to sleep on a silk pillowcase to keep the textures intact; not doing that left it limp.
Ask your stylist for textured layers on top only. Use salt spray on damp hair and scrunch upward while blow-drying for instant lift.
- Curly Pixie with Defined Ringlets
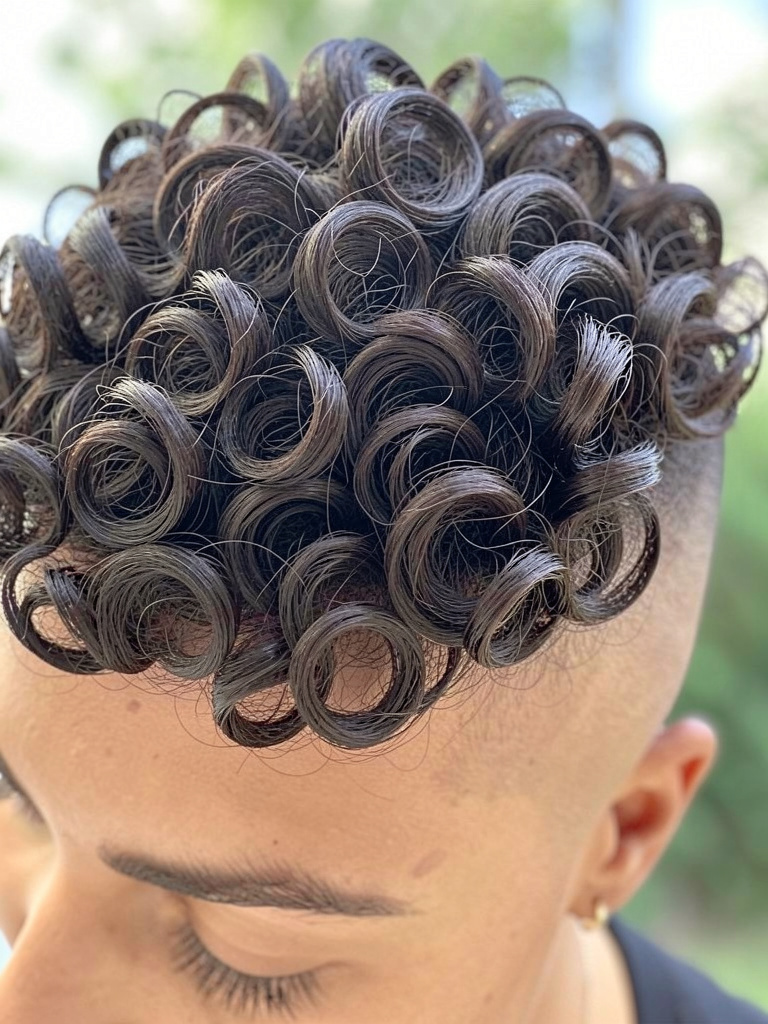
I stopped fighting my curls and let them define the cut. Tight curls on top build height and soften roundness with natural volume.
Curls change with humidity. They grow a bit overnight and can hide the shape if not refreshed. My mistake was cutting curls too short — then the shape ballooned. Now I cut them slightly longer dry so the map of curls stays predictable.
Tell your stylist you want shape while preserving curl length. Use leave-in curl cream and a diffuser on low.
- Pixie Bob Hybrid with Longer Back
I tried a pixie-bob hybrid to keep some neck coverage. The longer back balances round cheeks by adding a subtle vertical pull.
It behaves like a bob when damp — it needs a quick under-brush to sit right. I once let it grow uneven and it looked boxy. Regular small trims keep the back from drawing the face wider.
Ask for a slightly elongated back with tapered sides. A round brush and medium heat smooth the nape into place.
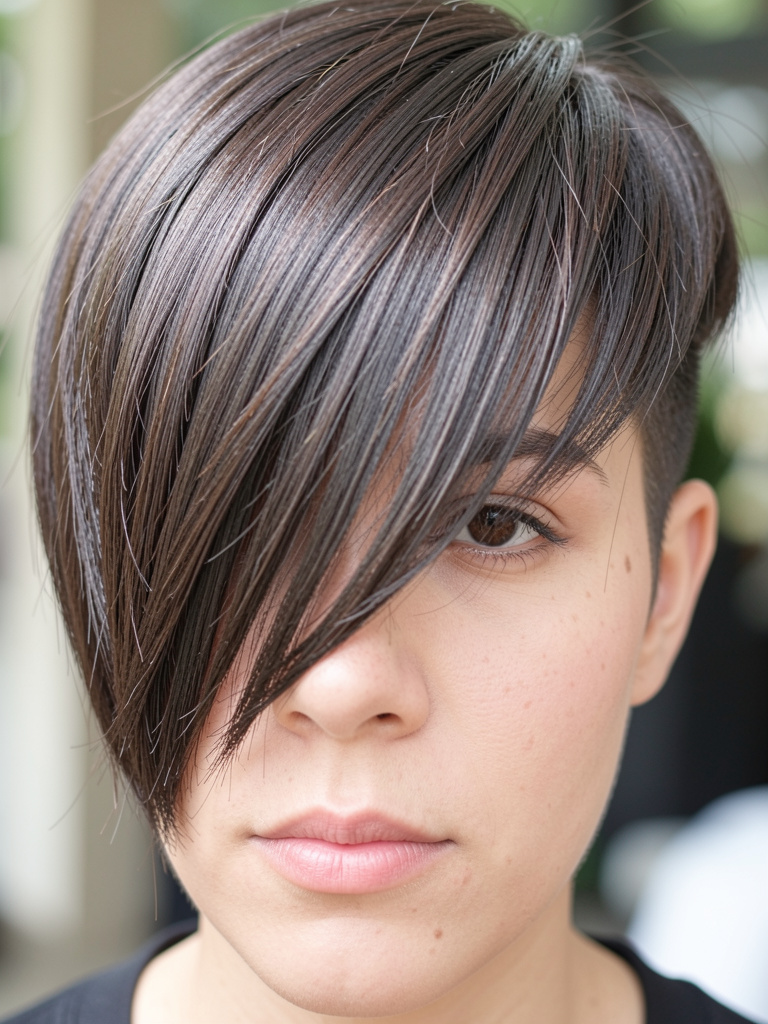
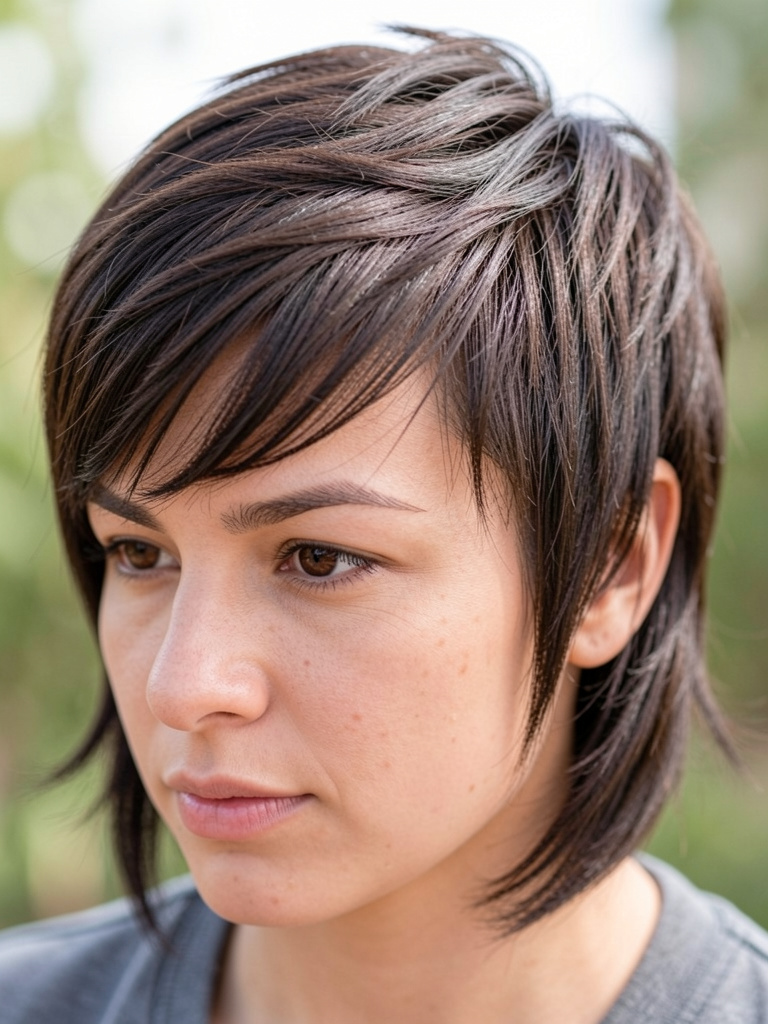
- Angled Pixie with Longer Front Pieces
I went angled to tip the face shape. Longer front pieces that hit below the jawline create a lengthening effect.
In practice those pieces can get in the way when I eat or kiss my neck. I learned to style them behind one ear for quick lift. Also, thicker hair needs thinning to avoid bulk at the front.
Tell your stylist: “Angle the front to jawline length, thin the heavier parts.” A dab of styling paste keeps pieces separated.
- Layered Pixie with Curtain Fringe
I loved the curtain fringe — it opens the face while adding vertical lines. The parting creates a center elongation that suits round faces.
It flops if I sleep on it wrong. My go-to is a quick mist of water and a finger-part to reset. A styling misstep I made was over-layering the fringe; it lost its soft sweep. Keep layers gentle.
Ask for a parted curtain fringe and soft layers at the crown. Use a round brush or your fingers to sweep the fringe away from the face.
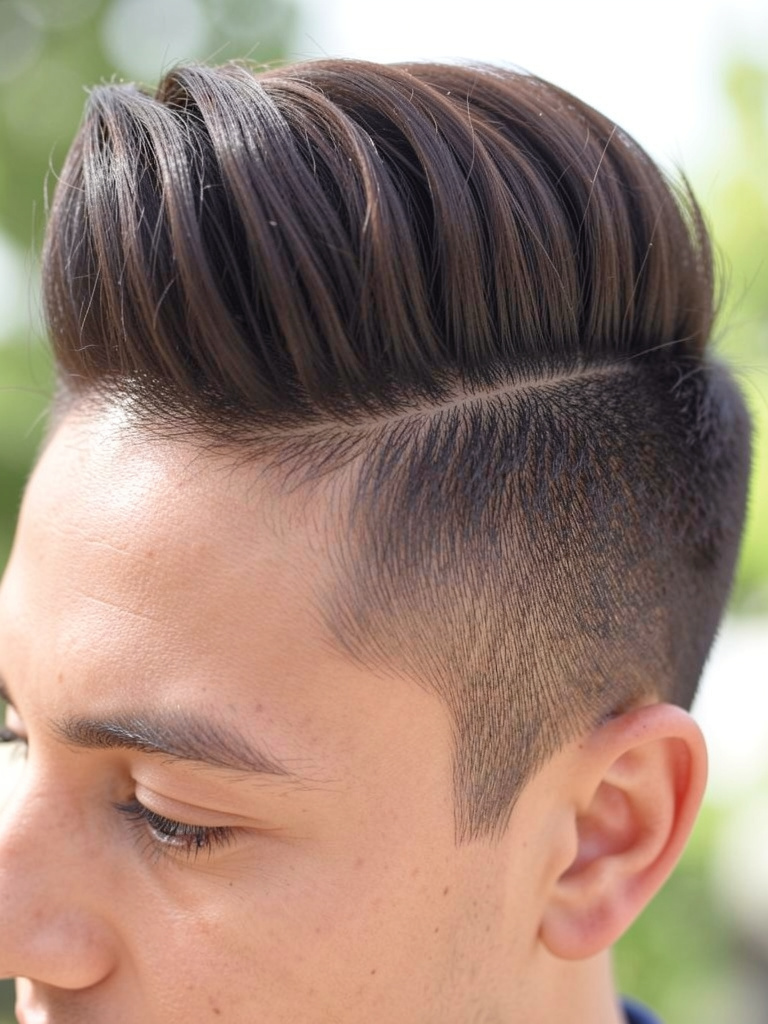
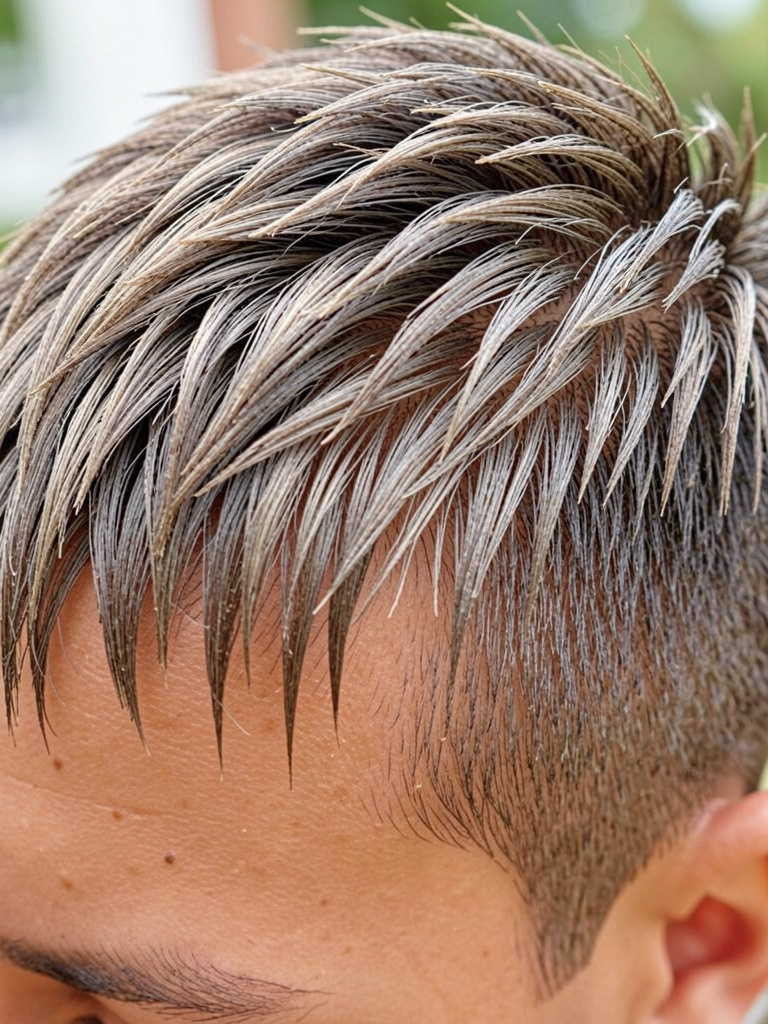
- Pixie with Undercut and Voluminous Top
I dared an undercut to cut weight on the sides. The shaved sides make the top look taller, which elongates my round face dramatically.
It’s low-maintenance on busy days — I can wear the top messy or slicked back. But I misjudged how quickly the undercut grows out; schedule trims every 4–6 weeks. Also, scalp sensitivity meant I had to change shampoo.
Tell your stylist about the desired contrast: close sides, voluminous top. Use a volumizing powder if you need lift.
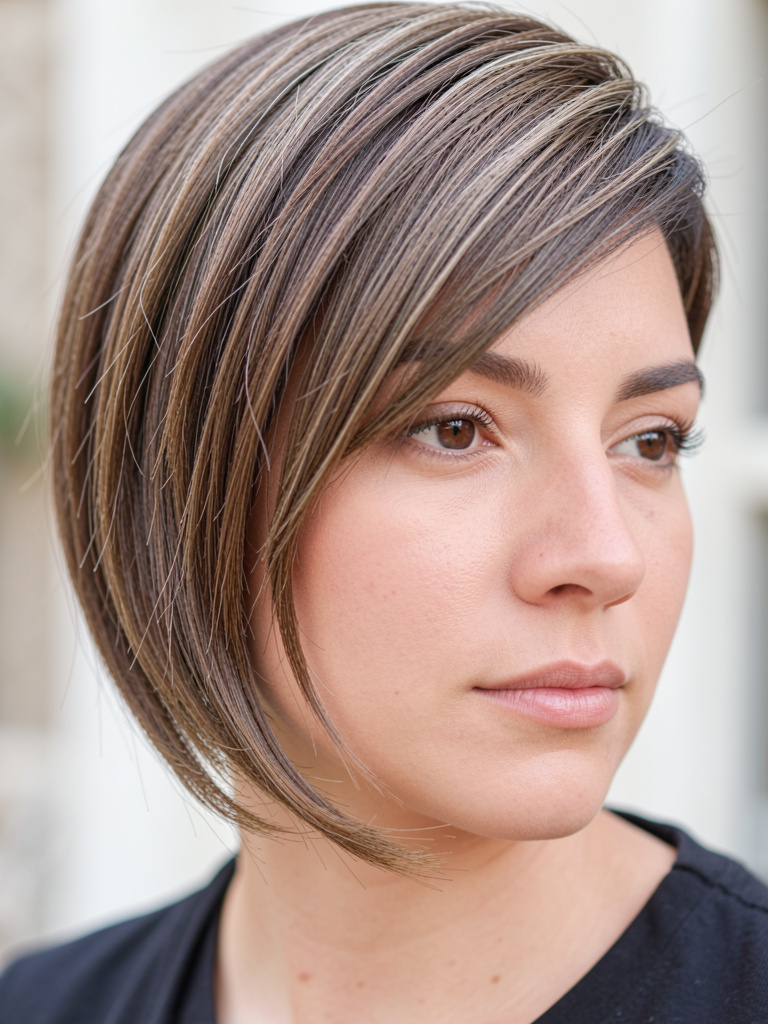
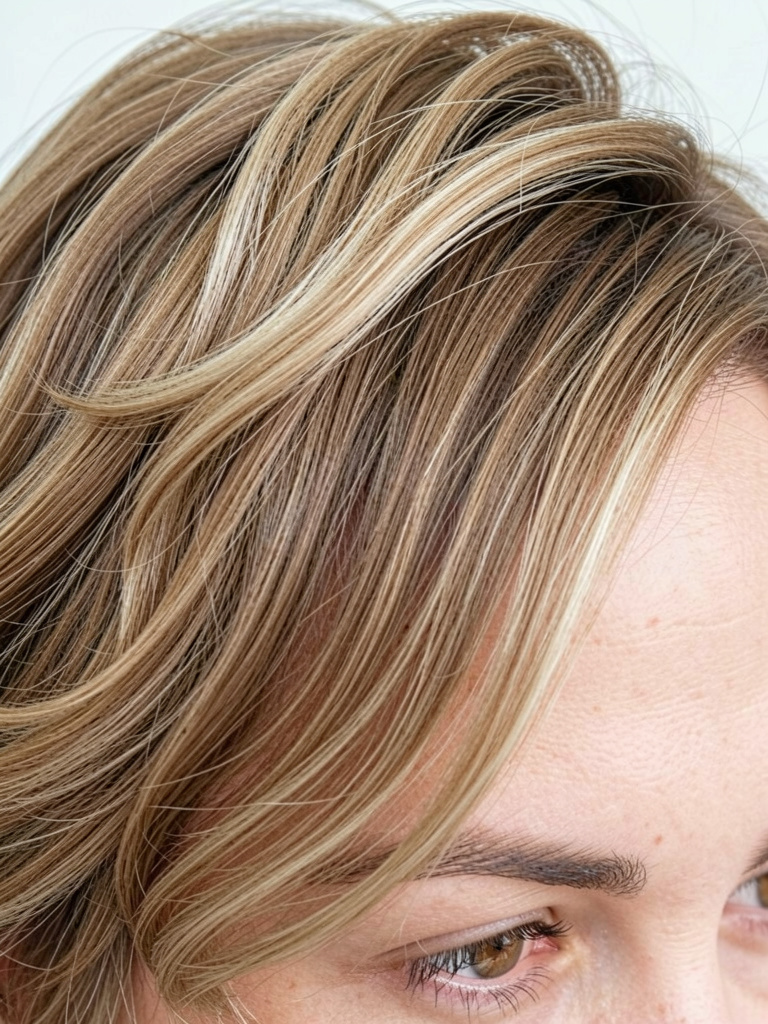
- Tousled Pixie with Soft Highlights
I added soft highlights to break up roundness. Lighter pieces around the crown create the illusion of height and structure.
Color changes how the cut reads. My highlights loosened the look and hid regrowth lines. I once over-placed highlights near the face and it looked harsh. Keep them subtle and face-framing.
Ask for babylights around the crown and top layers. Style with a matte paste and scrunch for texture.
- Pixie with Tapered Sideburns and Soft Crown
I trimmed the sideburns to a tapered finish to slim my cheeks. Tapered sideburns draw lines downwards, which is great for round faces.
My crown needs a bit of teasing on humid days to keep the shape. I once asked for too much taper and regretted the stark line. Ask for a gentle taper that sits flush with your cheekbone.
Tell your stylist: “Soft crown, tapered sideburns that don’t cut into the jaw.” Use a light volumizing spray at roots.
- Piecey Pixie with Feathered Ends
I live in piecey cuts when I want edge without bulk. Feathered ends create vertical texture which counters roundness subtly.
It needs product to hold the pieces apart. My mistake was using too much oil; the pieces clumped together. I now use a dry texturizer and finger-tease to keep separation.
Ask for feathered point cuts and leave some weight near the crown. A small amount of paste warmed between fingers defines pieces.
- Short Pixie with Pompadour Lift
I tried a mini pompadour to add height. The lift at the crown created a vertical line that slimmed my face and felt playful.
It needs sculpting each morning. I over-sprayed hairspray once and it looked helmeted. Now I use mousse at the roots and a light blow-dry lift, then finish with flexible spray.
Tell your stylist: “Keep enough length on top for a soft pompadour.” Use a round brush and blow-dry upward for shape.
- Glazed Pixie with Rounded Edges
I chose rounded edges because they felt softer on my face. The curved line frames the face without adding width, which is surprisingly flattering on round shapes.
It wants to sit neat. I found that over-brushing can flatten the soft curve. My tip: finger-shape the perimeter and pat with light cream rather than combing.
Ask for a rounded outline and minimal layering. A soft brush and low heat keep the curve intact.
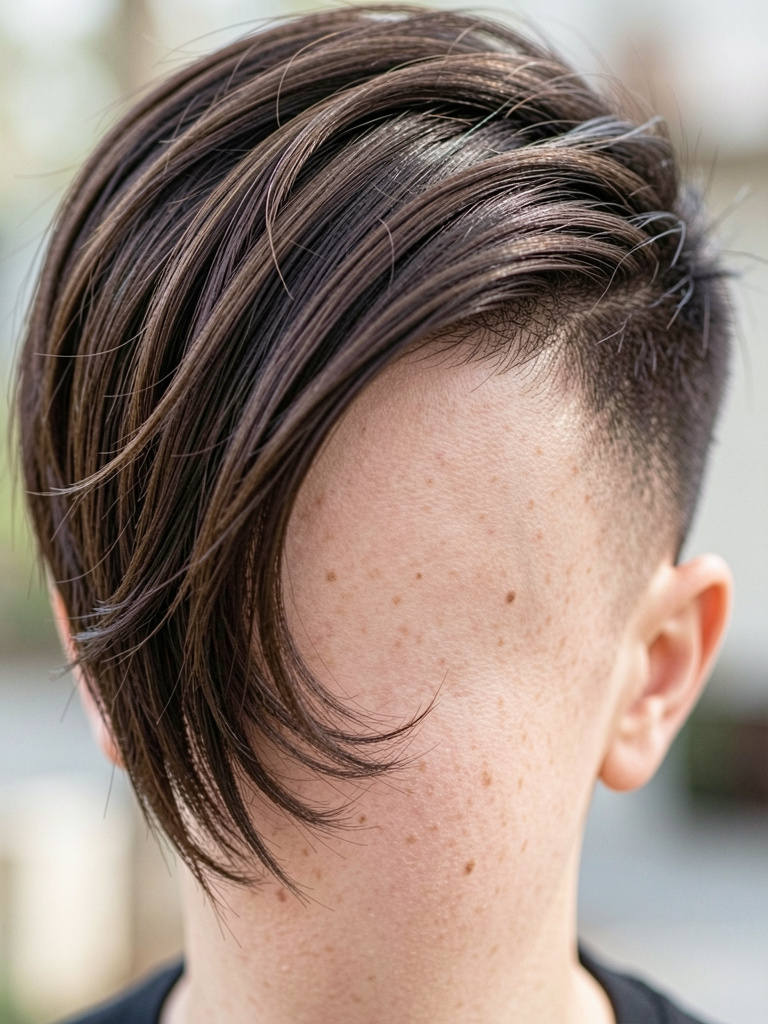
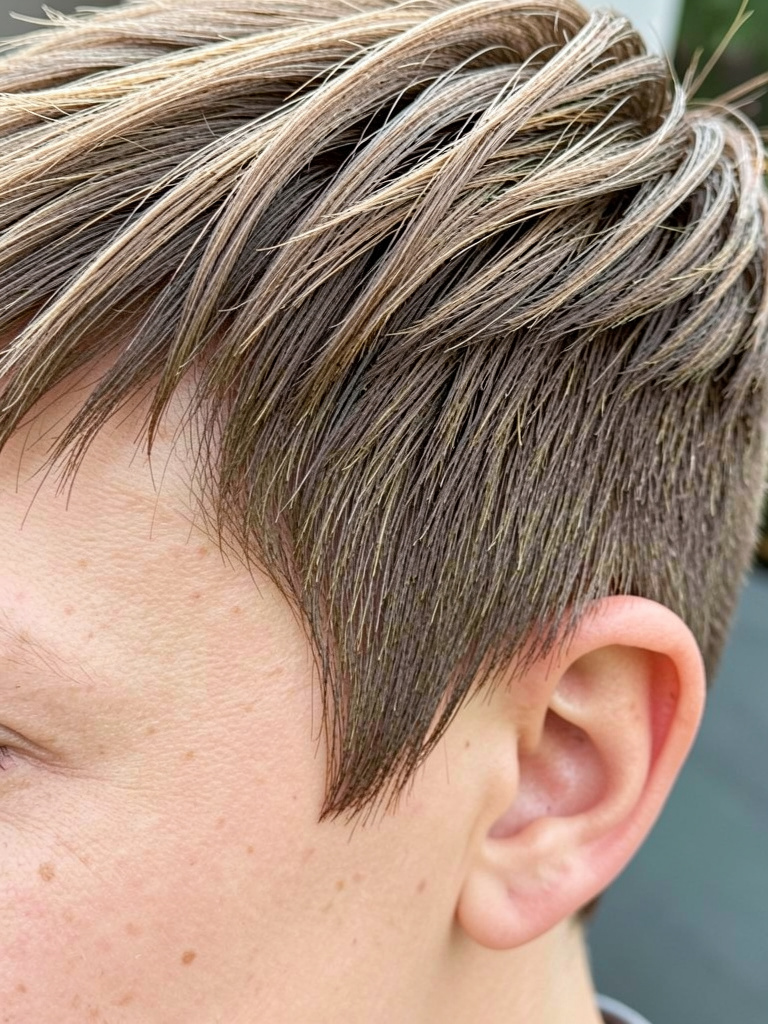
- Long-Top Pixie with Side Shave Accent
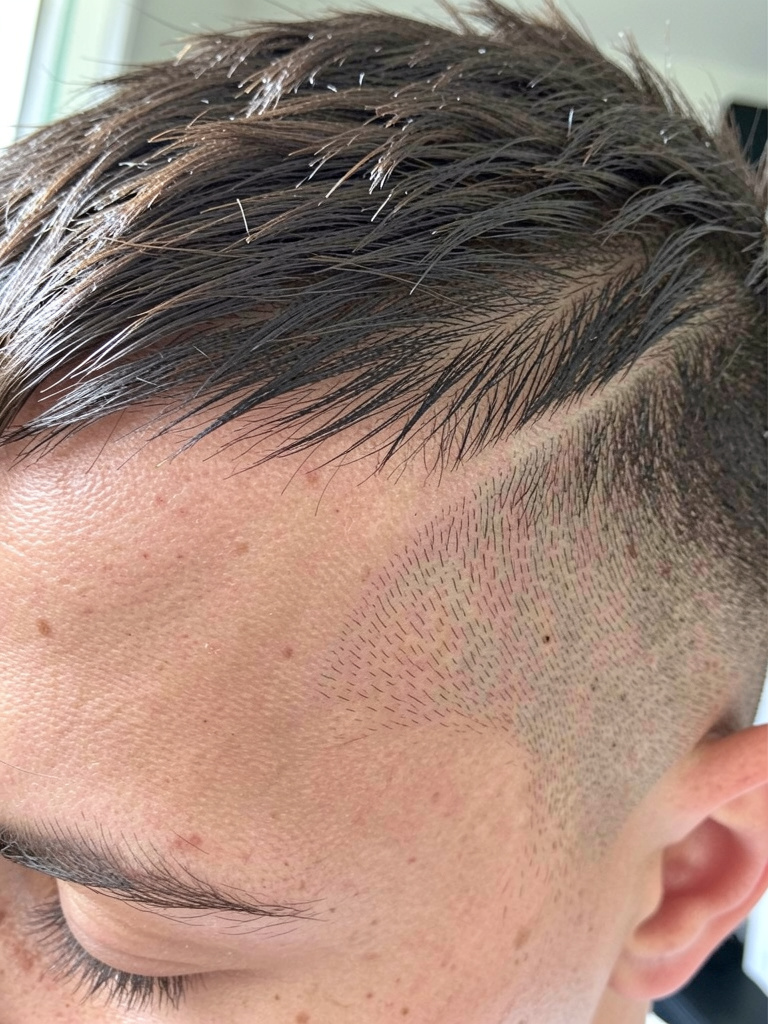
I added a subtle shaved line at the temple for contrast. The longer top balances the shave and gives me an elongating silhouette.
The shaved detail grows fast and needs attention. I didn’t plan for that upkeep at first. Keep it small if you want low fuss, or be ready to touch it up every few weeks.
Tell your stylist how bold you want the shave. Style the top by sweeping it to the opposite side of the shave for balance.
- Pixie with Soft Waves and Side Part
I embraced soft waves to blur roundness. The waves add vertical rhythm and movement, making my face read longer.
They behave differently day-to-day. Fresh wash gives looser waves; on day two they’re more defined. My mistake was over-brushing early on and losing the wave pattern. I now finger-style with a light mousse.
Ask for layers that enhance your natural wave. Diffuse or air-dry depending on how pronounced you want the wave.
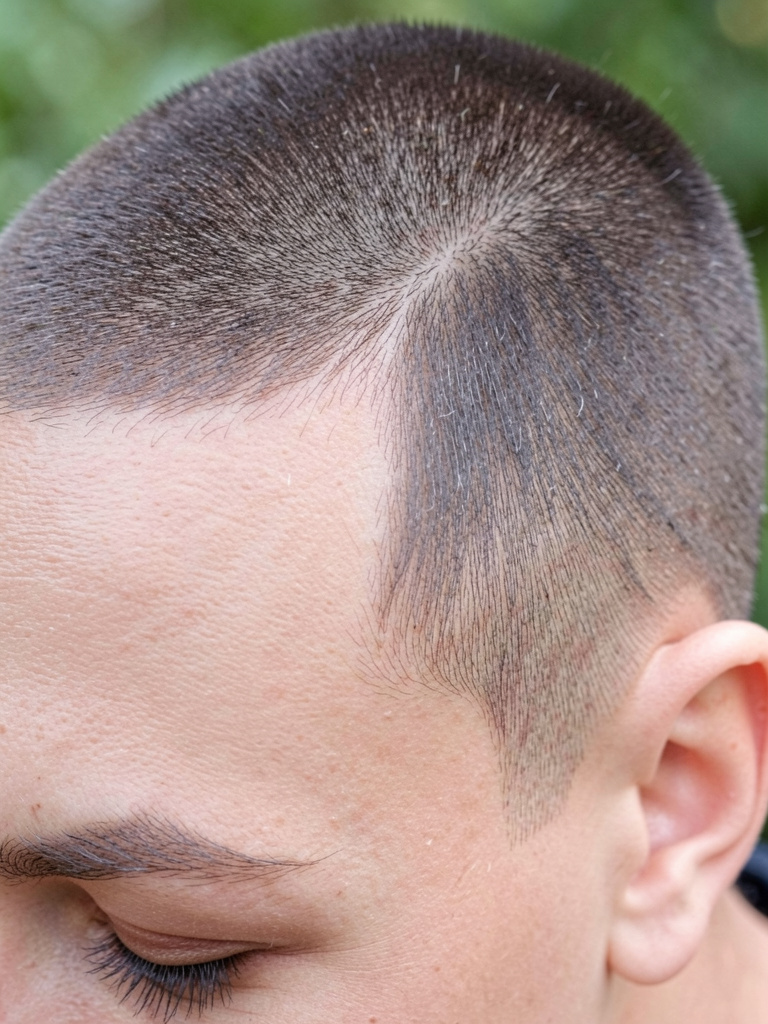
- Low-Maintenance Crop with Natural Growth Lines

I wanted something that looks good even when it grows out. This crop follows my natural growth lines so it ages gracefully and still flatters my round face.
It’s forgiving. I push it into a messy sweep on lazy days. I once tried to perfect it with too much product and it looked stiff. Embrace the natural fall.
Tell your stylist you want a shape that works with your growth pattern. Minimal product and occasional trims keep it tidy.
- Sculpted Pixie with Razor-Cut Texture
I asked for razor-cut edges to add architectural lines. The crisp pieces slice through roundness and give structure.
Razor cuts can frizz if over-textured. I once went too heavy with a razor and the ends feathered into an unhelpful halo. Now I ask for controlled razor texturing only on the top.
Tell your stylist: “Razor texture, but keep the perimeter clean.” Use anti-frizz serum sparingly and define pieces with a matte product.
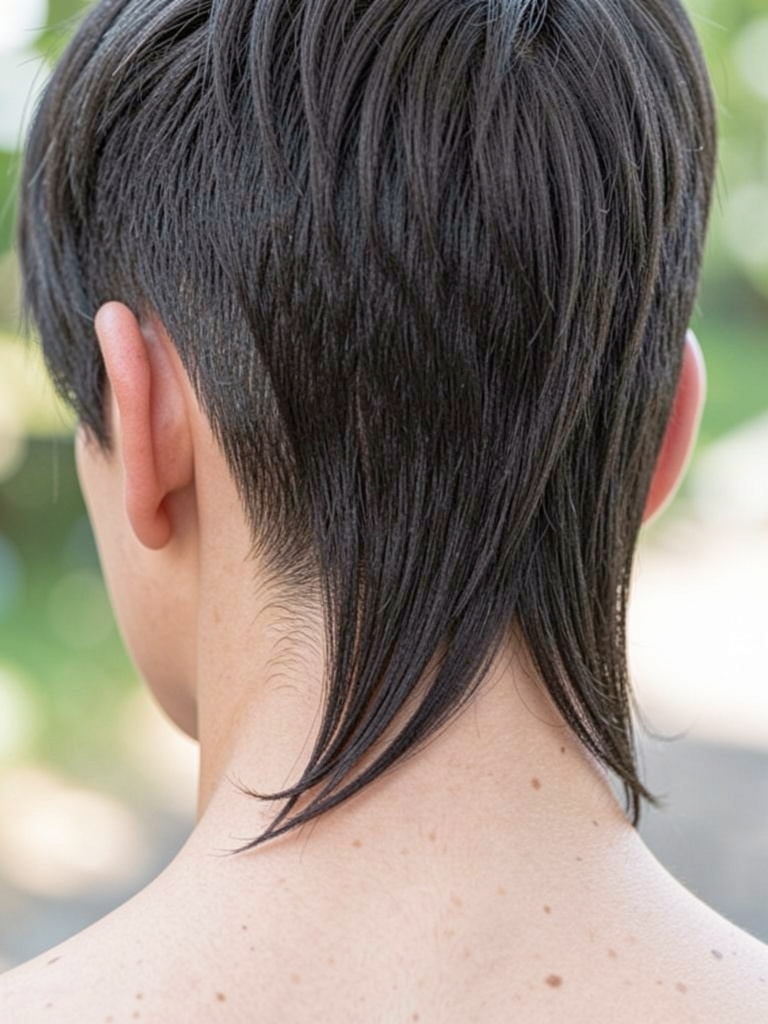
- Modern Mullet Pixie with Subtle Length at Back
I tried a modern mullet to add a vertical flow down my neck. The slight length at the back balances the roundness by pulling the eye downward.
It’s surprisingly wearable. It can look shaggy if I let it grow too long at the nape. My insight: plan trims for the back and keep the front crisp so the shape reads intentional.
Ask for a soft mullet — not extreme — with texture through the top. Style with fingers and a little cream.
- Short Pixie with Soft Highlighted Root Lift

I used subtle root highlights to trick the eye into thinking there’s more height. Lighter strands at the crown create lift without volume that adds width.
It behaves well; the color hides regrowth lines and gives dimension. I once over-lightened and lost depth. Keep highlights soft and focused at the crown.
Tell your stylist to place highlights at the roots on the crown only. Use a volumizing mousse and rough-dry for lift.
- Layered Pixie with Slightly Longer Sideburns
I extended my sideburns just enough to frame the jaw. That small vertical line helps slim the face and feels subtle, not masculine.
In daily wear they tuck behind the ear or sit against the cheek. I made the mistake once of matching them too thick to my hair; they added weight. Now I keep them tapered and light.
Ask your stylist for longer, tapered sideburns and soft layers on top. A comb through and tiny bit of product finishes the look.
Final check: I tested each one. These are 25 real options I’ve lived with or watched friends wear. Use the styling notes when you book the cut — say exactly what you want, and bring a photo that shows the angle you like.