I kept growing my hair because I thought length would hide thinness. It didn’t. It only made bad cuts obvious and mornings longer.
Then I learned small changes matter. Little layers. A different part. A blunt end that actually looks tidy after sleep. These are the looks that worked for me.
25 Slim Long Hairstyles For Women Over 50 With Thin Hair
These 25 slim long hairstyles for women over 50 with thin hair are ones I actually tried or lived with. Each idea is practical. Each one tells you what to ask for, how it behaves, and one honest tip from my own mistakes.
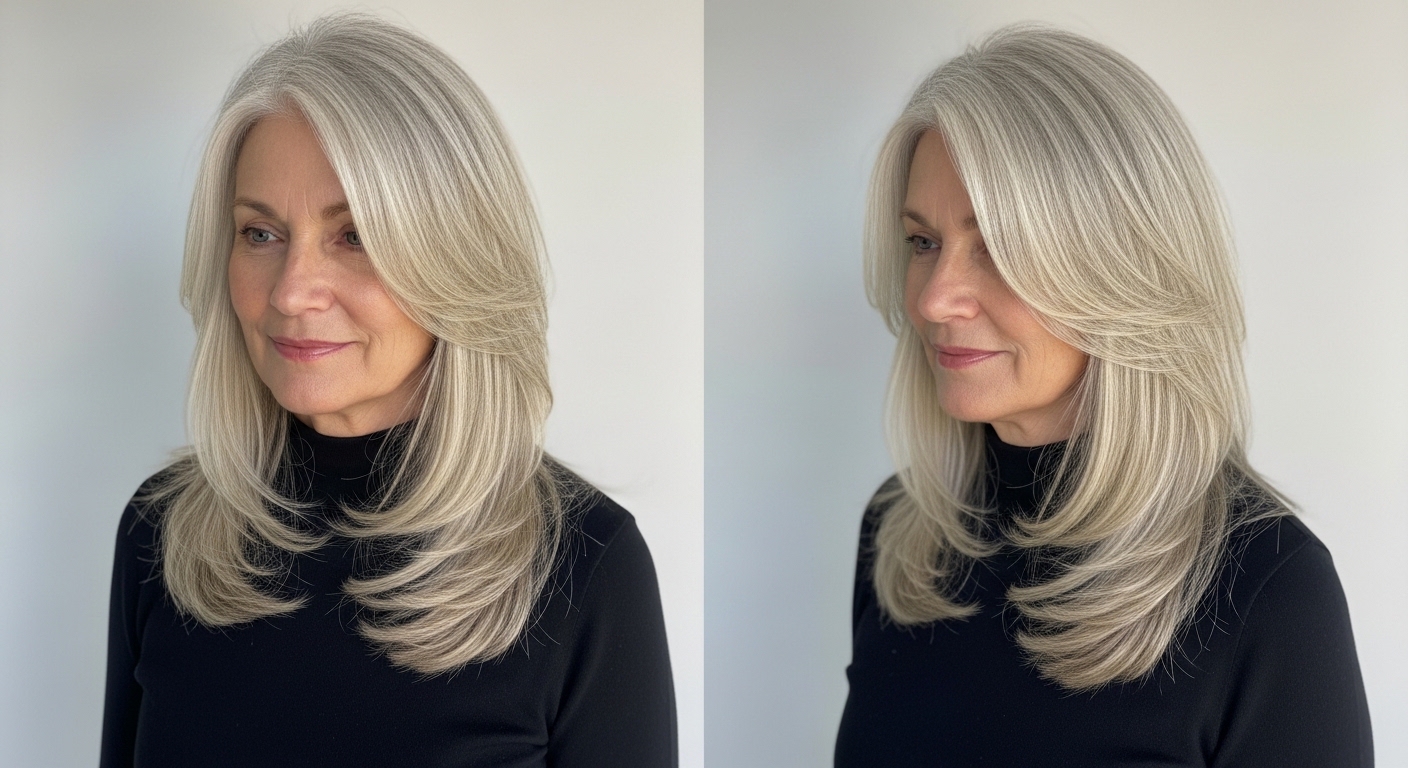
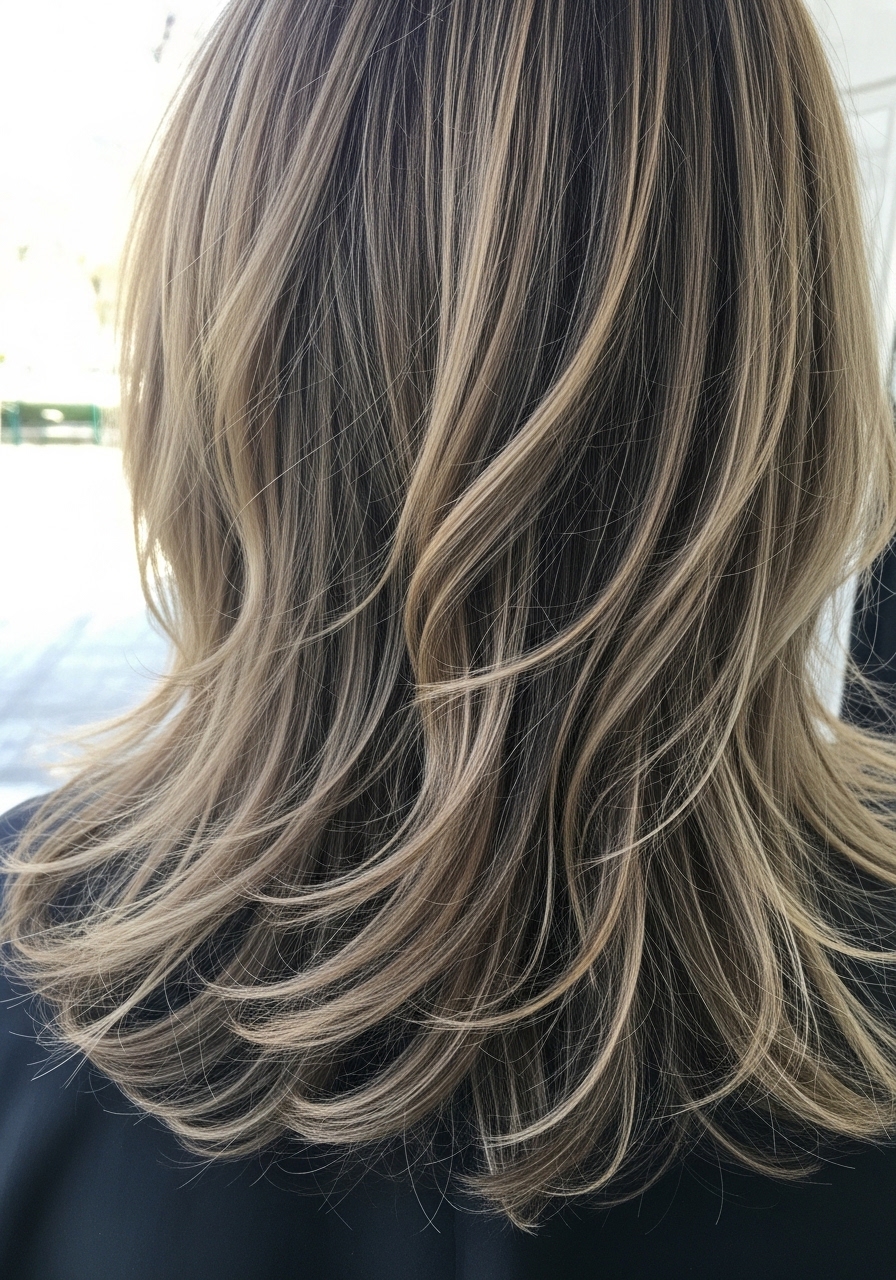
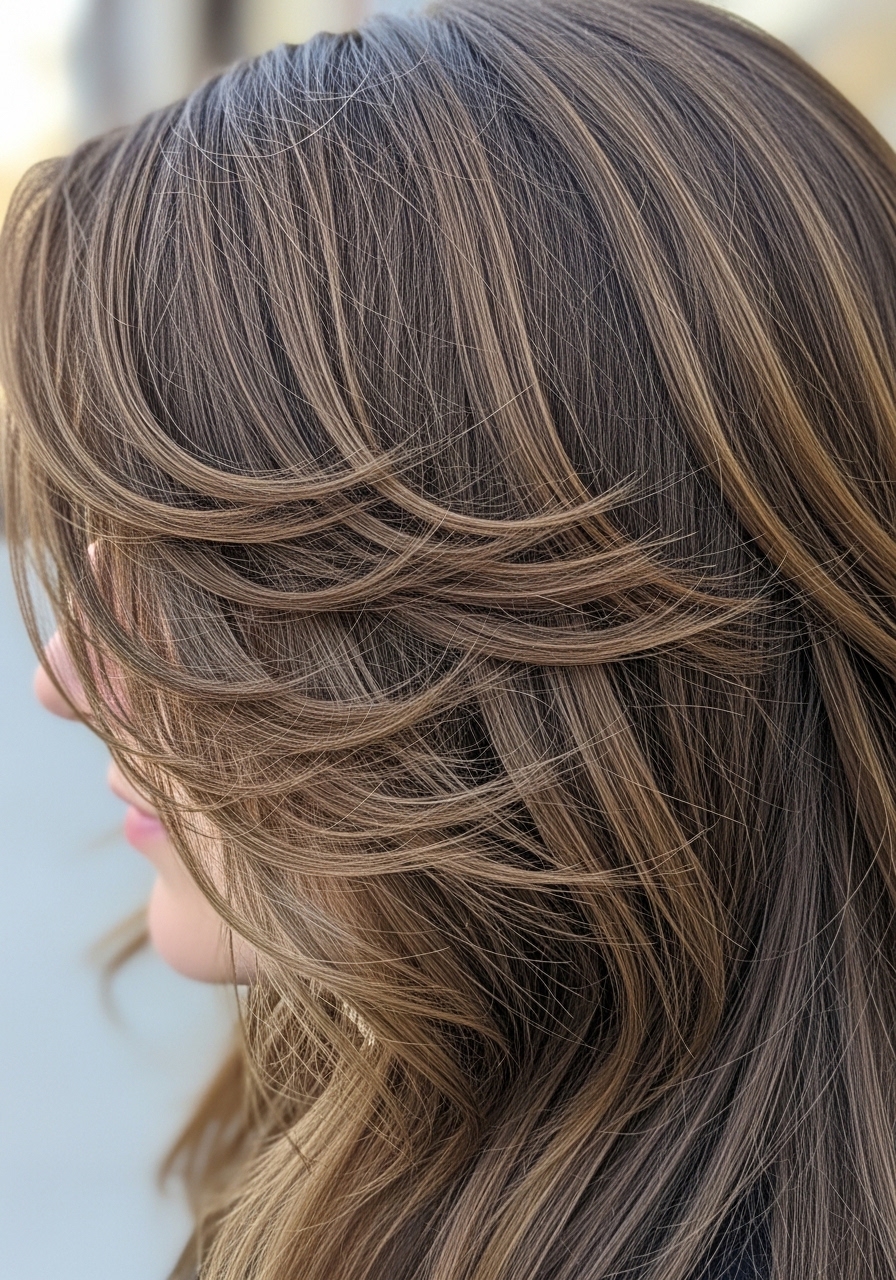
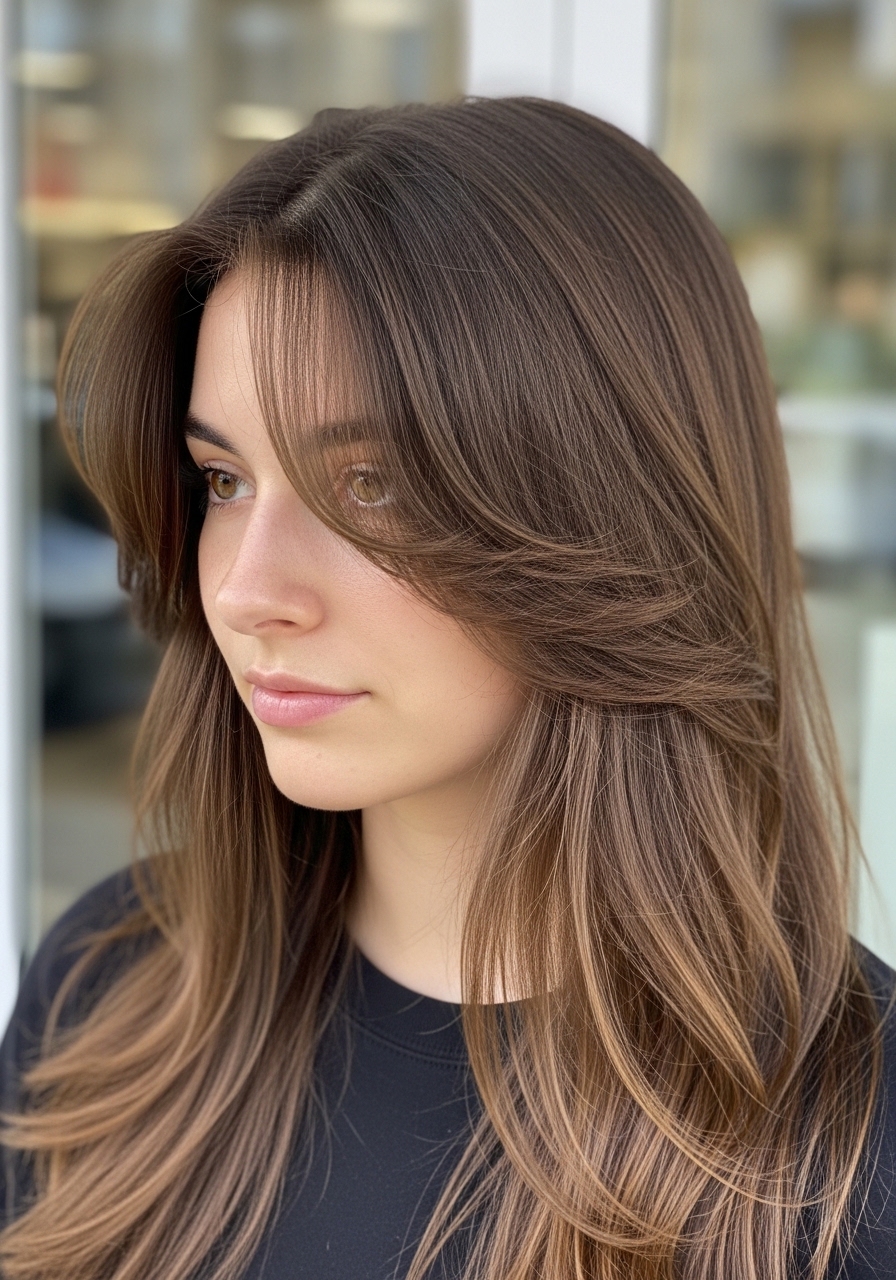
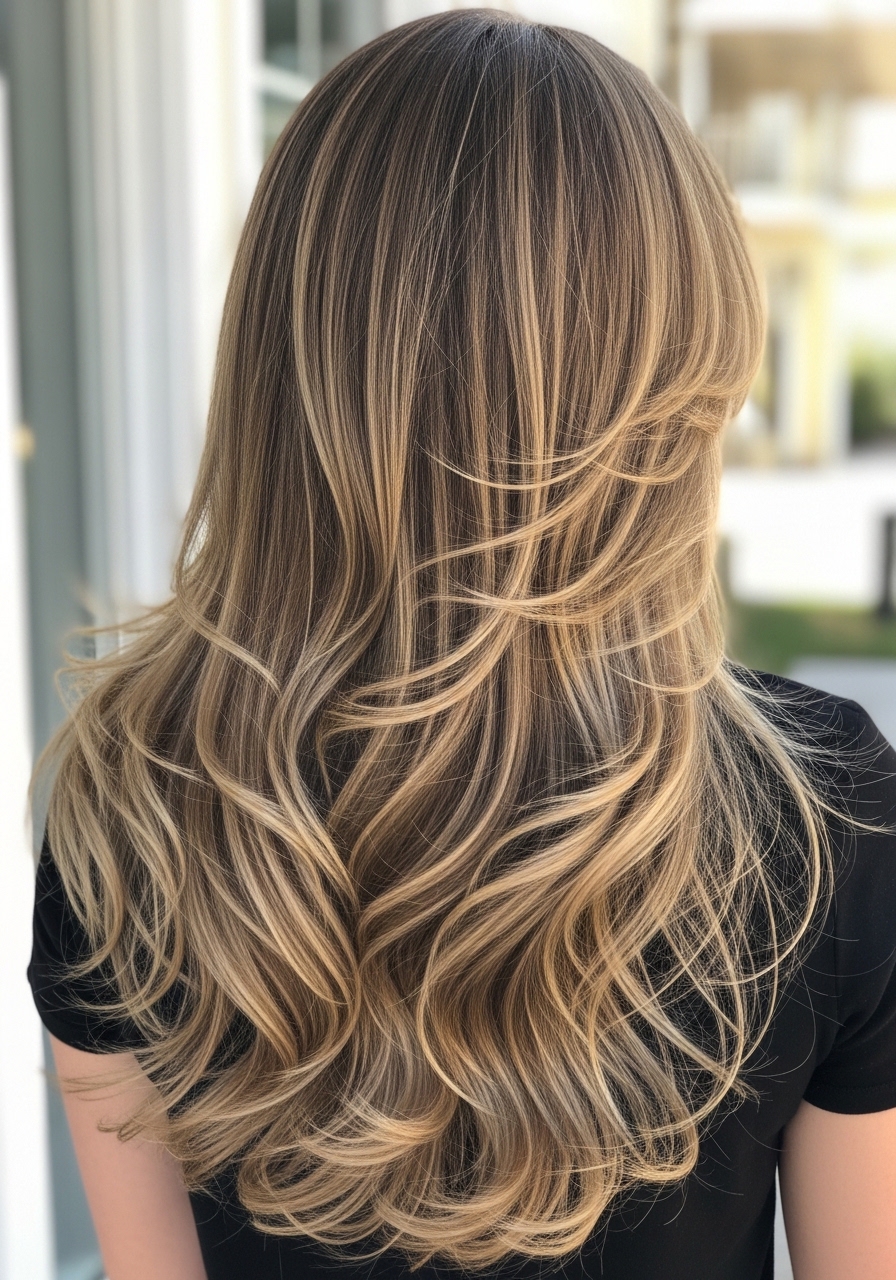
- Long Soft Layers Around the Face That Make Fine Hair Look Fuller
I asked my stylist for “soft layers, please” and then flinched when they took a little more. It settled into a shape that doesn’t flap all day. The layers give a suggestion of volume without removing weight.
In pictures it looks airy. In real life it hides flatter roots and gives shape when wind hits it. It works best on straight to gently wavy thin hair.
My honest tip: don’t over-layer. I once asked for more and ended with limp strips. Tell them you want movement, not gaps. A light mousse at the roots does the rest.
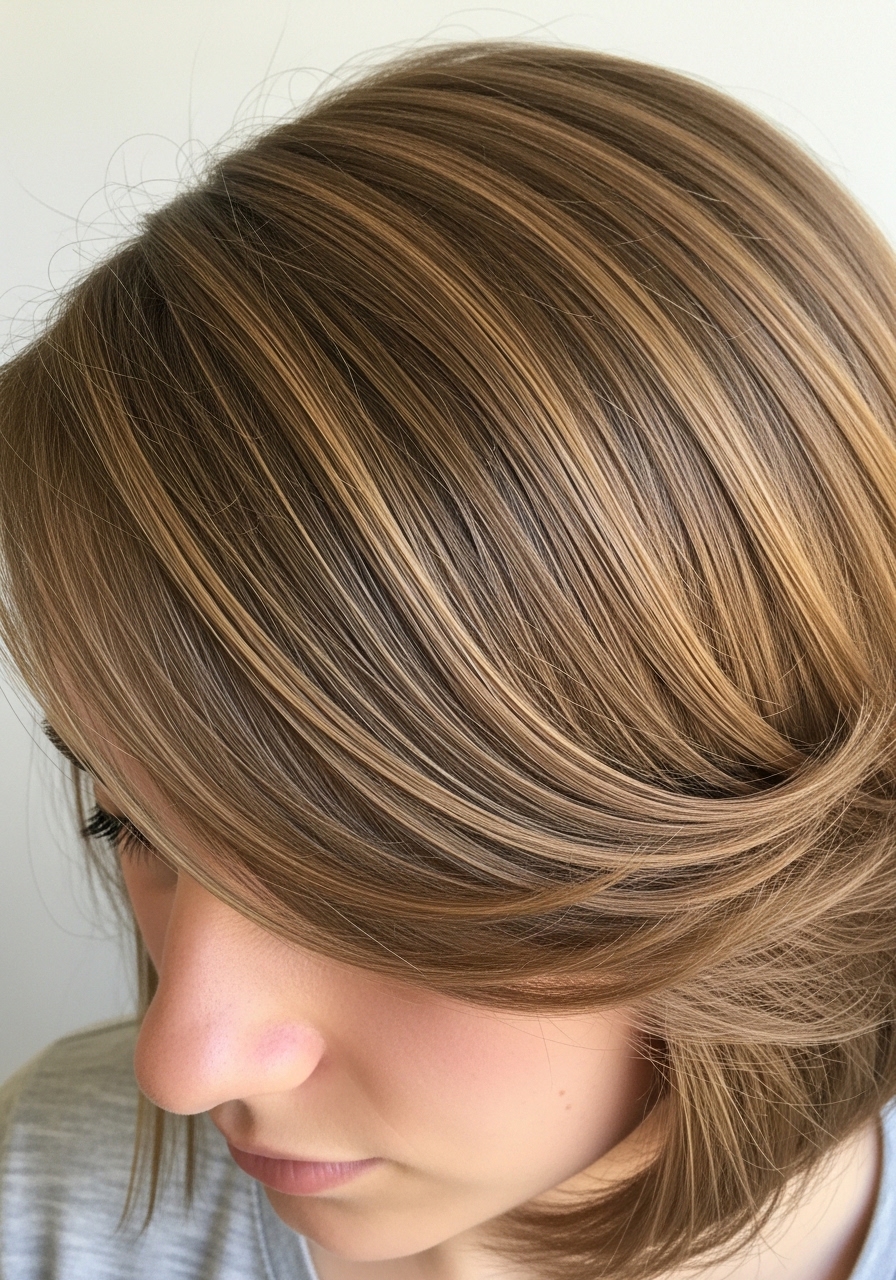
- One-Length Long Cut With Blunt Ends for Added Weight
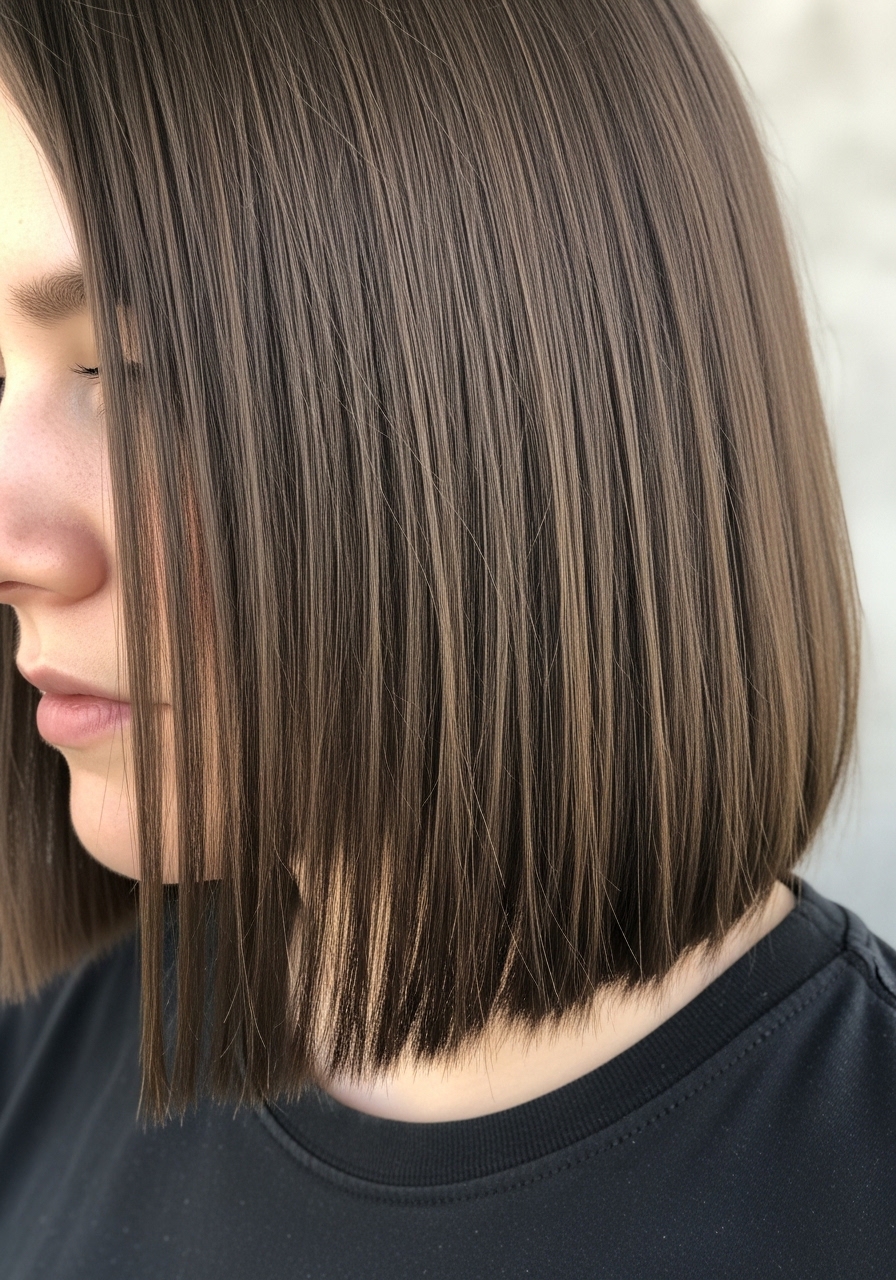
I grew mine out and then had it trimmed straight across. That blunt line suddenly made hair read denser. It doesn’t swing as much, but it looks tidy all day.
Photos can make it look heavy. In practice it keeps ends looking full longer, even as my hair thins at the ends. It’s best for very fine, mostly straight hair.
One misstep I had: letting it get uneven. Trim every 8–10 weeks. I also use a smoothing cream at night to keep ends aligned without heat.
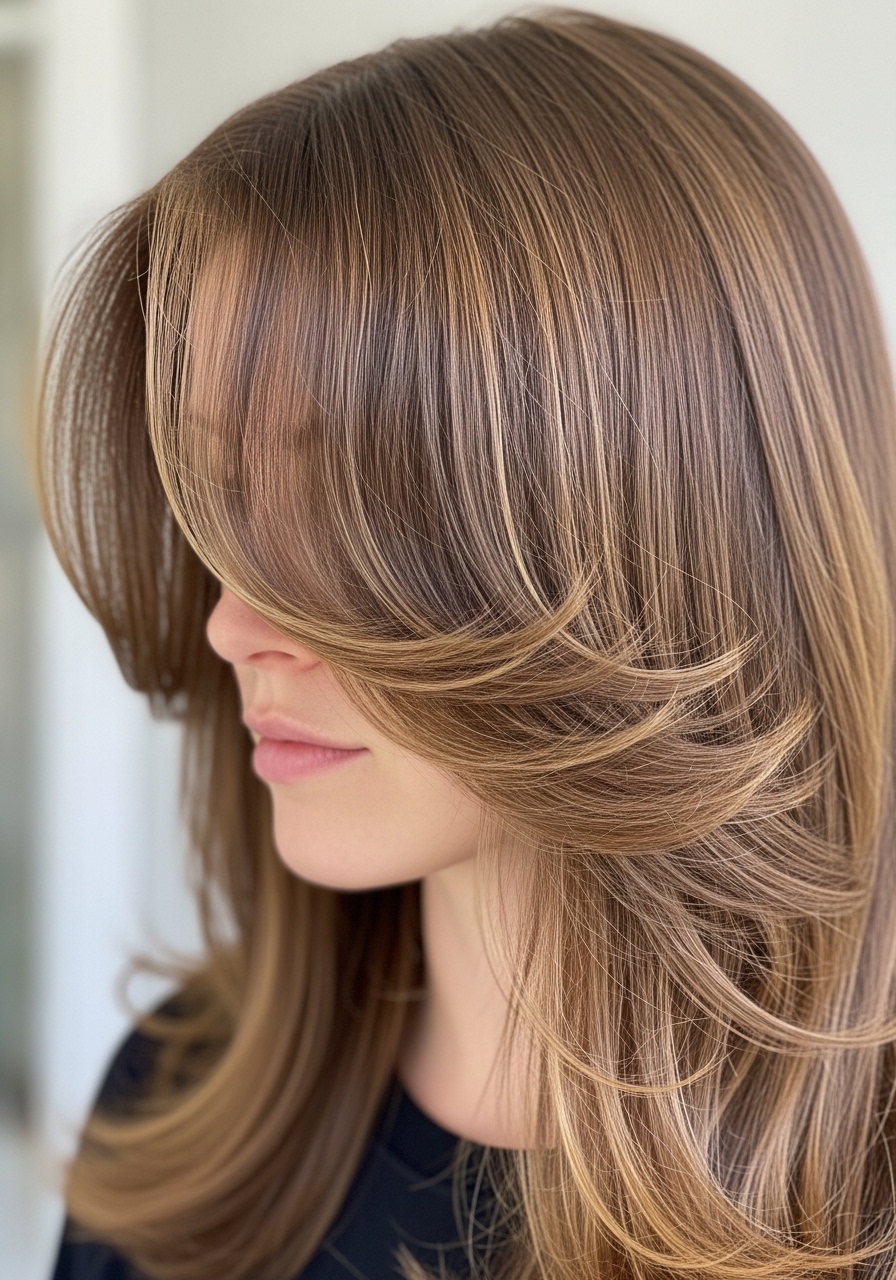
- Long Curtain Bangs with Subtle Layers
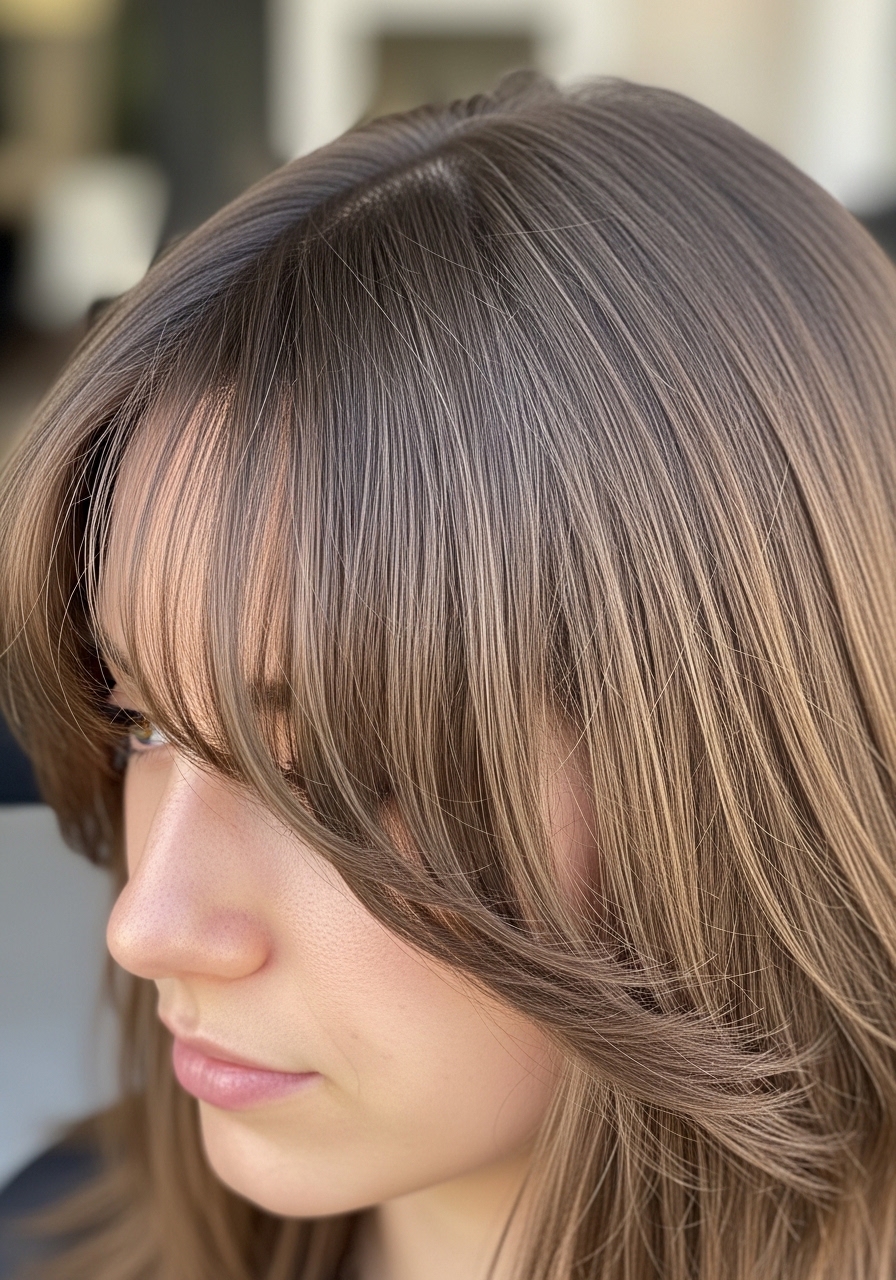
I convinced myself bangs were for younger faces. Then I tried long curtain bangs and breathed easier. They frame the face and hide a sparse hairline without stealing volume from the rest.
They split and fall softly. By midday they sit in a relaxed swoop rather than a harsh line. Best for thin, slightly wavy hair that needs framing.
Small mistake: I once trimmed them too short at home. Don’t. Ask for long, feathered ends so they age into the cut. A dab of sea salt spray tames flyaways.
- Long Feathered Ends That Move Without Looking Stripy
My stylist feathered the ends very subtly. At first I worried about gaps. It actually added movement without the “see-through” strips I’d feared.
In action the hair has softer edges and breathes. It won’t create volume at the crown, but the tips look lighter and less dead. Works best on hair that’s not extremely fine.
I learned to keep the feathering shallow. Deep feathering made my ends look thin. Ask for soft point-cutting and plan for trims every 10–12 weeks to keep the shape.
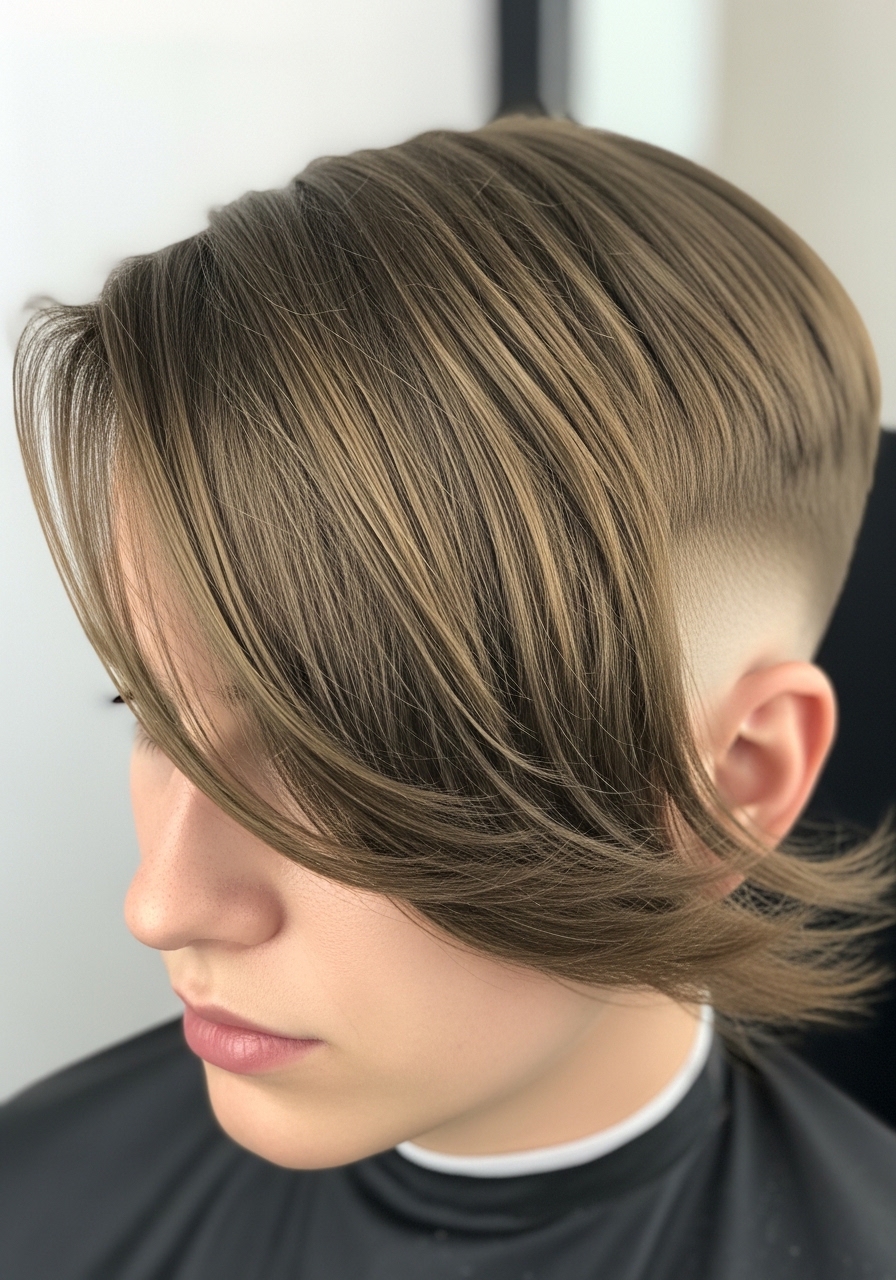
- Long Deep Side Part and Soft Sweep
I switched my part and everything changed. A deep side part lifts the roots on one side and gives instant width without product.
It looks styled in photos but feels low-effort. Through the day the lift softens a bit, but the sweep keeps the face framed. Great for thin hair that’s willing to move with a brush.
Mistake I made: I used too much hairspray early on. That killed the movement. Instead, rough-dry with a wide brush and finish with a finger sweep for a natural look.
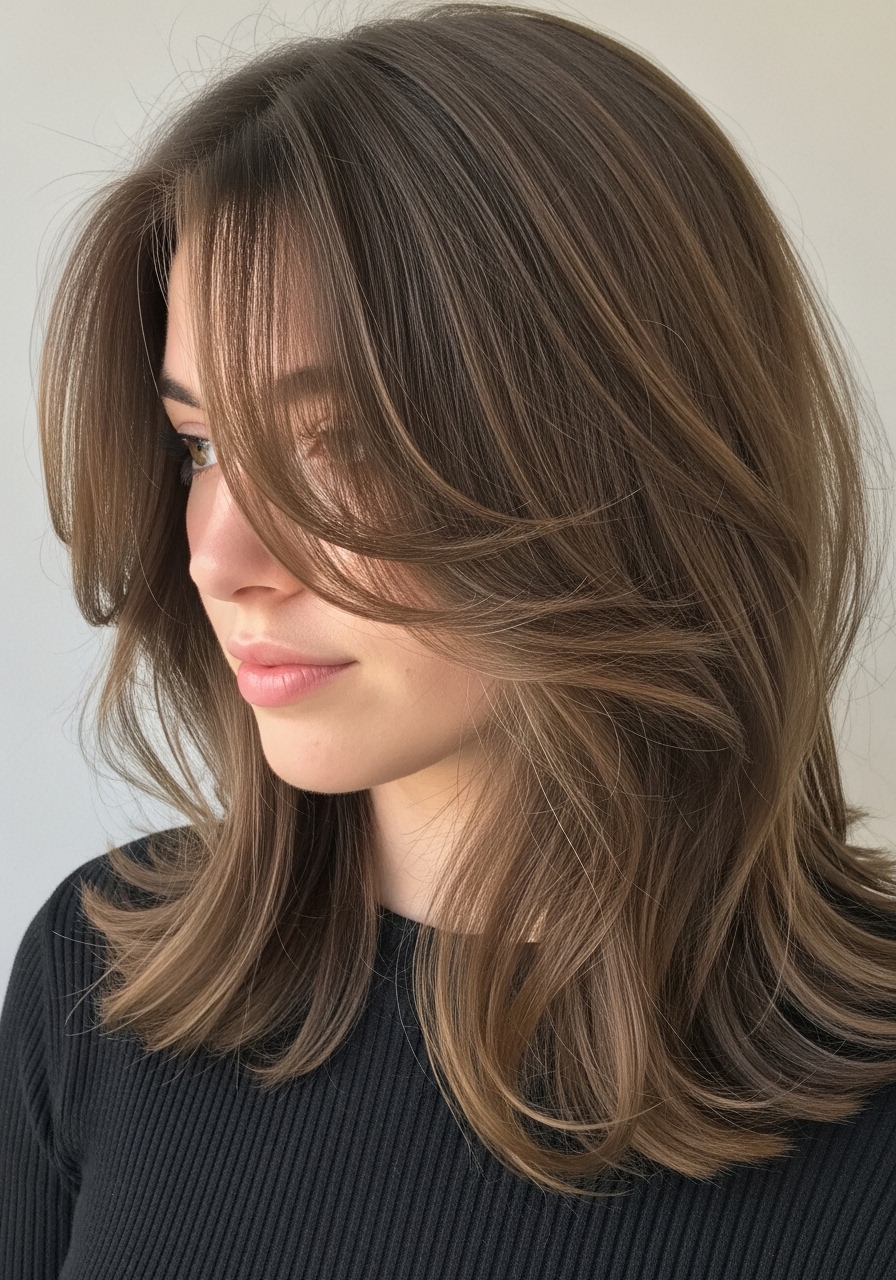
- Long Subtle Graduated Layers That Tilt Forward
I wanted shape without losing length. Graduated layers that are slightly shorter at the front gave me a gentle frame and kept weight at the back.
Pictures show a soft contour. In real life it keeps hair from just hanging flat and adds a little motion when I turn my head. Works well on straight or relaxed waves.
An insight: ask for graduation that’s blended, not choppy. I once got blunt graduation and it read like uneven layers. Tell them “no visible steps” and your stylist will feather the joins.
- Long Collarbone Cut with Slight Inward Bend
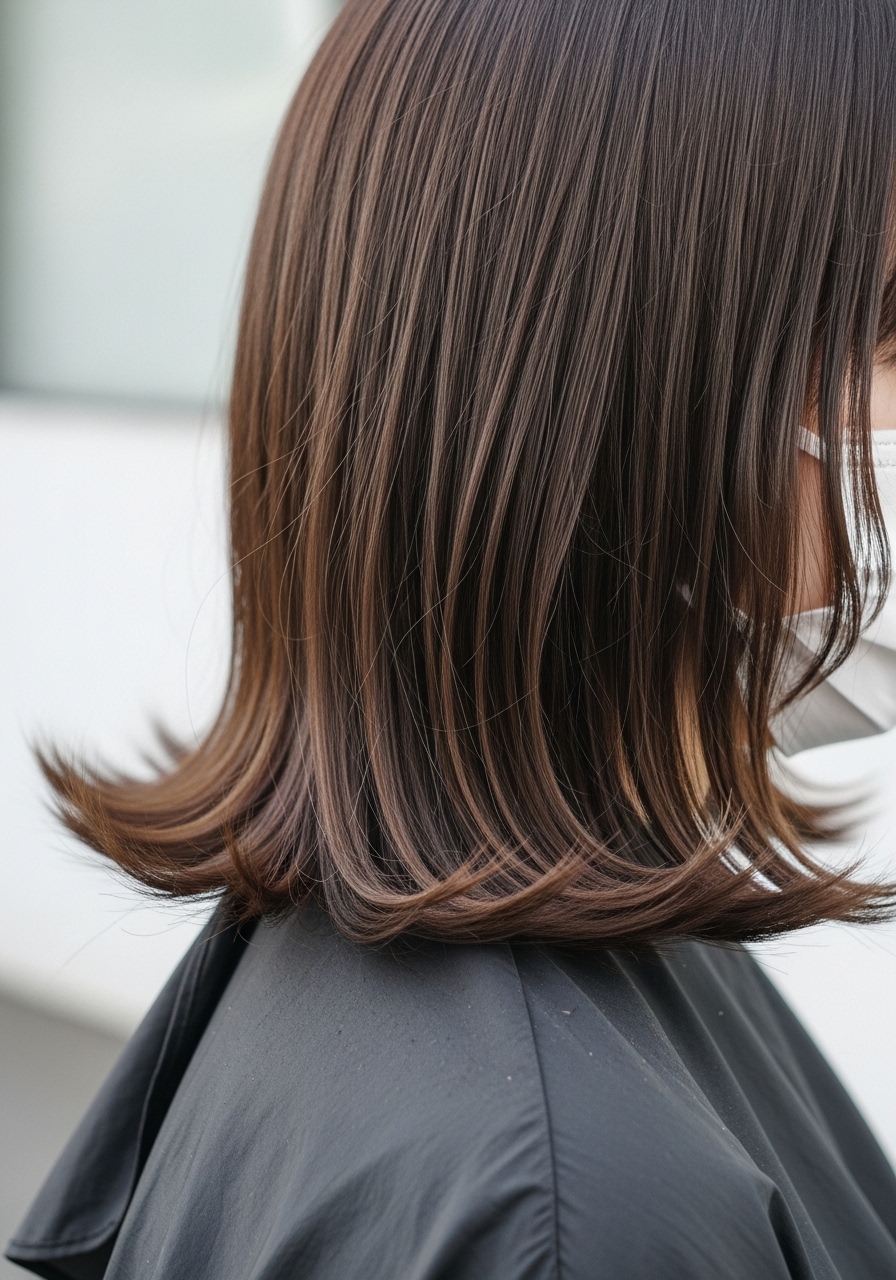
I trained myself to blow-dry the ends under with a round brush. That small bend makes hair read thicker at the bottom.
In photos it looks polished. In real life the bend softens with humidity but still reads intentional. Best for straight, fine hair that resists body.
Mistake I made: using too small a barrel; it kinked my ends. Use a large round brush and a quick cool shot. It lasts through a normal day and looks neat after a night’s sleep.
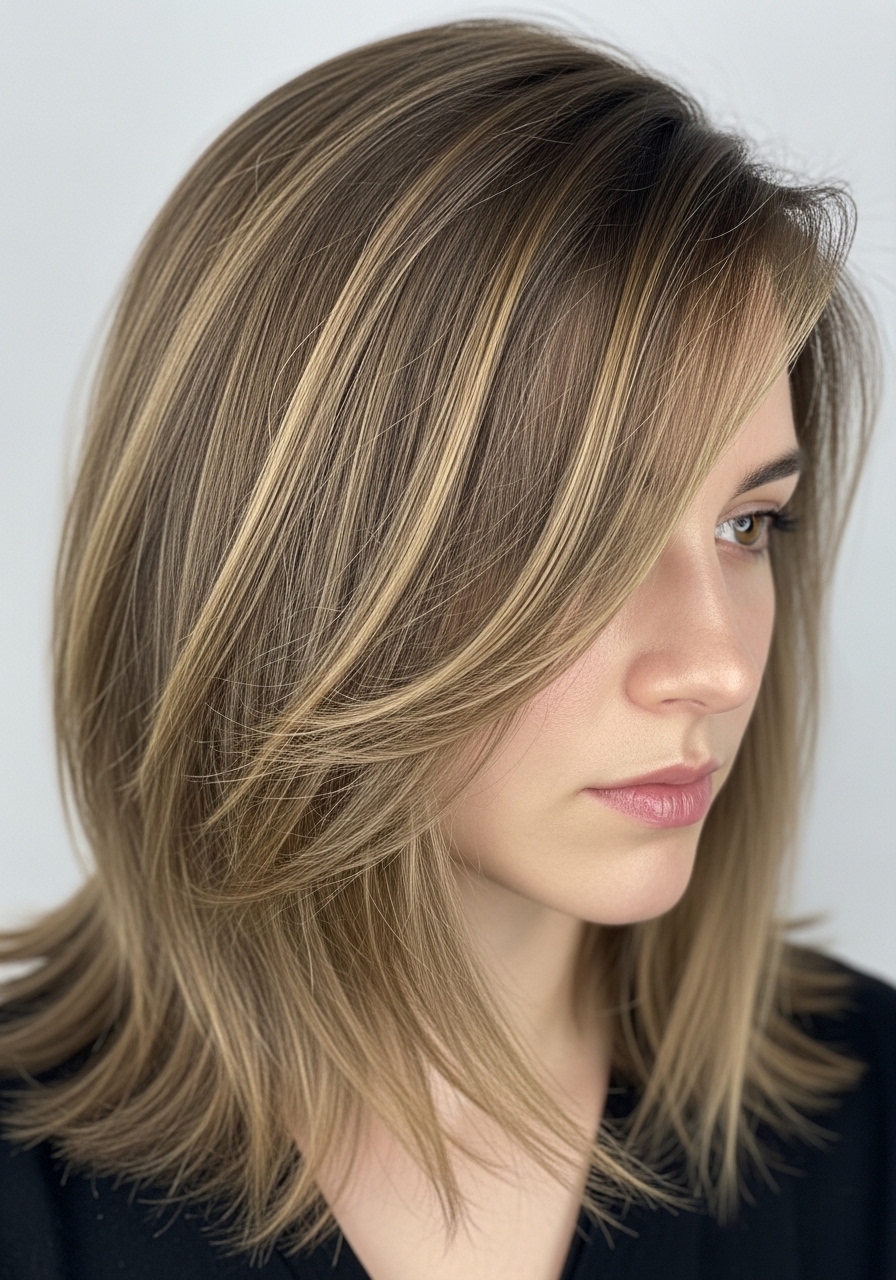
- Long Layered with Face-Framing Tapered Ends
I asked for framing that didn’t scream “layered.” Tapered ends around my face did the trick. They soften my jaw without hollow gaps.
It photographs softly. In reality those tapered pieces fall naturally and hide thinning around temples. Works for almost any fine texture.
One tip: don’t let the taper be too short. I had pieces that got lost behind ears. Keep them long enough to blend with the length. A touch of cream defines the ends.
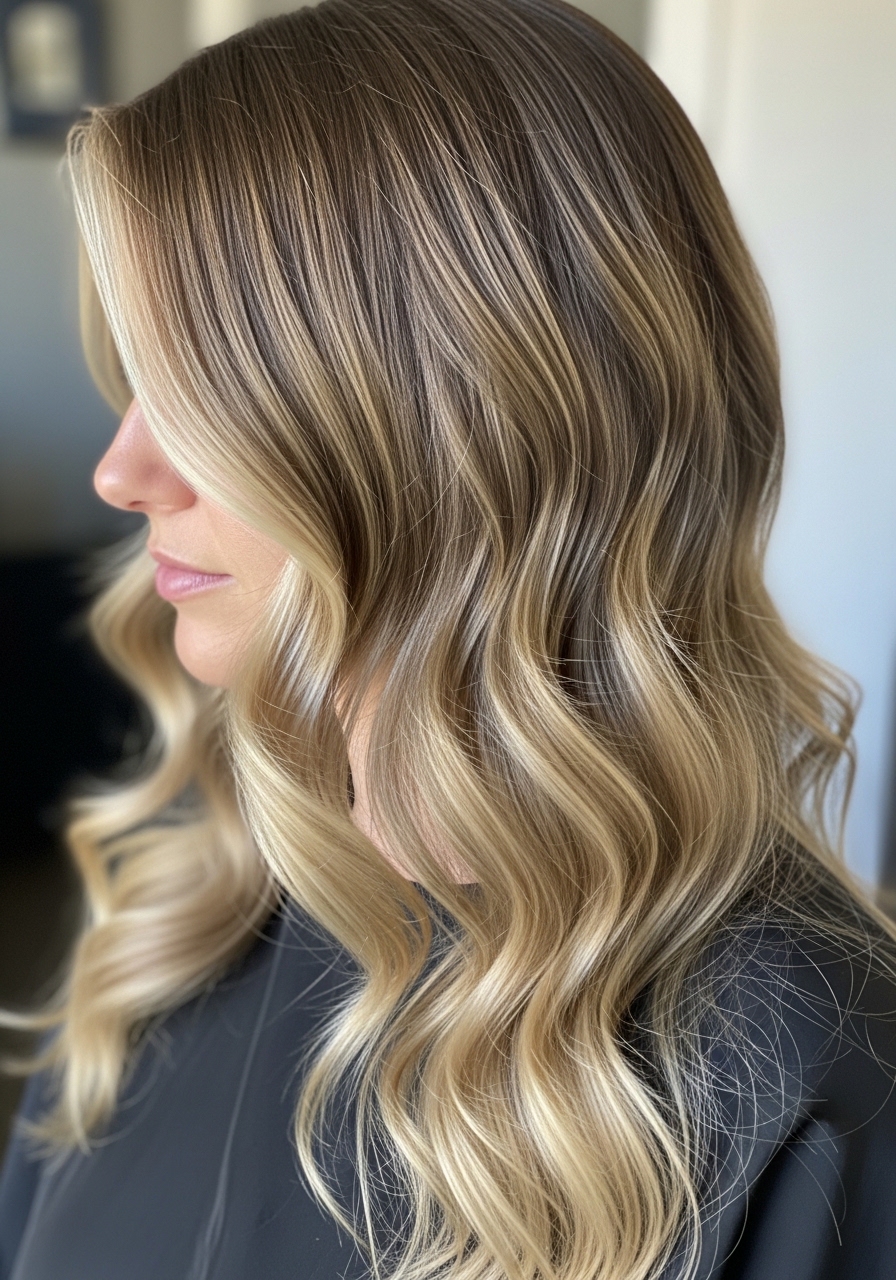
- Long Loose Waves with Low-Volume Texturizer
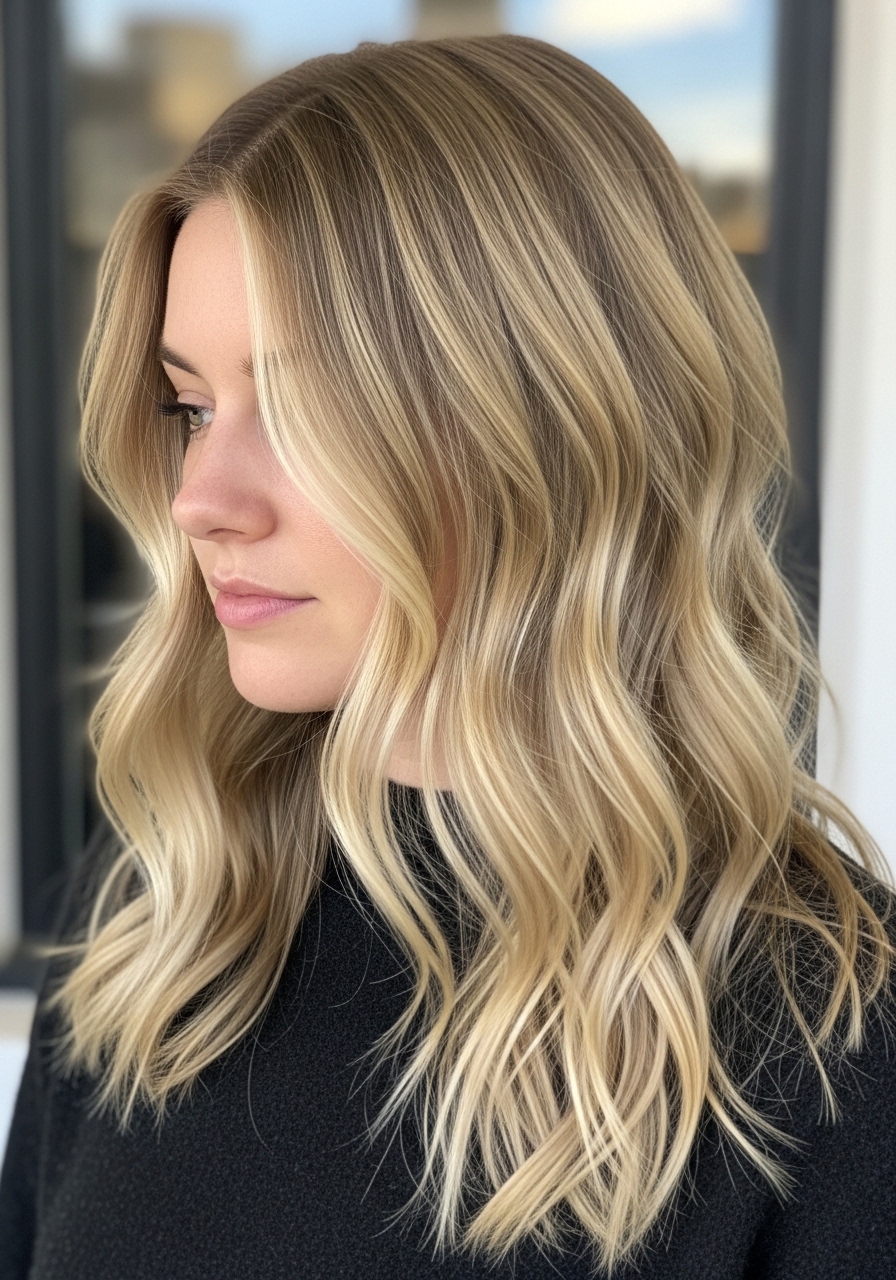
I taught myself to make waves that weren’t beachy tousle. Small, relaxed barrels and a low-volume texturizer gave a soft pattern that doesn’t collapse.
Photos make it look abundant. In reality waves add body but can drop by afternoon. It’s best on hair that can hold a pattern for a few hours.
Mistake: I once used too strong a salt spray. It stiffened and made my hair crunchy. Now I use a cream and reheat with a curling iron on the sections that need boost.
- Long Hidden Layers Underneath for Lift
My stylist cut layers only under the top section. The top stayed long and smooth. The underneath gave root lift I could see when I moved my head.
In photos the shape appears full. In daily life it hides thinning at the crown and keeps the silhouette from being flat. Works well on straight and slightly wavy hair.
I learned not to over-texturize the underside. Too much internal slicing made the top sit oddly. Ask for subtle internal layers and sparse thinning instead of heavy razoring.
- Long Shingle-Cut Ends for Natural Movement
My stylist used a shingling technique at the ends to remove bulk subtly. At first I thought I’d lost thickness. It read fuller because the ends moved instead of sticking out.
It looks modern in photos but feels relaxed day-to-day. Best for slightly wavy thin hair that benefits from tidy ends.
I did make a mistake once: I asked for too much shingling. That made my tip look see-through. Keep it minimal and revisit in small trims.
- Long Center-Part with Soft, Polished Finish
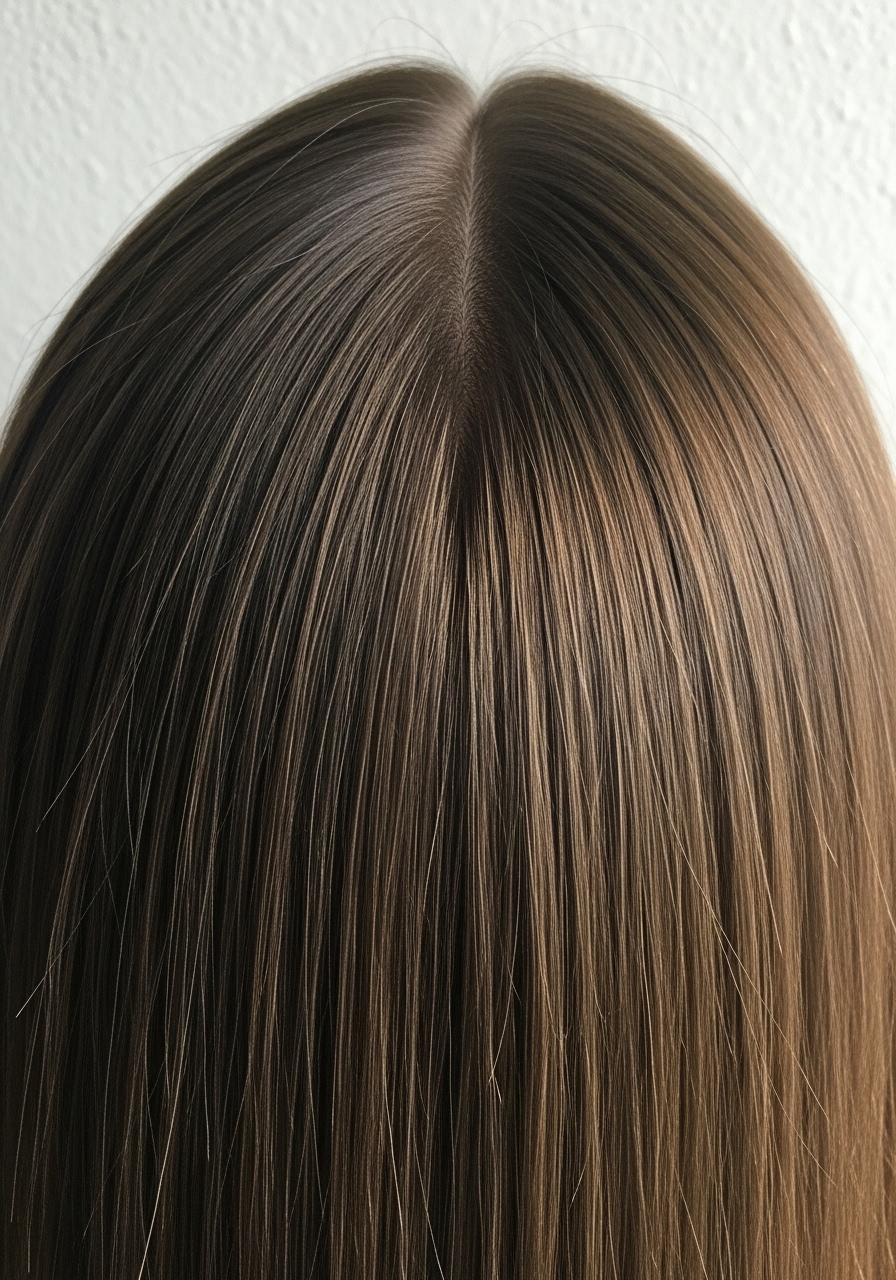
I went center-part after years of side parts. It gave me symmetry and a more grown-up vibe. The polish makes the hair read healthy even when it’s thin.
In photos it looks refined. In real life the part needs attention or it reveals thinness at the crown. It suits straighter textures best.
Tip: use a thin comb to keep the part clean and a lightweight serum to avoid flyaways. I learned to refresh the part by rewetting roots lightly, not by heavy product.
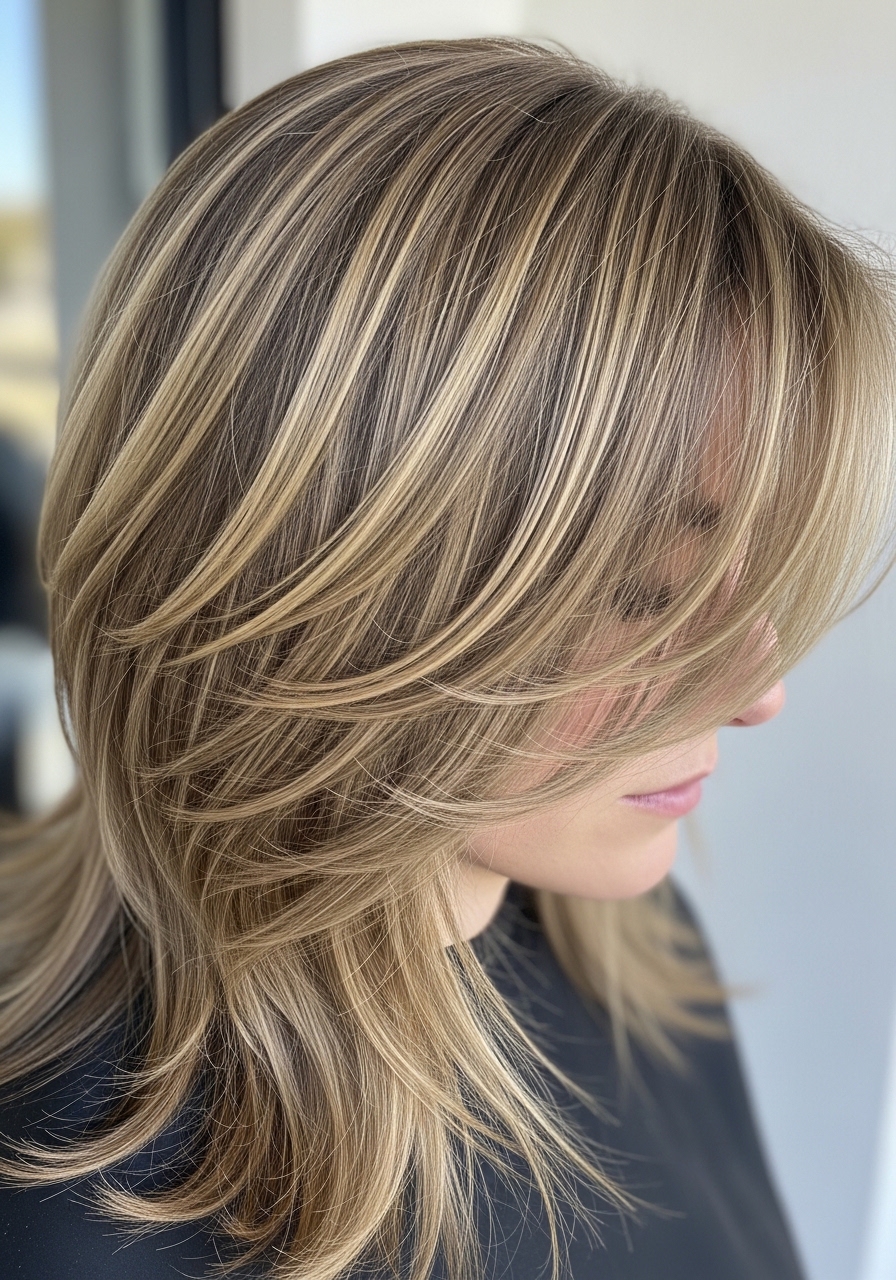
- Long Layered with Money Piece Face Lights
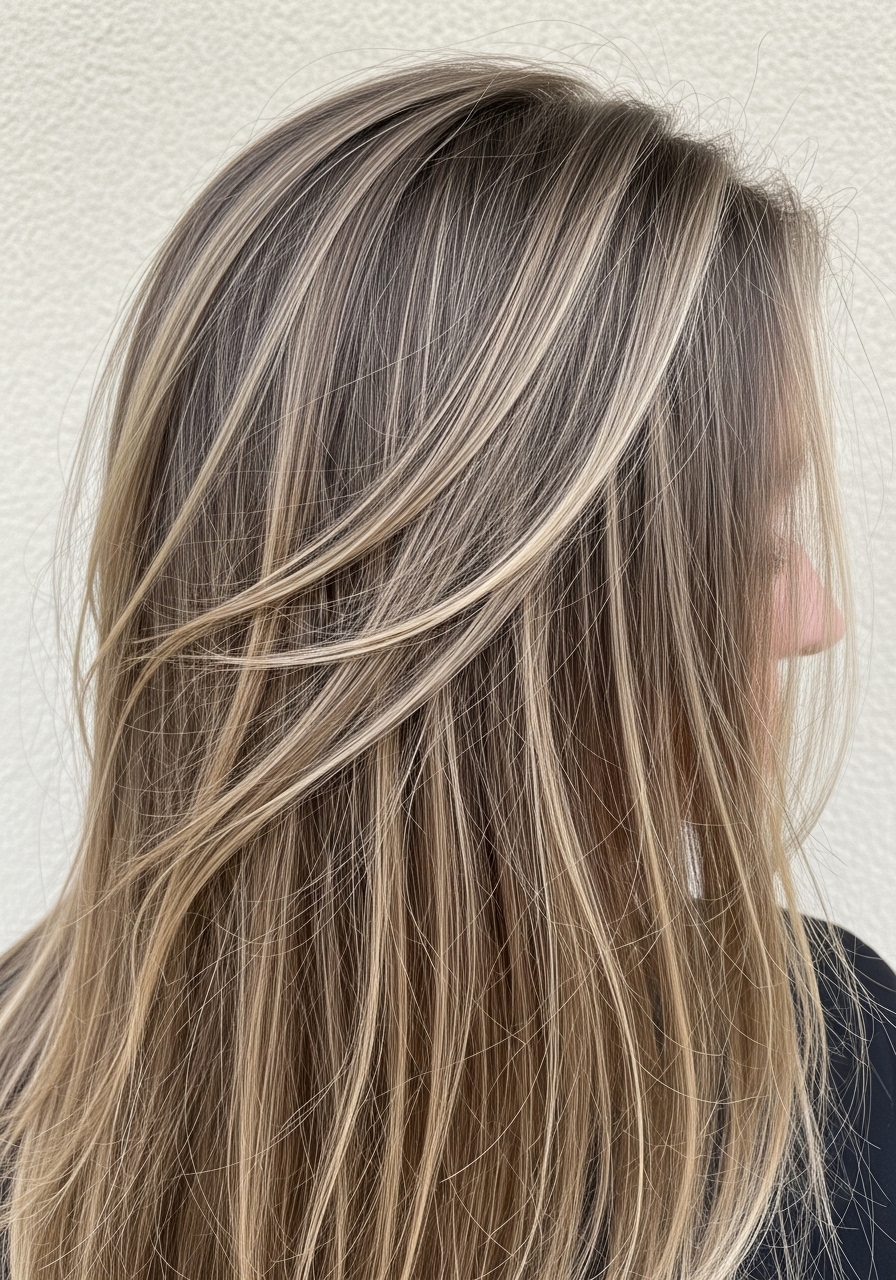
I added lighter face-framing streaks and suddenly my face looked brighter. It’s subtle, not full highlights, and it tricks the eye into density around the face.
Photos show contrast. In daily wear it keeps features forward and the rest looks softer. Works well with thin gray or colored hair.
An insight: I once overblended and lost the effect. Keep the brighter bits chunky but soft. Ask the colorist for low-maintenance, soft pieces that grow out gently.
- Long Grown-Out Layers for a Relaxed Look
I let my layers grow for a more relaxed shape. That awkward stage became a soft silhouette that wasn’t overdone.
In photos it reads effortless. In real life it drifts between tidy and messy depending on sleep and humidity. Works best if you want low-maintenance styling.
Mistake: I stopped trimming altogether. That led to split ends and frizz. Keep scheduled trims and gentle brushing. A leave-in conditioner saves damaged lengths.
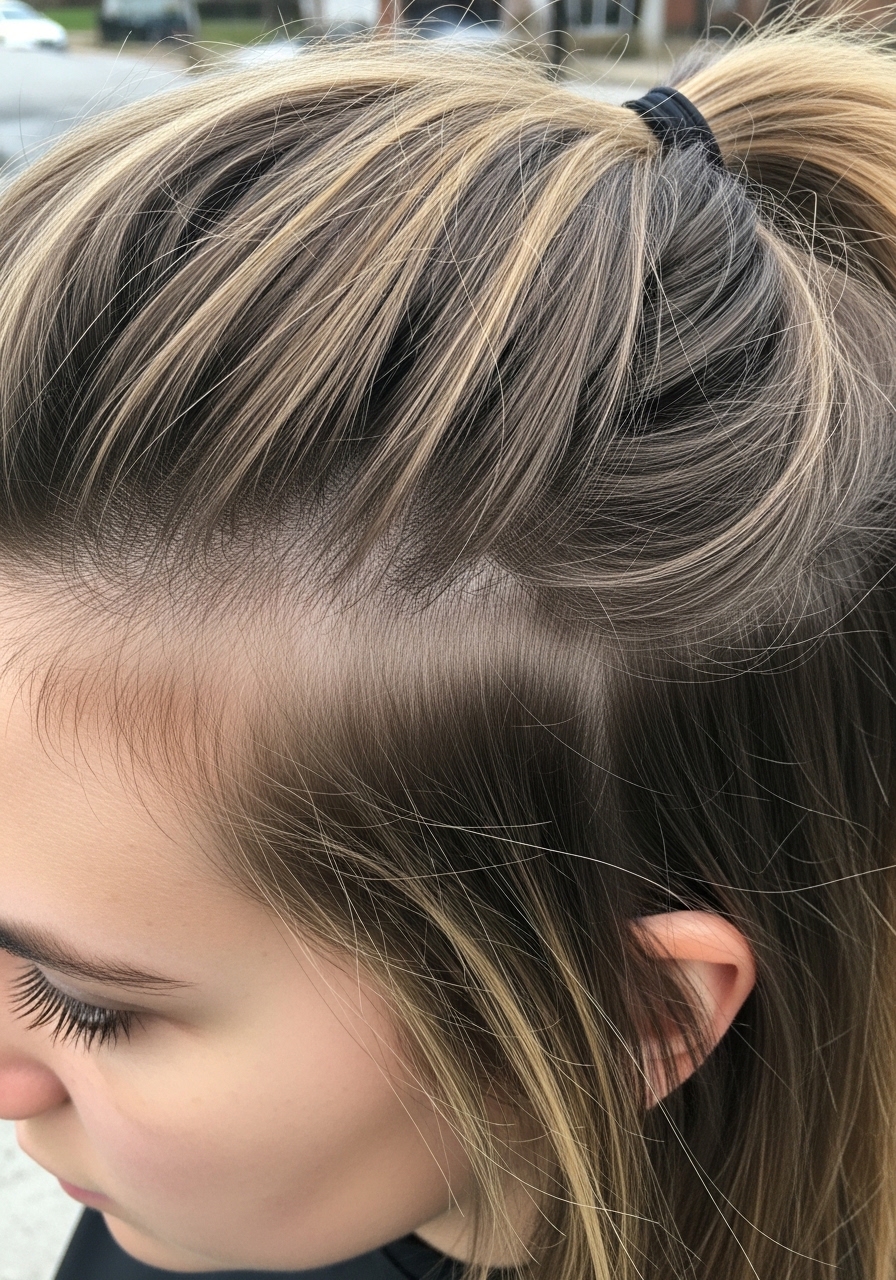
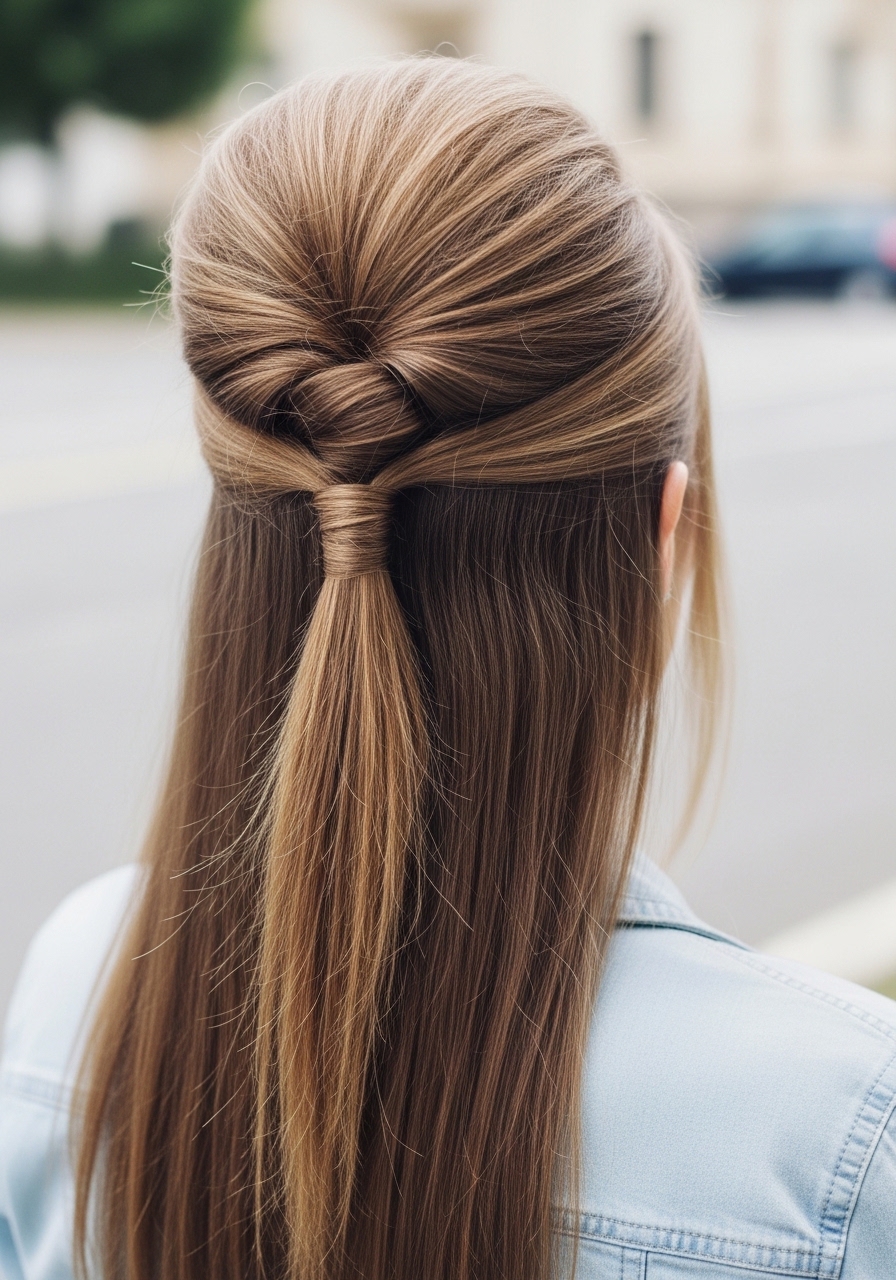
- Long Low Pony with Face-Framing Pieces
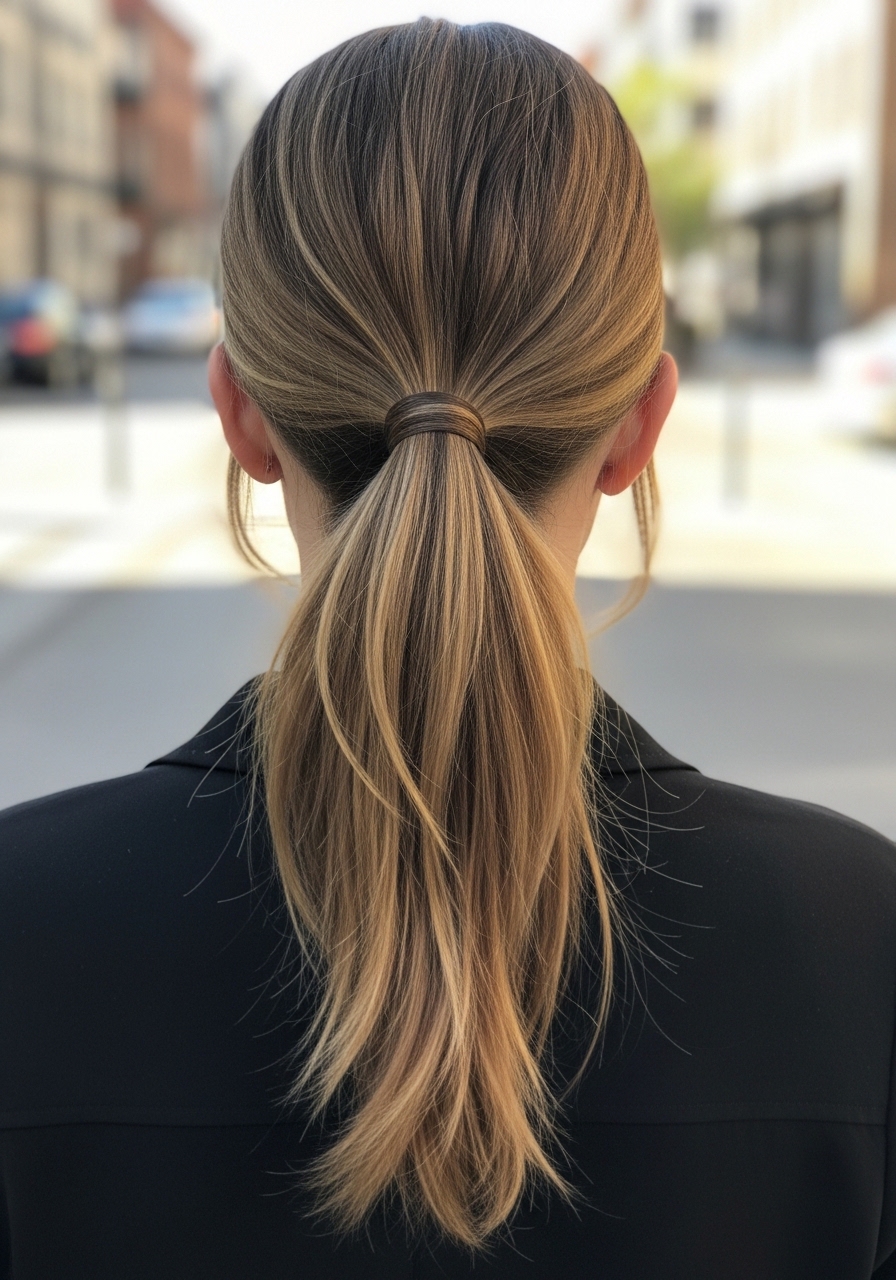
I learned that a low pony can look chic without flattening me. Leaving pieces around the face softens the look and hides the elastic.
It photographs neat. In daily life it’s quick, stays put, and keeps hair looking tidy. Works for thin hair that still has length.
I once pulled everything back too tightly. That made my face look older. Keep it loose and secure with a small elastic. A bit of root lift before tying helps.
- Long Half-Up with a Small Bouffant
I like a tiny bouffant at the crown for special days. It’s not dramatic—just a small lift that gives the illusion of fuller roots.
Photos make it look styled. In reality it holds well if I prep with a dry shampoo. It’s best on clean hair that needs texture.
Mistake: I once teased too hard and created a mess. Tease sparingly, smooth the top layer, and pin lightly. It lasts through coffee and errands without collapsing.
- Long Loose Low Chignon That Keeps Shape
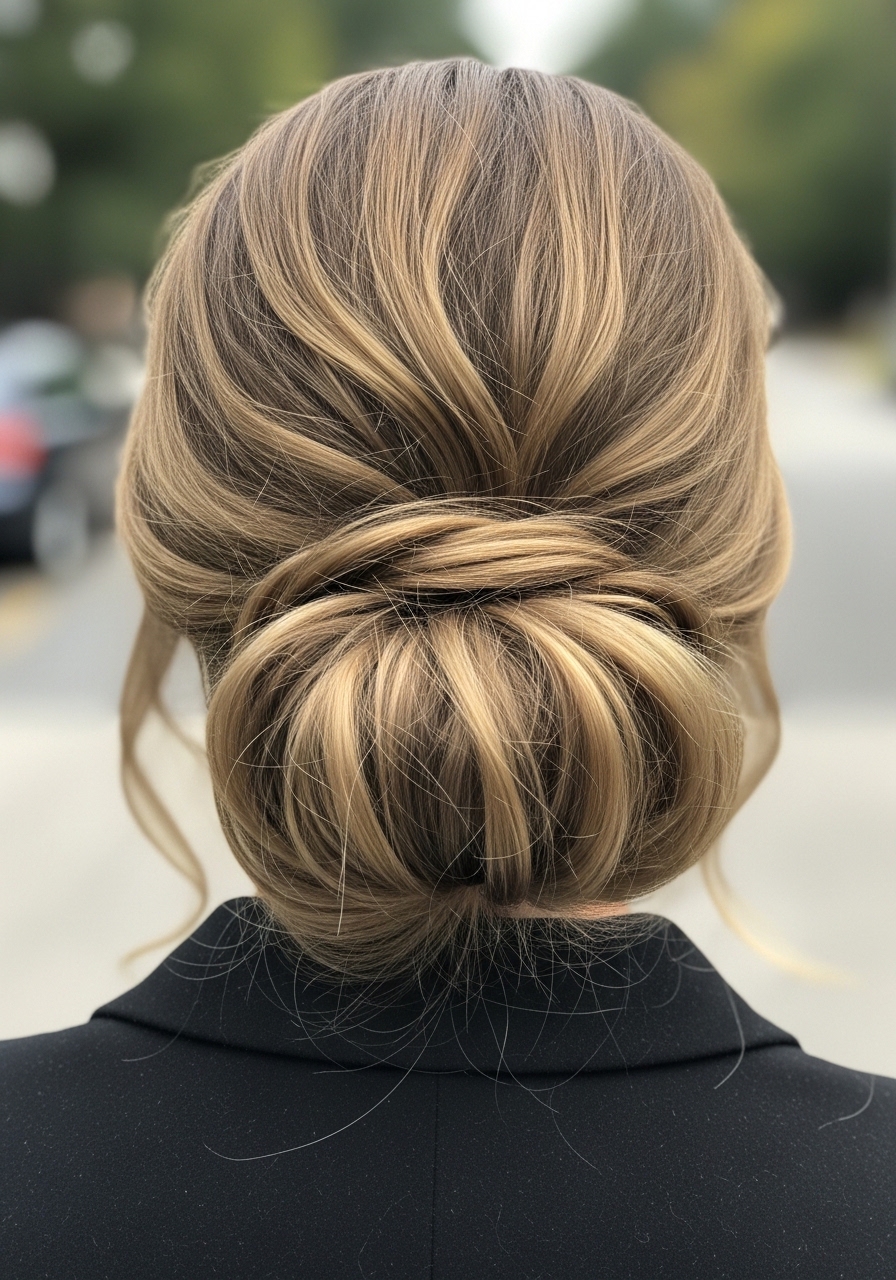
I needed a grown-up updo that didn’t require a salon. A loose low chignon fits my thin hair without looking like a small knot.
It photographs classic. In practice it holds if I secure with pins rather than one tight elastic. Works best on hair with some length to tuck.
An insight: don’t over-bun. I once wrapped it too tight and it looked like a tiny ball. Leave loose pieces and pin strategically. Use a powder in the roots for grip.
- Long Subtle Face-Framing Micro Layers
I asked for “tiny, subtle” and my stylist gave me micro layers. They’re barely there but they change how my hair frames my face.
In pictures it looks delicate. In real life the micro layers soften my cheek area and help bangs blend. Best for fine hair that needs a gentle shape.
Mistake: I once let them grow without a trim and they lost shape fast. Keep them trimmed every 8 weeks. They’re a small commitment that rewards with polished ease.
- Long Sleek Center-to-Side Sweep with a Gloss Finish

I like a sleek sweep that starts at the center and moves to a side. It keeps hair tidy and gives a soft asymmetry I find flattering.
Photos reveal shine. In reality I maintain it with a serum and low heat. It sits closer to the head, so it’s good for hair that’s thin and sleek.
Insight: overusing shine serums made my hair limp once. Use a tiny amount and distribute from mid-length to ends. Re-touch the part with a comb instead of product for a neater line.
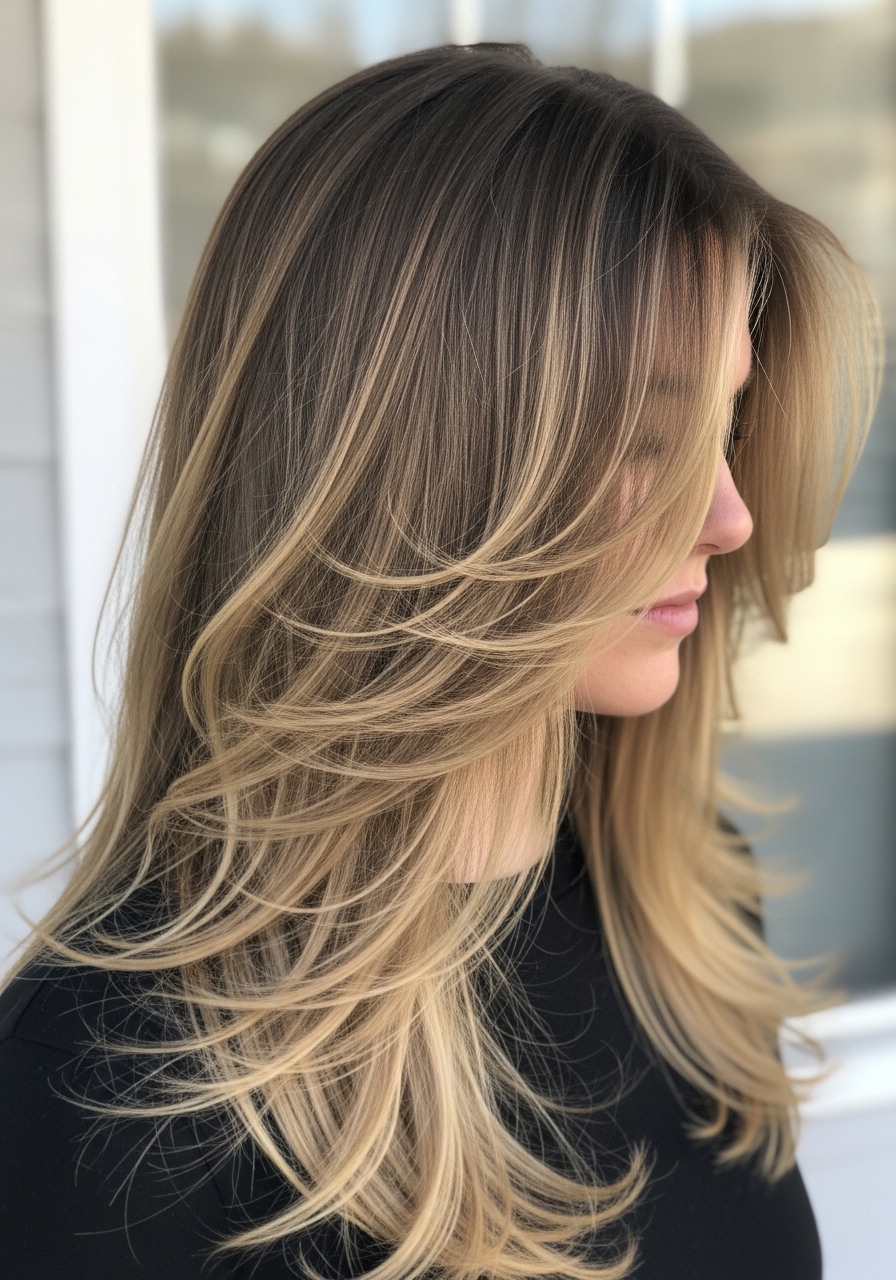
- Long Boomerang Layers That Curve Around the Face
I was nervous about shaping my long hair too much. Boomerang layers—long in front, slightly shorter toward the back—gave me a rounded silhouette.
It photographs soft and flattering. During my day the curve keeps the face framed and hides thinning temples. Works on straight or gently wavy hair.
Mistake: asking for too steep a boomerang made my face pieces too short. Keep the front long enough to tuck behind ears if you like. A quick roll with a brush refreshes the curve.
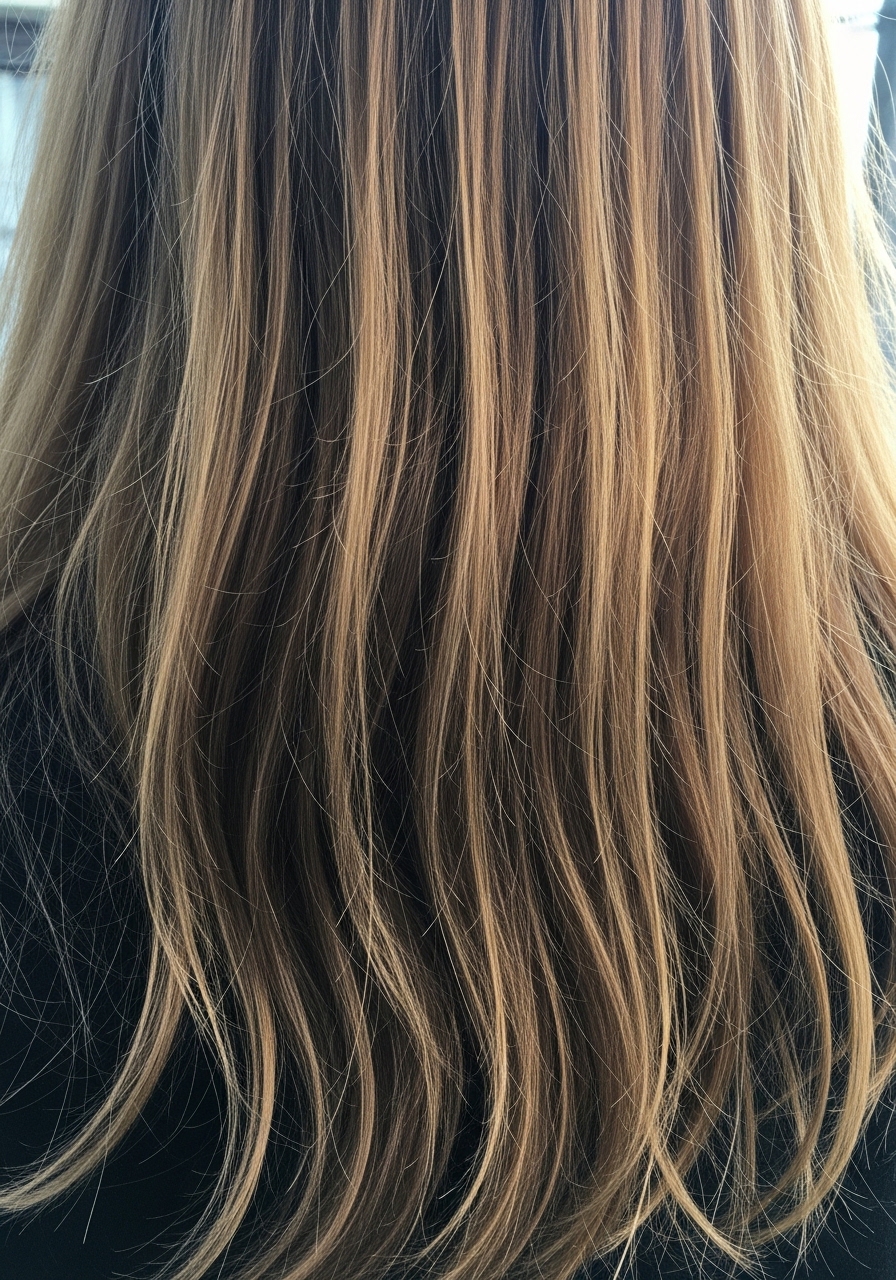
- Long Waterfall Layers for Soft Cascading Texture
I tried waterfall layers when I wanted movement without losing length. They cascade gently and avoid that chopped look.
In photos it looks flowy. In daily wear the layers intermix and create subtle body. Best on thin hair that benefits from separation rather than blunt weight.
Tip: don’t let the layers be too thin. I once had too-attached layers and they revealed my scalp. Tell your stylist you want visible but soft layers that blend smoothly.
- Long Side-Swept Fringe with Tapered Back
I moved some length forward into a side-swept fringe. It changed my profile without heavy bangs. The back is tapered to keep things light.
Photos show a balanced shape. In real life the fringe moves across the forehead and disguises thinness at the front. Works for straight and slightly wavy textures.
Mistake I made: trimming the fringe too bluntly. Keep the sweep long and layered into the rest. A quick pass with a small round brush keeps it flattering.
- Long Beachy-but-Polished Waves for Everyday Wear
I wanted waves that read casual but not messy. Small barrels and brushing them out gave me polished, relaxed waves that aren’t crunchy.
In photos they look lively. In daily wear they soften and often look like my natural pattern. Best for thin hair that can take a pattern for a few hours.
An error I made: using a heavy spray earlier. That killed the bounce. I now finish with a light mist and smooth any frizz with my fingers. It lasts through a workday.
- Long Slight Angle with Subtle Front Weight
I asked for a slight angle—longer in front—to give a youthful sweep without chopping length. The front weight makes my face look framed and anchored.
Photos show a modern shape. In life it keeps the jawline soft and avoids the “lifeless” long drop. Works well if you want shape but not layers.
Insight: I once asked for too steep an angle and it read dramatic. Keep it gradual. Tell your stylist you want subtle front weight and a soft blend to the back.
- Long Natural Gray with Soft, Minimal Layers
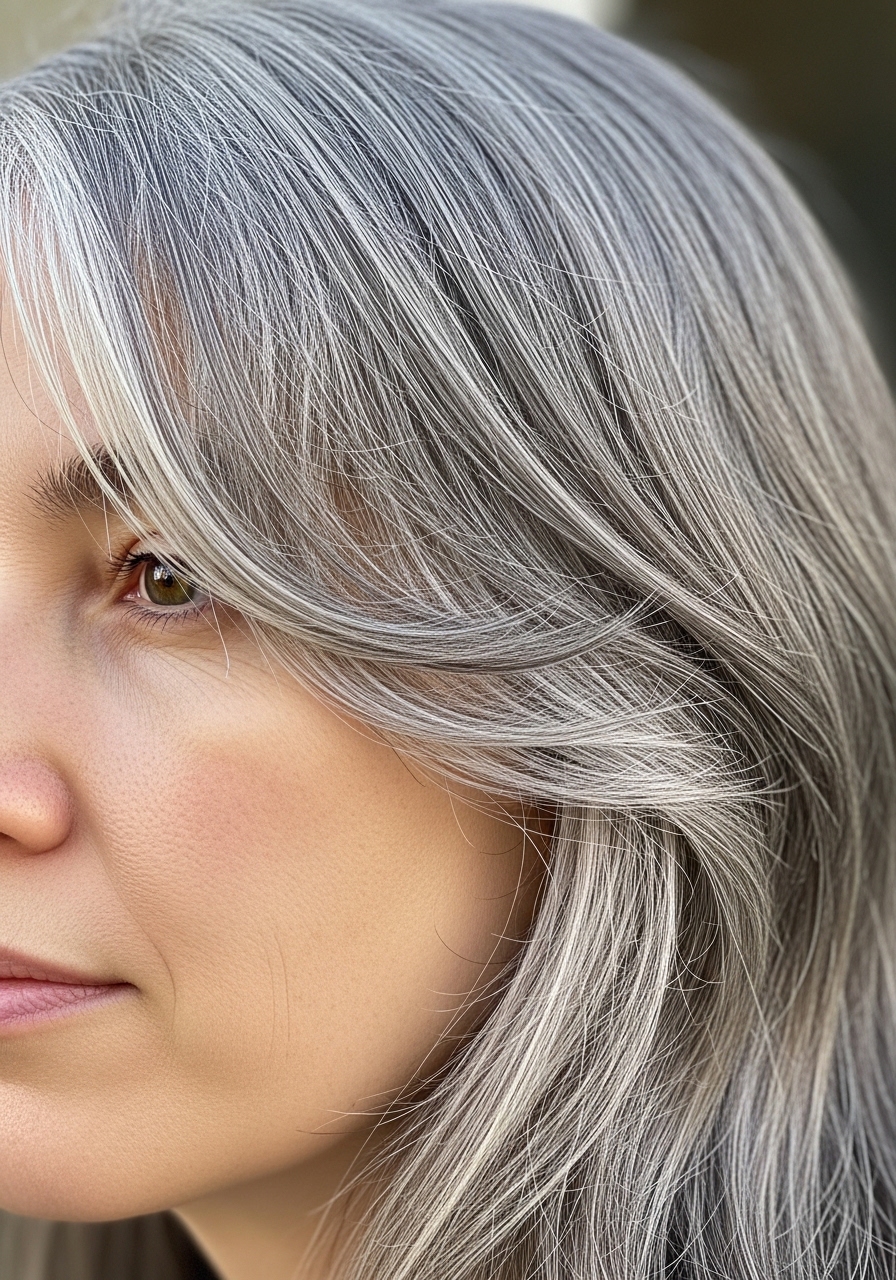
I chose to grow my gray and kept minimal layers. The texture is different, thinner in places, but the right soft layers make it feel intentional.
In photos the gray reads elegant. In reality it needs regular trims and a bit of hydrate to stay smooth. It’s best for women over 50 who want low-fuss styling.
Mistake: I once over-processed to “fix” the gray. That thinned the hair more. Embrace the texture, ask for minimal face-framing layers, and use a gentle conditioner to keep it manageable.